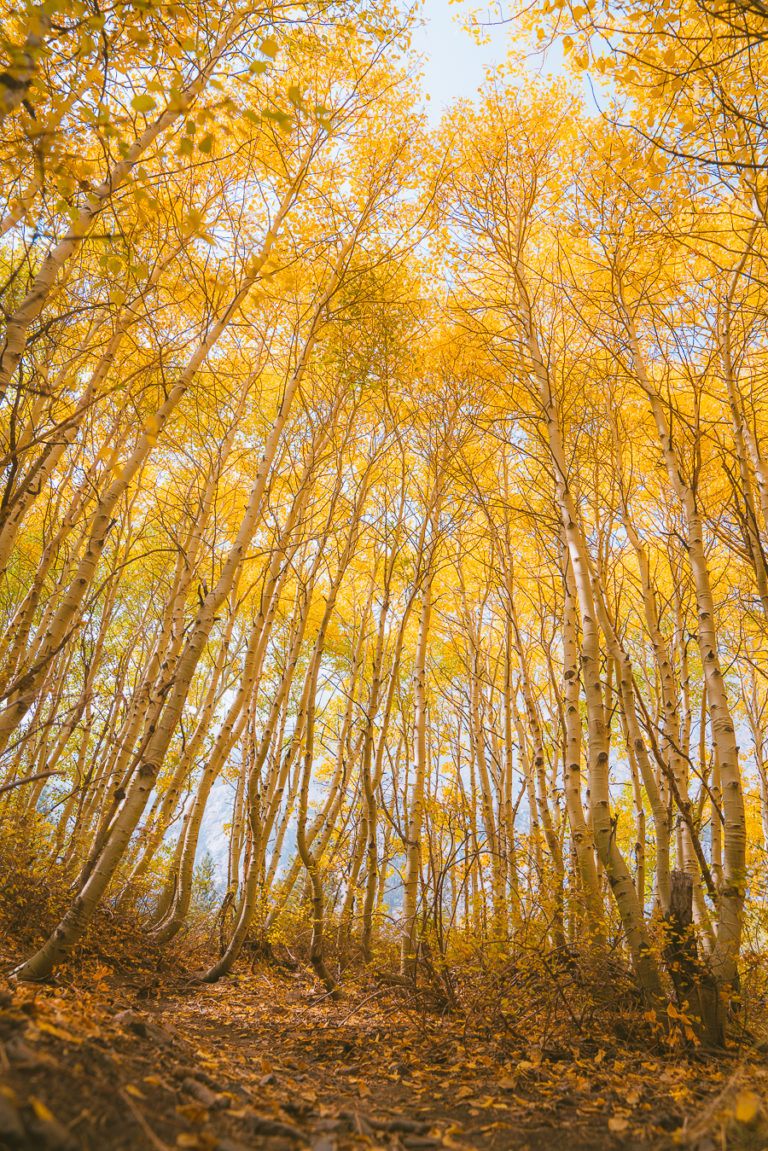
A Fun Guide to the Skyline Trail Loop at Mt Rainier National Park
With lush alpine meadows, snow-capped peaks, and breathtaking views of the Paradise Valley, the Skyline Trail Loop has it all. Pairing waterfall visits with sweeping vistas, it’s easy to see why this challenging trek is one of Mt Rainier’s best hikes.
But there’s more to the Skyline Trail in Mt Rainier than just strapping on some hiking boots and wandering off. From entry permits and trail details to navigating the park during its peak summer season, there’s plenty to consider.
Without further ado, let’s get stuck into all the details of this fantastic hike.

Disclosure: This post contains affiliate links. If you click one of them, I may receive a small commission (for which I am very grateful for) at no extra cost to you.
Mount Rainier National Park
Related Posts
Quick Skyline Hike Info & Stats

Here are all the quick statistics you need to know about the Skyline Loop Trail, from its distance and elevation gain to its difficulty and permit requirements.
- Location: Mount Rainier National Park in Washington
- Distance: 5.8 miles (loop)
- Elevation gain: 1,778 feet
- Difficulty: Hard
- Timing: 3.5 hours
- Best For: Experienced hikers
- Pets: Dogs are not allowed on this trail
- Permits: You won’t need a hiking permit to enjoy this trail. However, you will need a National Park Pass to enter the park, which you can reserve online. The America the Beautiful Pass will also work.
- Trail guide: Link
Your Skyline Trail Map
To make your life easier, I highly recommend downloading this Skyline Loop Trail map during your hike.
Your Guide to Hiking the Skyline Trail in Mt Rainier National Park
With the Mt Rainier Skyline Trail being one of the best things to do in the park, you’ll want to know all the small details about this epic trek. You’ll find all the information here, from elevation and hiking details to what you can expect to see along the way.
All the best views in the state
100+ WA Hikes
Embark on Washington’s best trails with our eBook! Inside, find top hikes, expert tips, and stunning views, making every adventure unforgettable. Dive into the beauty of Washington’s outdoors now!
Trek From the Paradise Area to Glacier Vista
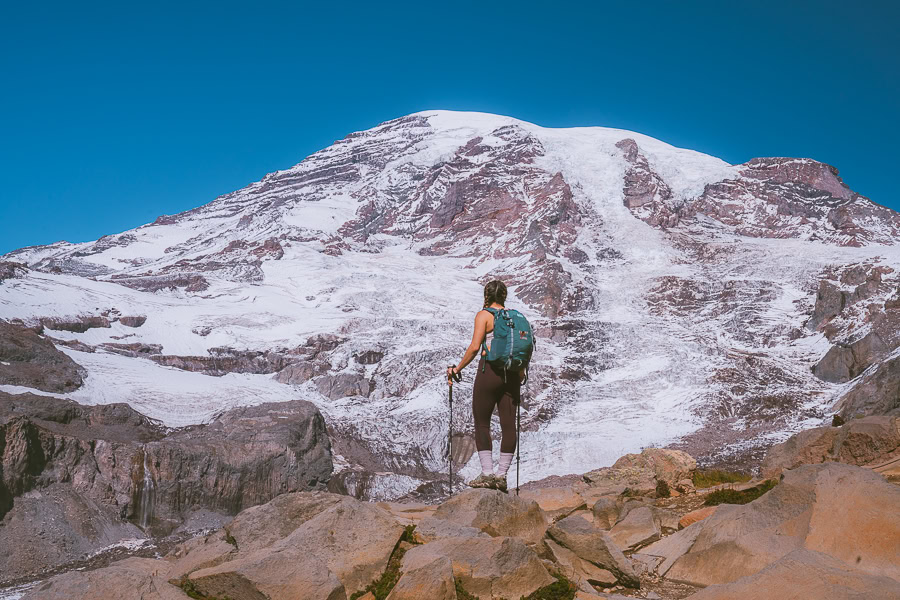
Starting near the Jackson Visitor Center, you have two options. You can go straight, which will take you on a clockwise loop along the trail, or you can turn right, resulting in a counter-clockwise trek.
There’s no right or wrong way to trek the full Skyline Loop, but the clockwise route is definitely easier. While the lower initial elevation grade is fairly steep, this peters out fairly quickly. You also have a lot less uphill hiking when you go clockwise, making it the much-preferred option.
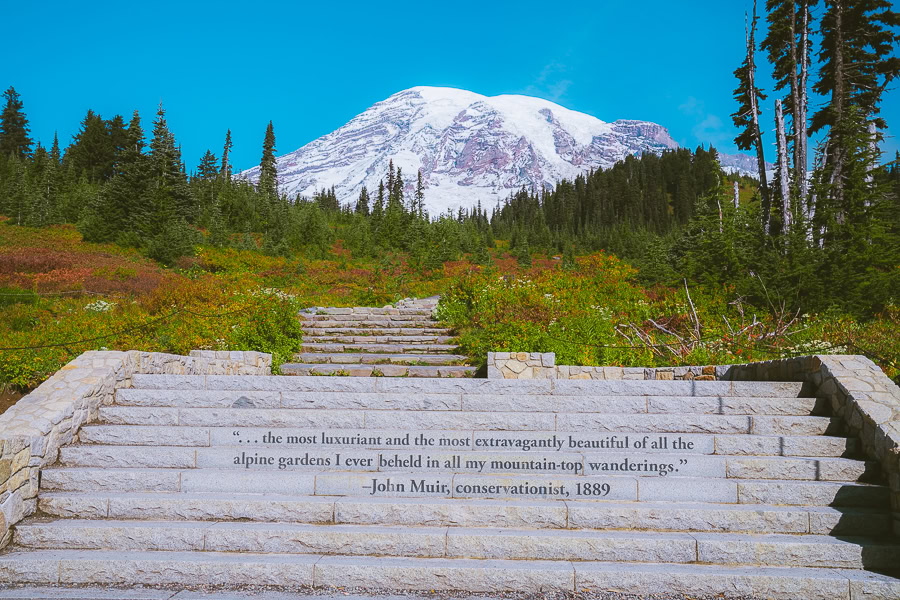
From the parking lot, you’ll need to trek for 1.3 miles, covering half the elevation gain (951 feet) before reaching the Glacier Vista. This section of the hike intertwines with the Waterfall, Alta Vista, and Guide House Trails, so make sure you use your trail map to stay on course.
As you trek along this paved trail, you’ll have several opportunities to soak up the alpine landscape. You’ll be able to gaze in amazement at Alta Vista, towering overhead at around the half-mile mark.

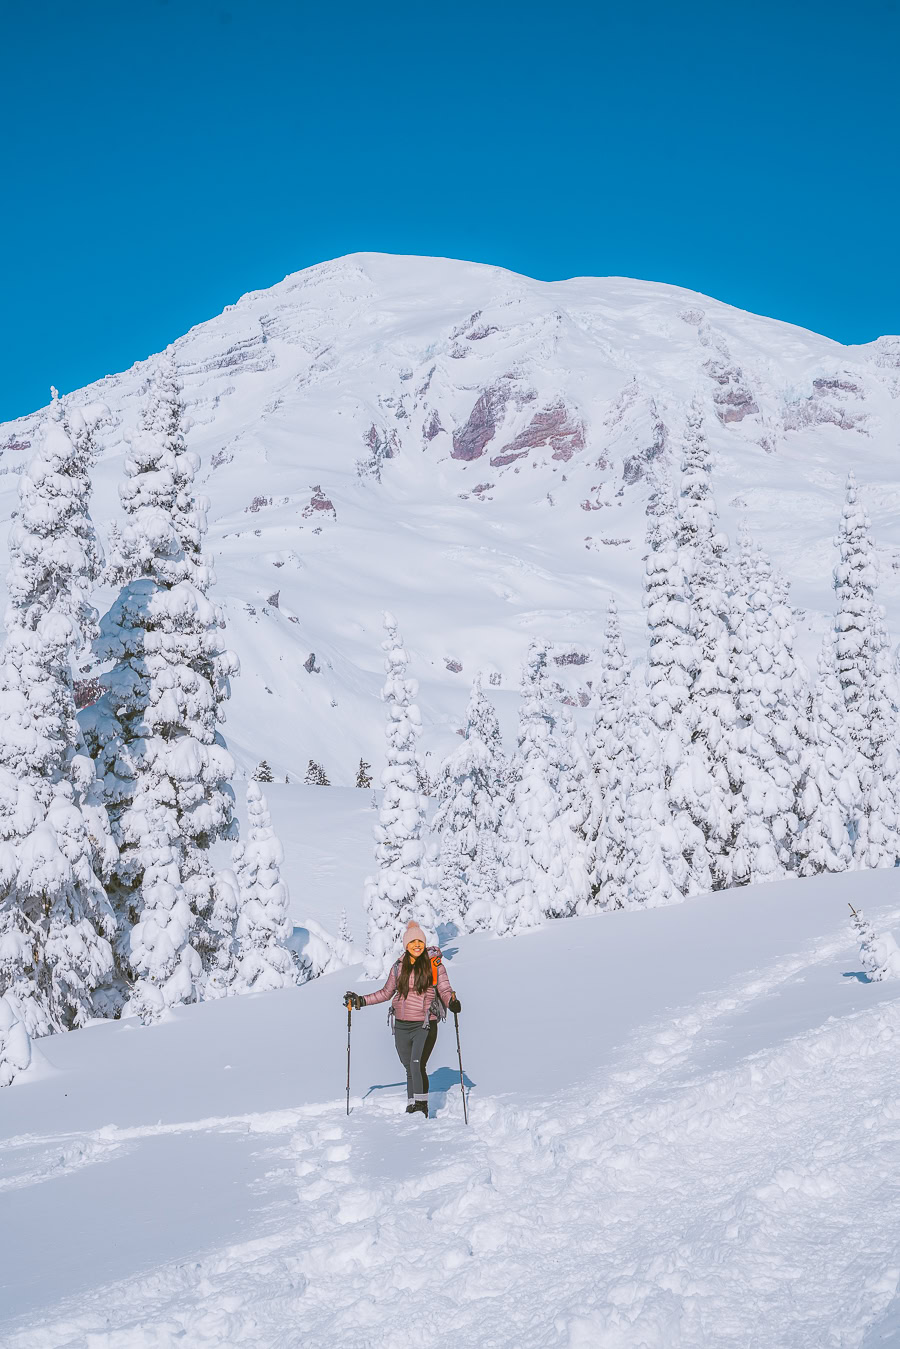
During this first section of the walk, you’ll also pass alongside Dead Horse Creek, which is often bustling with wildlife in the summer months. Come winter, the landscape offers a tapestry of deep greens and pearly white snow.
With all these star-studded views on offer, none of it quite compares to what you’ll see after 1.3 miles into the trek. At this point, you’ll have the opportunity to venture off the main trail and onto the Glacier Vista Trail, which offers unforgettable views of the Nisqually Glacier.
It’s honestly the perfect spot to catch a breath, rest your legs, and just soak up the natural beauty on offer along the Skyline hike in Mt Rainier.
Download my free Outdoor Photography Guide
Hike From Glacier Vista to Panorama Point
Once you’ve had a chance to snap some epic photos, it’s just a 0.6-mile ascent to the famous Panorama Point. Despite this section being so short, you’ll scale 377 feet, making this a real thigh burner.

Top Tip: Read my strength training guide to help you prepare for the Skyline Loop Trail in Mount Rainier.
Roughly 420 yards after Glacier Vista, there’s a sharp turnback. Around 210 yards from there, there’s a fork left. Make sure you stay straight here, as the left fork takes you through a danger zone that is extremely challenging. Besides, if you did turn left here, you’d miss out on the stunning views at Panorama Point, and you wouldn’t want that.
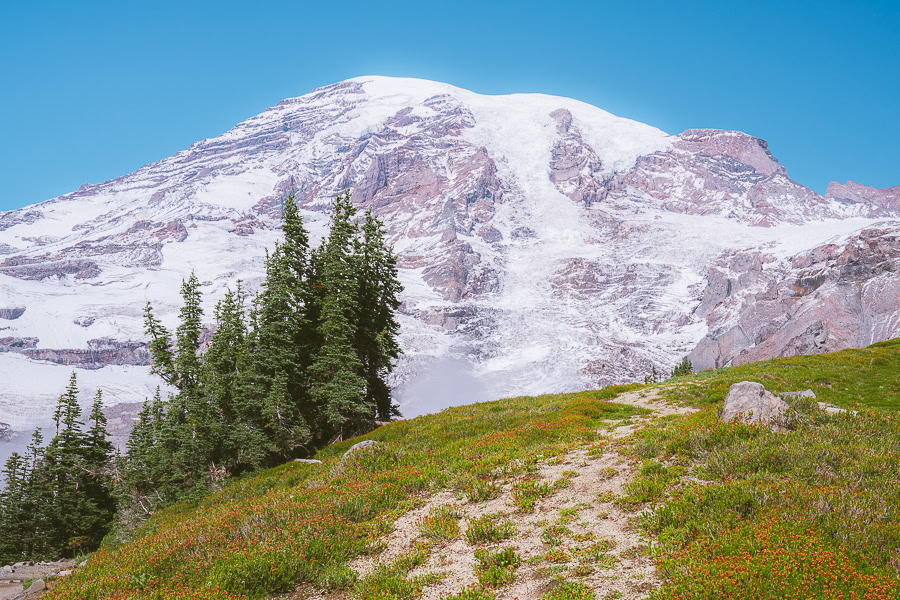
Just a couple hundred more yards on, and you’ll find a fork in the path, with the right-hand turn taking you to the Panorama Viewpoint. And oh boy, are the views fantastic. From here, you’ll be able to admire the sweeping subalpine meadows of the Paradise Valley.
Make sure you take a moment to admire the vistas and set up your camera on a tripod if you decide to bring one with you. On a super clear day, your camera may even pick up Mount Adams and Mount Hood in the distance.

Pro Tip: This is also a great spot to stop, as there’s a pit toilet you can utilize.
Trek Downhill from Panorama Point to Sluiskin Falls

From Panorama Point, you’ll be able to enjoy an easy hike downhill for the rest of the trail. There’s a mile of switchbacks and gentle bends past rugged rocky areas and lush meadows before reaching Sluiskin Falls.
At around the halfway mark, you’ll be able to turn right onto the Golden Gate Trail. While this can be a great alternative, taking you past the Golden Gate Falls. But that would mean you’d miss out on a visit to Sluiskin Falls.
As such, it’s best to continue forward. Just before you reach Sluiskin Falls, you’ll have the opportunity to visit the historic Stevens Van Trump Memorial. This bench made of rock and cement has engravings on the backrest and pays tribute to Mount Rainier’s first summit climbers, Hazard Stevens, and PB Van Trump.
From this historic landmark, you’ll then have the opportunity to admire Sluiskin Falls, which has an impressive 150-foot drop down into Mazama Ridge. Interestingly, the falls were named after the Yakama Indian who helped guide Stevens and Van Trump to Mount Rainier’s summit.
Your best chance to see the falls is along the lower Skyline section, between Myrtle Falls and the Stevens Van Trump Memorial.

Note: Look back every now and then during your hike to Myrtle Falls to make sure you don’t miss out on an epic vantage point of Sluiskin Falls.
Wander From Sluiskin Falls to Myrtle Falls
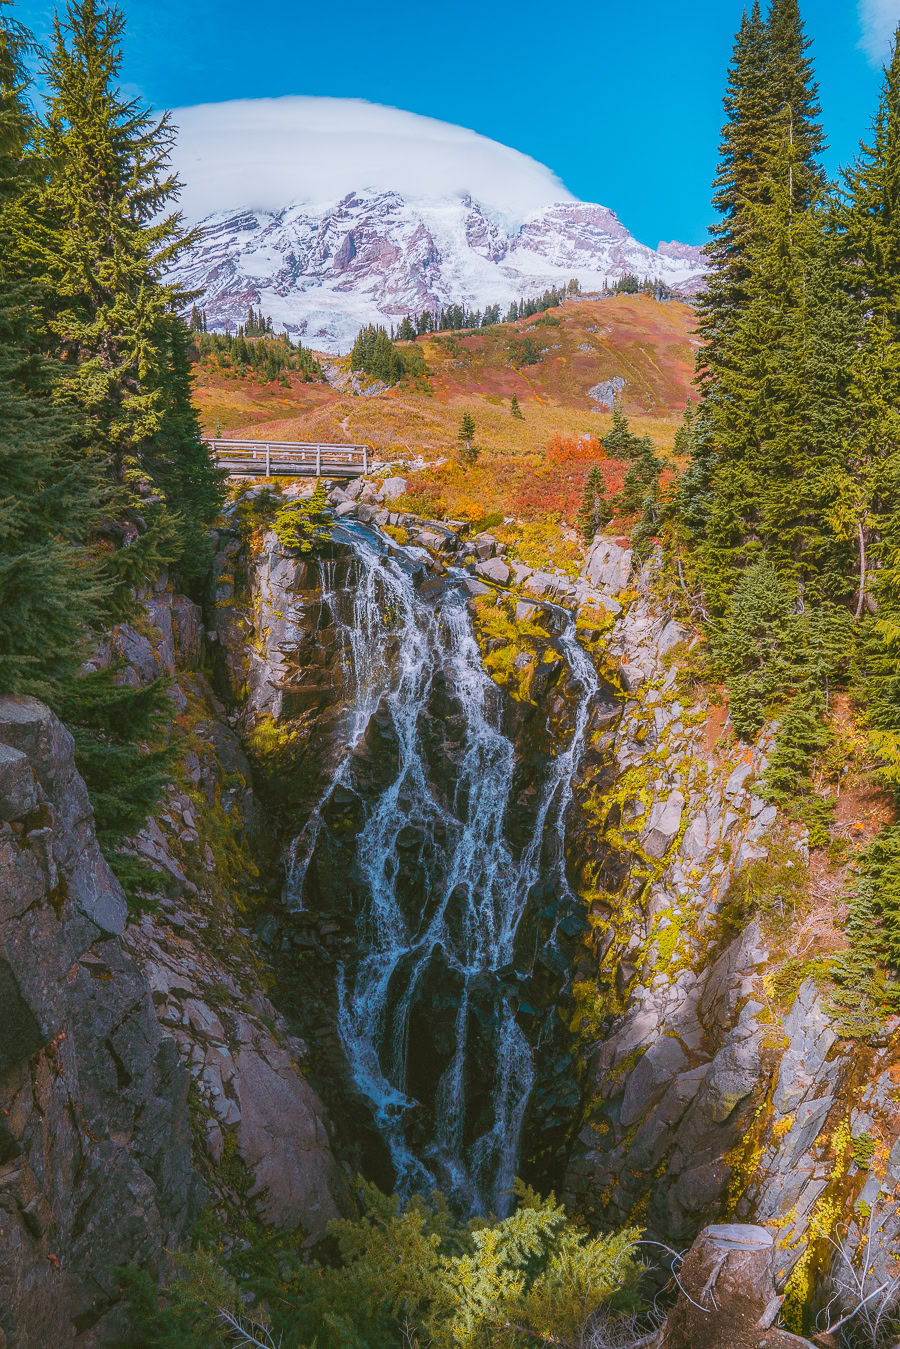
The last section of this jaw-dropping excursion is the route between Sluiskin Falls and Myrtle Falls, covering around 1.4 miles. It’s a relatively straightforward trek from here, with a couple of small switchbacks here and there.
It’s all downhill as well, so it won’t be too strenuous. That said, if you are visiting in winter, make sure to go slowly, as it can get slippery with sleet and snow buildup.
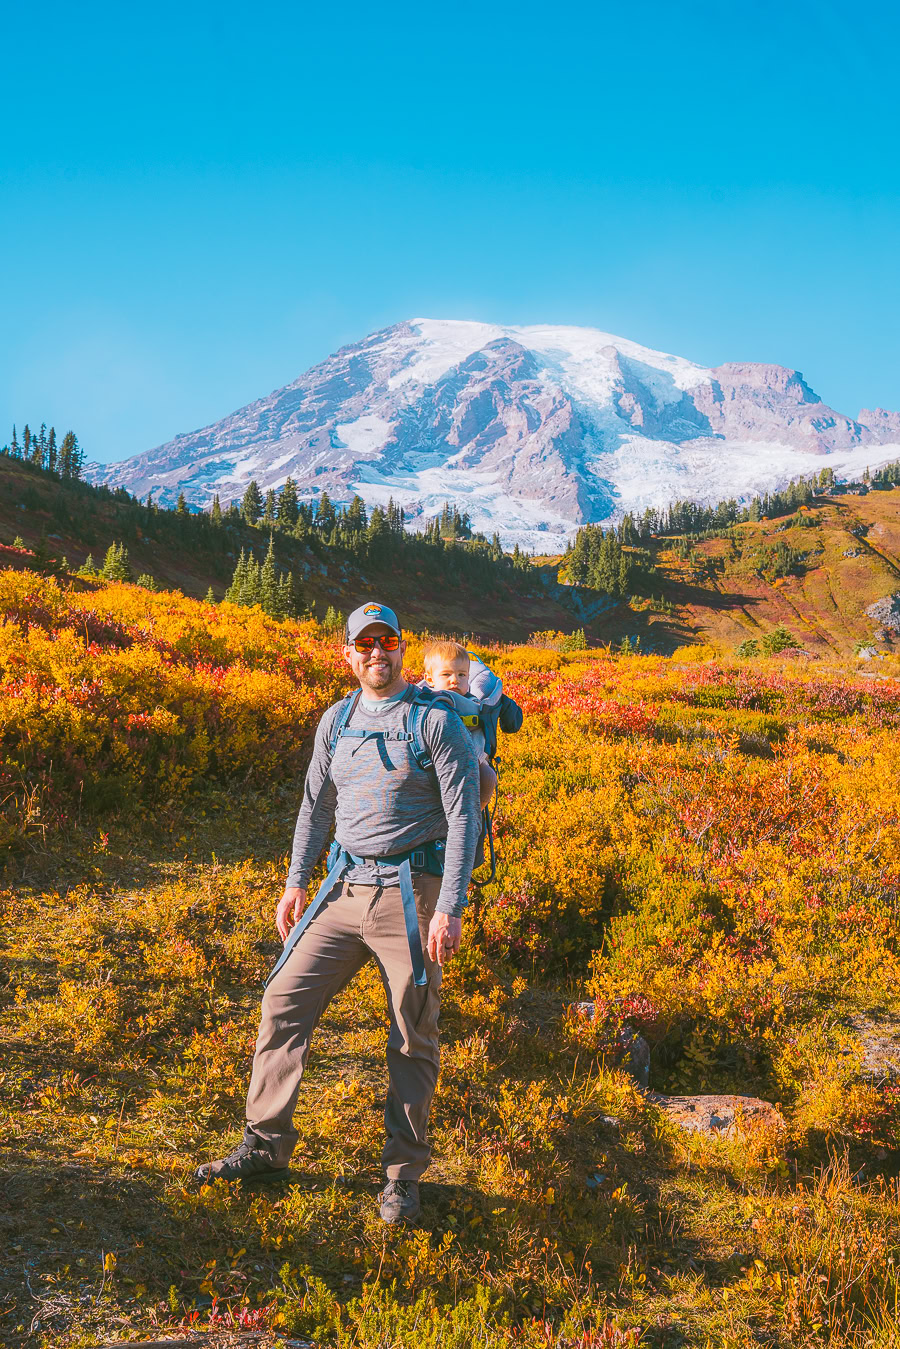
Along the way, you’ll pass over the Paradise River. Just before you reach Myrtle Falls, you’ll meet up with the fork for the Golden Gate Trail. From there, it’s a short walk before you reach the bridge crossing over Edith Creek.
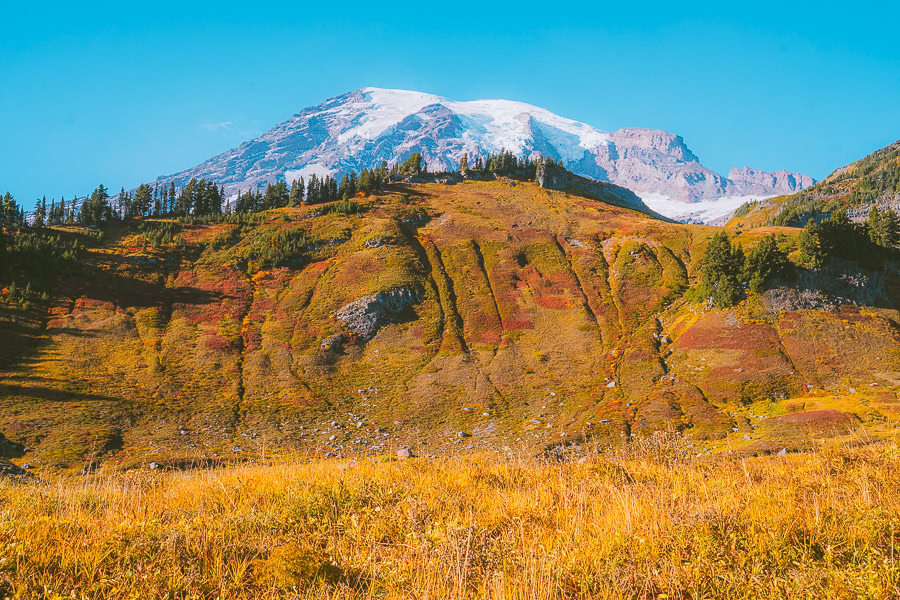
After crossing over the bridge, there’s a path to your left. Take this path, which includes a few stone steps up to the viewpoint. From here, you’ll be able to be enthralled by the 72-foot curtain of cascading water.
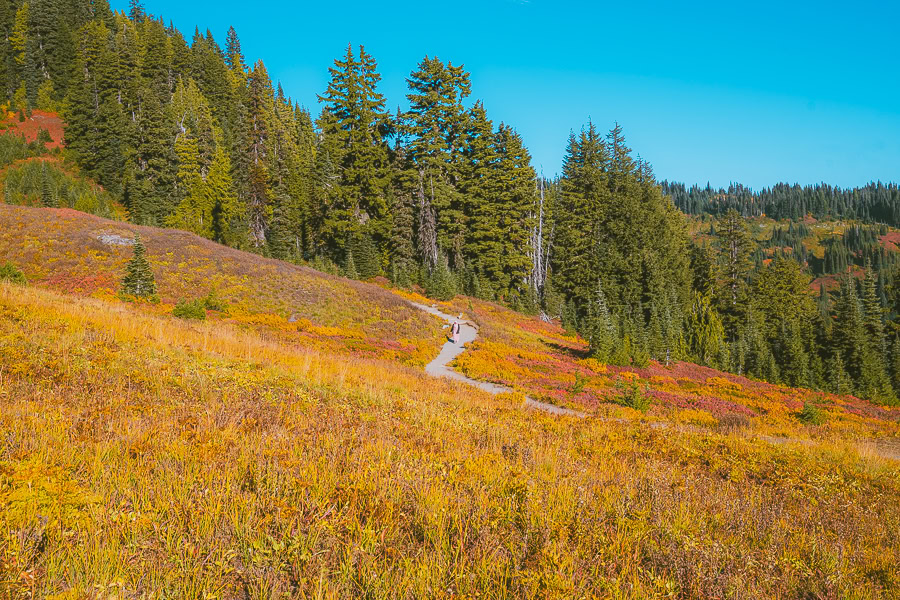
With the misty mountains in the distance and the evergreen trees surrounding the falls, it creates one of the most iconic photo spots in Mount Rainier National Park. From the viewing deck, it’s a short half-mile walk back to the parking lot.
Download my Washington Hiking Checklist!
Bonus Skyline Routes to Consider
If you want to break away from the crowd and wander off on your own adventure, here are some great alternatives leading from the Skyline Trail.
- Paradise Glacier Trail — Branches off of the Skyline Trail at Stevens Van Trump Memorial. >>>Trail Link
- Skyline and Golden Gate Loop — Additional route you can take along the Golden Gate Trail. You can join it either at the Skyline trailhead or halfway between Panorama Point and Sluiskin Falls.>>>Trail Link
- Camp Muir Route via Skyline Trail — This is a challenging hike that is ideal for multi-day treks. You’ll travel along the Skyline Trail up until Panorama Point, after which you’ll join the Camp Muir Route. >>>Trail Link
How to Get to the Skyline Loop in Mt Rainier
For those flying into the area, you’ll most likely fly into the Seattle-Tacoma International Airport (SEA). From Seattle, it’s roughly a 2-hour and 15-minute drive straight to the trailhead, covering around 103 miles.
From Downtown Seattle, you’ll take the I-5 southbound before joining onto WA-167. You’ll head south along WA-167 before merging onto WA-161 southbound. You’ll continue along this road for roughly 30 miles before merging onto the National Park Highway, which will take you through Ashford.
You’ll then reach the Nisqually Entrance to Mount Rainier National Park, where you’ll travel eastbound along Paradise Valley Road. From the Nisqually Entrance, it’s a 50-minute drive before you reach the Jackson Visitor Center and the Skyline Trailhead.
Due to its proximity to Seattle, a Mt Rainier day trip is always on the cards. Just bear in mind that the summer months are ridiculously busy. So, if you do plan on visiting during this time, it’s best you get a very early start to the day.
Things to Know Before You Go on the Skyline Loop Trail
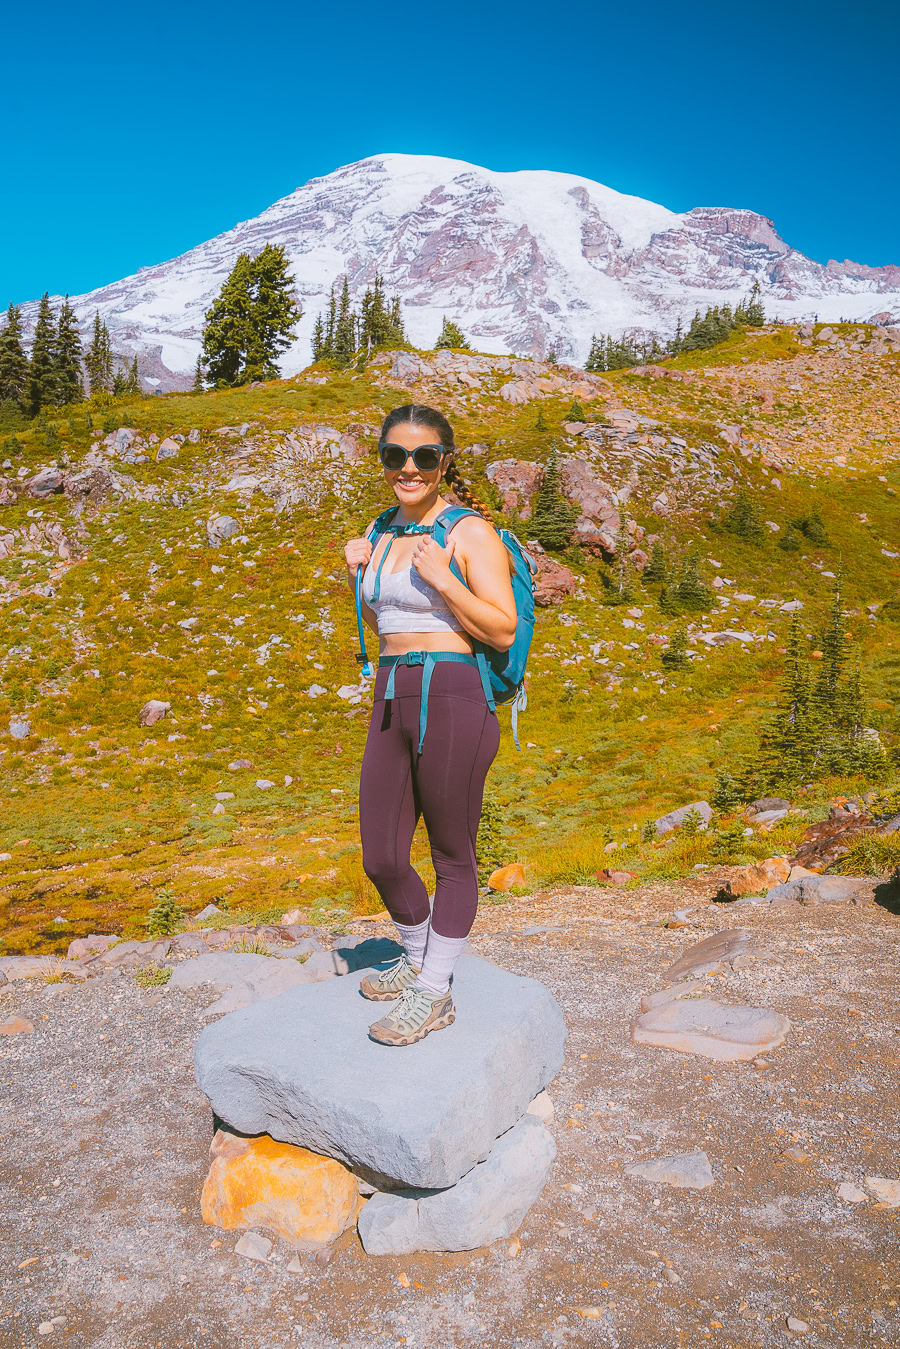
To ensure you are completely prepared for your hike, here are some must-know things for your trip:
- Check Trail Conditions — It’s important that you know the trail conditions before heading out, especially over the winter months. The Washington Trails Association gives regular updates on the Skyline Loop, which you should check out before your hike.
- Keep Your Eyes Peeled for Animals — From elk and black bears to mountain lions and even mosquitos, following wildlife safety practices is a must. Be especially vigilant around waterfalls and streams, as many animals tend to be found there.
- Know Your Limits — While I’m sure everyone would love to tackle the trek in its entirety, it’s not suitable for everyone. It’s a highly challenging trek, making it ideal for experienced hikers. Consider just hiking to Panorama Point rather than doing the entire loop if you don’t think you’ll manage the entire trek.
- Check the Weather —To ensure you stay safe and experience the best possible viewing opportunities, be sure to check the weather before you leave. Snowstorms and avalanches are a real danger in winter, so it’s crucial you check the weather with something like Accuweather before heading out.
- Hike During the Golden Hour — One of the best times to capture the beauty of Mount Rainier is at the golden hour (around sunrise or sunset). Of the two options, sunrise is best, as it casts the landscape in a golden hue. It’ll also mean that by the time you reach the waterfalls, the valley will have come to life. Check out the sunrise and sunset times here.
Best Time to Hike the Paradise Skyline Trail

I may be slightly biased, having hiked this route year-round, but every season has something special to offer on this trail. From the wildflowers that fill the meadows with color in summer to the magic of a snow-filled landscape in winter, it’s tough to pick the best time to visit the Skyline Trail in Washington.
While summer (June to August) is the park’s busiest time of year due to the optimal weather, it’s often jam-packed, and finding parking is nearly impossible. That said, summer is when you can see the stunning wildflowers of Mount Rainier, which start coming up in mid-July.
I’d recommend tackling this trek in the shoulder seasons of spring (March to May) and the fall (September to November). The stunning fall colors come into their own around mid-October, while the valley starts to pop with lush green hues as the ice melt begins in late May.
Winter offers its own beauty that cross-country skiers tend to adore. Winter may be one of the more dangerous times to visit due to the high chance of avalanches, but as long as you are cautious and check the weather beforehand, you should be okay.
PS: you’ll definitely need a quality pair of snowshoes for your winter hike.
Note that Mount Rainier stays pretty chilly throughout the year — even summer’s highs generally only reach around 57°F — so make sure you pack plenty of layers.

Top Tip: If you do want to visit the park in winter, read my in-depth guide to snowshoeing Mt Rainier before heading out.
What to Pack for Your Skyline Mt Rainier Trek
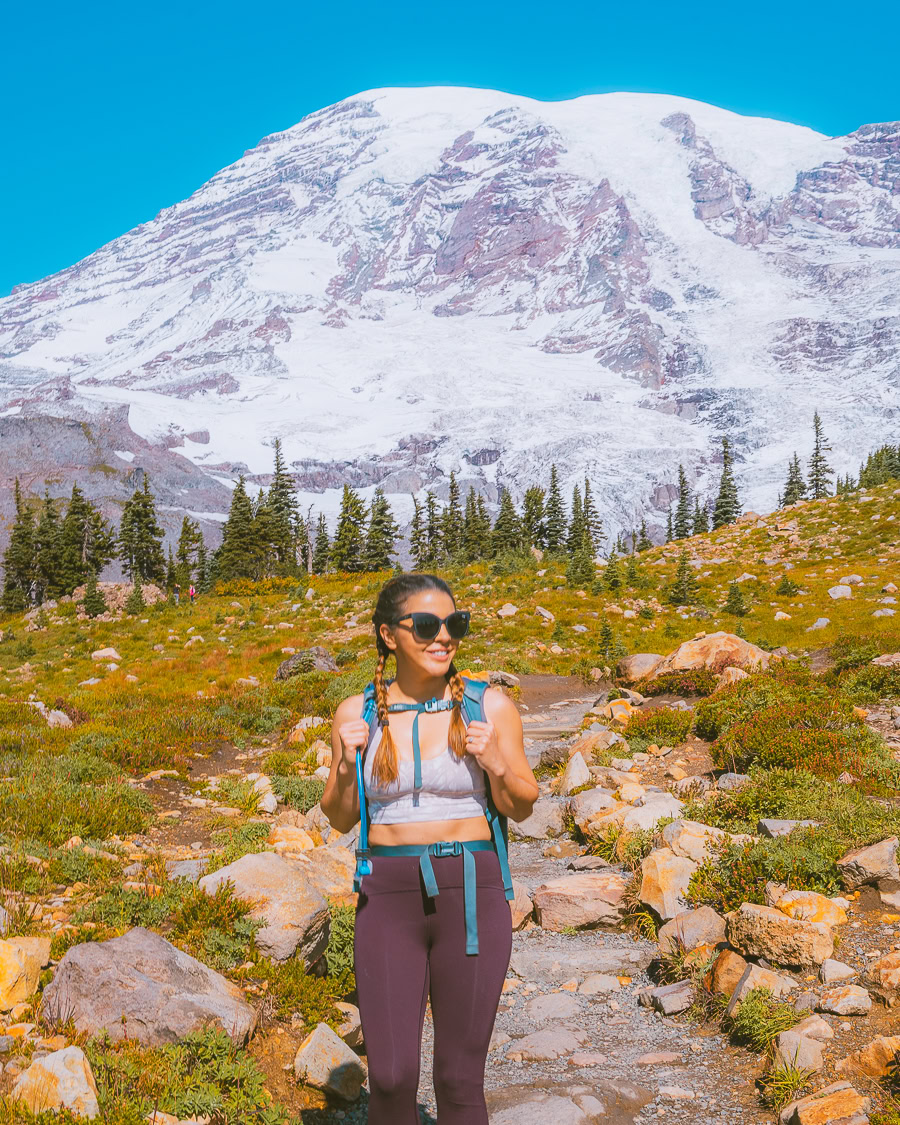
To ensure you’re fully prepared for the Skyline Loop in Mount Rainier, here are the ten essentials you need to pack:
- Water Bottle — You’ll need to keep hydrated throughout this challenging trek. >>>Get This Hydro Flask
- Quality Hiking Boots — To avoid blisters and ensure you have a secure grip during your walk, make sure you have a quality pair of hiking shoes. >>>Compare These Hiking Boots
- Hiking Pants — >>>Try These Tights
- Down Jacket — Get a jacket that serves as a windbreaker and also keeps you warm. >>>Compare These Down Jackets
- Wear Layers — Wear layers and take them off as needed. This way, you can always get warm if things start to cool down significantly.
- Sun Protection — The sun can be harsh, even in the winter months, so be sure to pack some sunscreen. >>>Buy This Sunscreen
- Headlamp — If you plan to trek around the golden hour, you’ll want a quality headlamp to light the way when things are dark. >>>Get This Headlamp
- Trekking Poles — This is a challenging hike, and trekking poles can definitely come in handy. >>>Compare These Trekking Poles
- Daypack — To ensure you can carry everything, from snacks and water to your sunscreen, a comfortable daypack is crucial. >>>Views These Daypacks
- Mount Rainier Map: A map is essential so you don’t get lost. I usually bring with me AllTrails+ map on my phone, and I have many of the Washington area maps. I love National Geographic’s maps. They are good quality. >>>Check It Out Here
- National Park Pass: You’ll never regret getting a year-long America The Beautiful Pass. >Get It Here
Claim your FREE Hiking Checklist
Ready to start hiking? Grab my free hiking checklist and never forget anything at home!
Top Tip: For an even more detailed look at what to pack, here’s my post on what to wear for all seasons.
Where to Stay near Mount Rainier National Park
While there are a few places to stay in Mt Rainier, like Paradise Inn and National Park Inn, these are extremely expensive. As such, the lovely town of Ashford, just 40 minutes from the Skyline trailhead, offers a plethora of lovely and affordable lodgings.

PS: If you still want to consider the two options in the park, you can learn more on the Mount Rainier guest services website.
Luxury | Nisqually Lodge
No more than five minutes away from the park entrance, Nisqually Lodge is a luxurious option that ticks all the boxes. From large family cabins to deluxe two-sleeper units, this lodging caters to just about everyone.
Every small detail is taken into consideration, from ensuring each room is stocked with Eco Botanics products to the extremely comfortable linen. While there are no dining options on-site, you’re a short walk away from some great options, like the Rise Cafe and the Paradise Village Hotel and Restaurant. >>>Check Availability
Mid-Range | Elk Hideaway
If you want an entire rental all to yourself, the Elk Hideaway in Ashford is the perfect option. This quaint home has a lovely cabin-like feel with all the exposed timber.
It also has a lovely big kitchen, lounge, and patio for those pleasant afternoons, as well as a spacious garden for the kids to play in. To seal the deal, it has a lovely hot tub that’s perfect for the entire family to relax in after a long day of hiking. >>>Check Availability
Budget | Mountain Meadows Inn & Chalet Suites
Mountain Meadows Inn has all the bells and whistles of a luxury stay at an affordable price. From its bubbling hot tub to spacious, well-furnished rooms, there really isn’t much to complain about.
It even offers an eight-sleeper cottage, making it perfect for groups of friends looking to hike the Skyline Trail. Lastly, you can tuck into a delightful complimentary breakfast before heading out for the day’s adventures. Could you really ask for much more? >>>Check Availability
Camping | Cougar Rock
If you’re looking to rough it, Cougar Rock is easily the best campsite to stay at. Being just a 20-minute drive from the trailhead, you can get the jump on many other hikers looking to explore the area.
The site has standard nonelectric camping spots, making it a slightly more rustic experience. That said, you’ll still be able to use the picnic tables, fire pits, and tent pads. >>>Check Availability

Top Tip: Camping is a great option in summer when the parking at Mount Rainier fills up fast. Staying in the park means you can get a parking spot early before they all disappear.
FAQs About Mt Rainier Skyline Trail
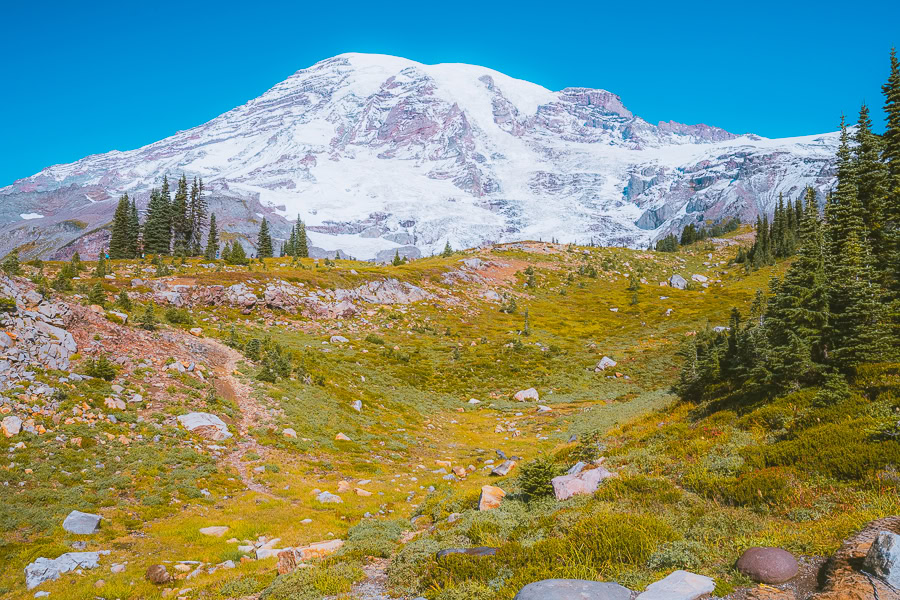
Before heading to Paradise Valley, let’s have a look at some of the common questions asked about the Skyline Loop Trail in Mt Rainier.
What Is the Hardest Route in Mount Rainier?
Liberty Ridge is often regarded as one of the most challenging treks in Mount Rainier. Covering 22.5 miles and scaling 11,742 feet, this hike is definitely as hard as it comes.
What Is the Biggest Risk of Mt Rainier?
The biggest risk you can encounter when hiking Mount Rainier is debris flows. The mixture of mud and rock debris can swiftly move down the volcano’s flanks, causing extremely dangerous situations.
Can You Get Altitude Sickness on Mt Rainier?
While it’s rare to get altitude sickness on the Skyline Trail, it is possible if you try hiking to the summit of Mount Rainier.
Does Mount Rainier Close at Night?
The park is open all year round, 24 hours a day. That said, it’s still safer to hike the Skyline Loop Trail during the day when visibility is best.
Tours In Mt. Rainier
Final Thoughts About the High Skyline Trail
Who would’ve thought there’s so much to consider for the Skyline hiking trail? Having trekked this magical route in every season, the Skyline Loop is definitely a staple of my Mount Rainier adventures each year, and it’ll soon become the same for you.
Remember to stay safe during your hike, and make sure you pick the best time to visit Mount Rainier based on your preferences.
Until next time, safe hiking, and remember to snap loads of photos!

