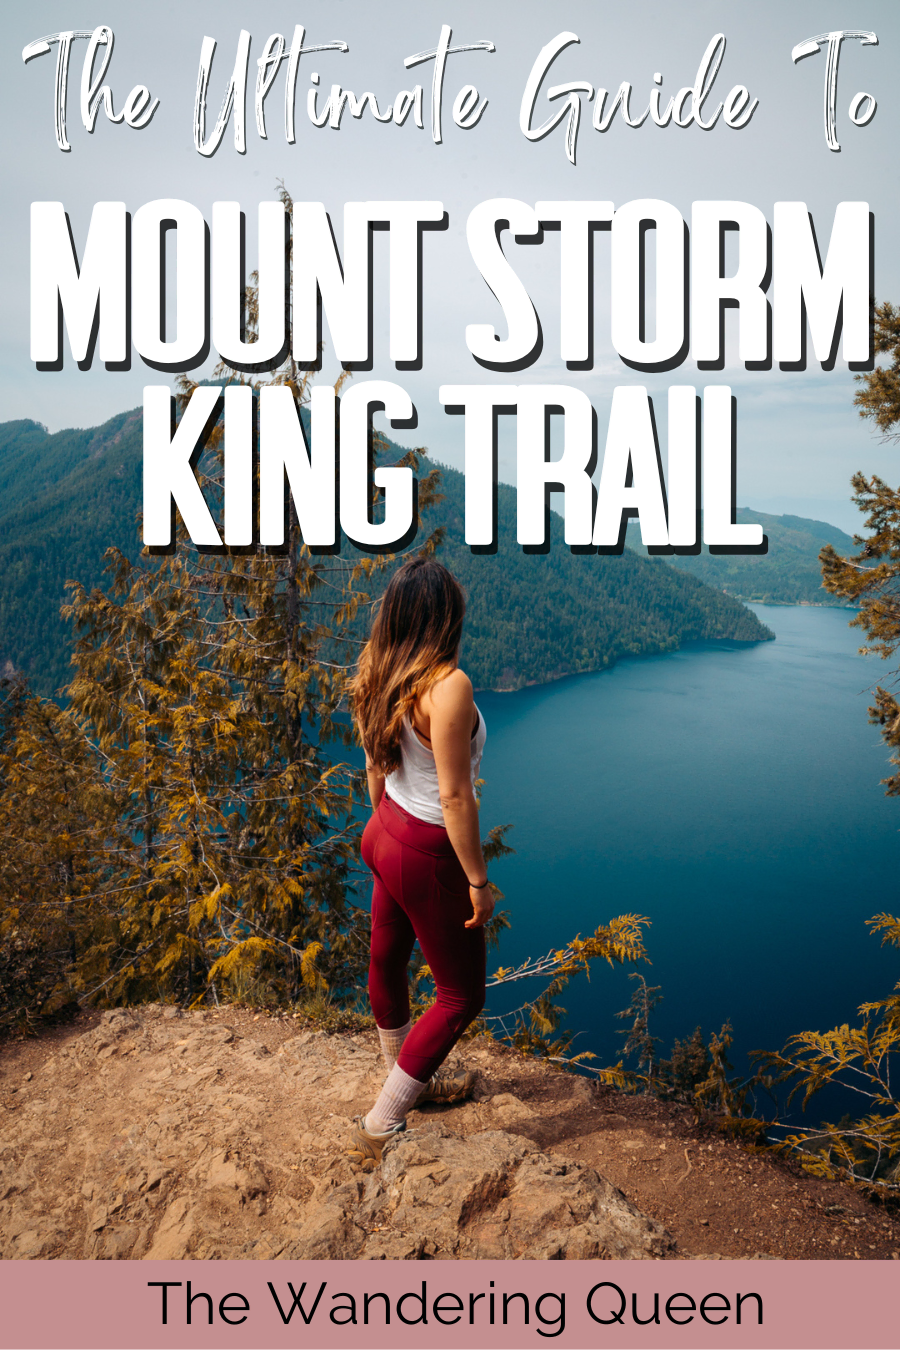
A Fun Guide to the Mount Storm King Hike in Washington
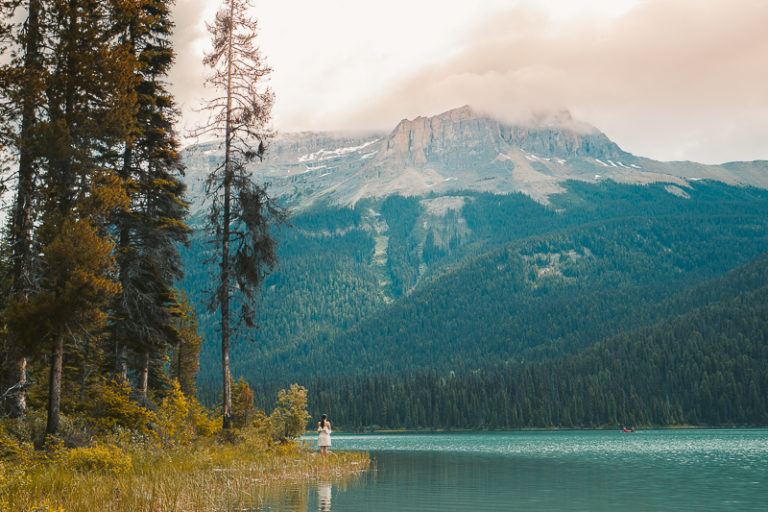
Olympic National Park is nothing short of spectacular, with its idyllic beaches, six otherworldly forest ecosystems, and simply breathtaking views. There’s no better place to experience the Pacific Northwest. And if you want to take your adventures to the next level, then tackling the Mount Storm King hike has to be at the top of your to-do list.
That said, this trek isn’t for the faint of heart. It has a gnarly elevation gain and requires plenty of prior hiking experience. As a matter of fact, the park has to send search and rescue parties for this route quite a few times each year.
Don’t worry, though — it’s not all doom and gloom. If I’ve been able to hike this magnificent trail twice, I’m more than certain you can do it too.
From knowing when to go, what to pack, and what to expect, it’s time to dive into this comprehensive guide to Mount Storm King at Olympic National Park.
Disclosure: This post contains affiliate links. If you click one of them, I may receive a small commission (for which I am very grateful for) at no extra cost to you.
Olympic National Park
Related Posts
Quick Mt Storm King Hike Info & Stats
Here are all the quick statistics you need to know about the Mount Storm King Trail, from its distance and elevation gain to its difficulty and permit requirements.
- Location: Olympic National Park in Washington
- Distance: 4.1 miles (out-and-back)
- Elevation gain: 2,106 feet
- Difficulty: Hard
- Timing: 2.5 to 3 hours
- Best For: Experienced hikers
- Pets: Dogs are not allowed on this trail
- Permits: You won’t need a hiking permit to enjoy this trail.
- Trail guide: Link
Mount Storm King Trail Map
I highly recommend downloading this map with pointers for each section of the trail to help you during your trip up Mount Storm King.
Mount Storm King Hike Guide | What to Expect
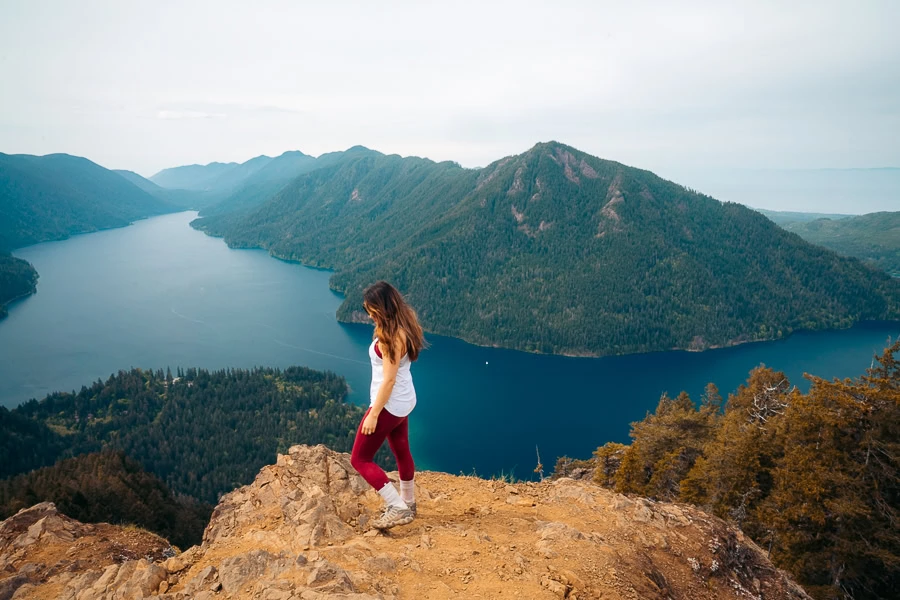
Mount Storm King is undoubtedly one of the best treks in Olympic National Park, but it’s not fit for everyone. With an intense elevation gain of 2,106 feet in just 4.1 miles, it’s a pretty daunting trail to take on.
Add the fact that there are some sections that require ropes to help you scramble up the path, and it’s pretty clear that this hike is for the experienced hiker. Doing some strength training can definitely help you prepare. However, I’d only recommend doing this trail if you are completely confident in your fitness levels.

Top Tip: Hopefully, you won’t need it, but if you do find yourself needing assistance, the Storm King Ranger Station Search and Rescue number is +1 360-928-3380.
Hike From the Mount Storm King Trailhead to Marymere Falls Junction
Before embarking on this epic climb, you’ll need to find parking at the Mount Storm King Ranger Station. As this is a very popular area, the parking tends to fill up very quickly, so it can be challenging to find a parking spot. If there are no spots available near the trailhead, you may need to park in the overflow parking along Barnes Point Road.
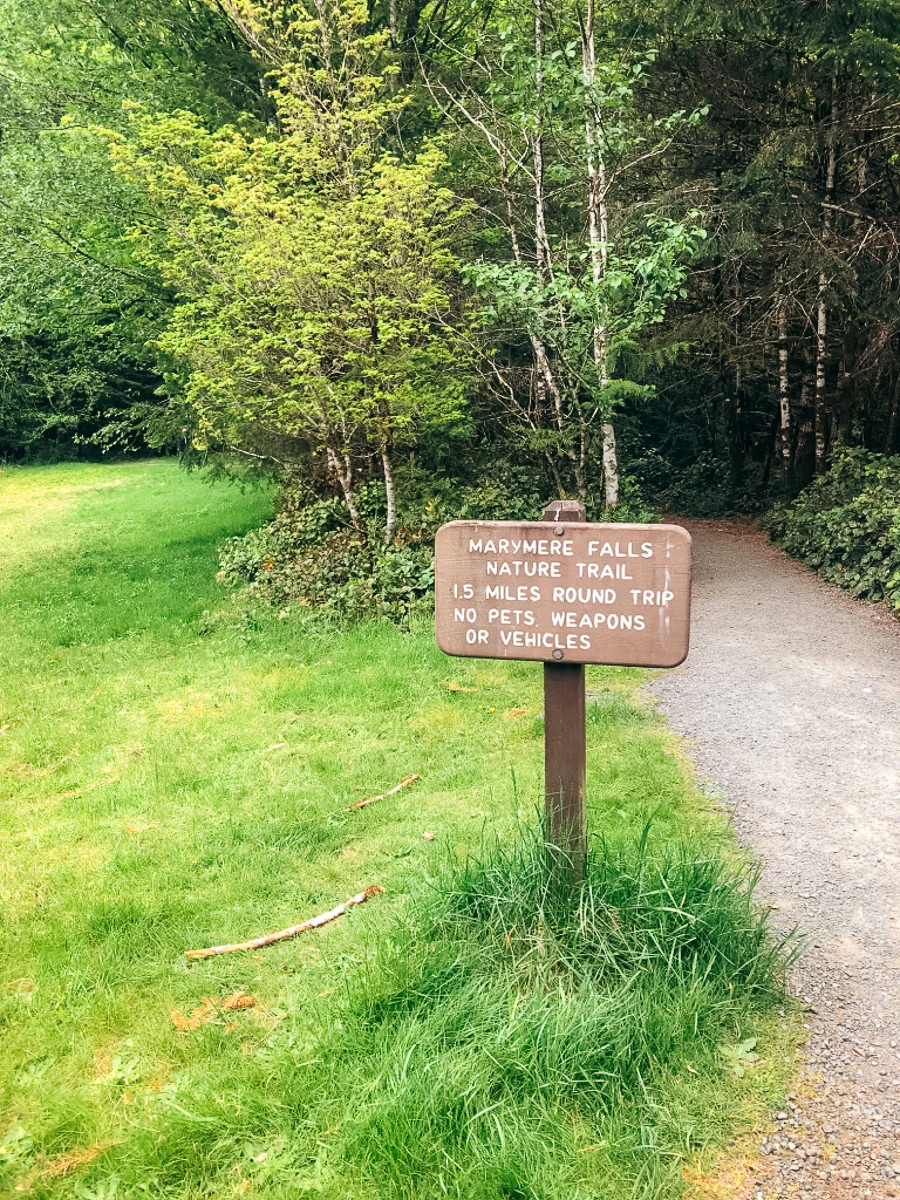
Once you’ve parked and are all ready to get going, the trail begins near the ranger station. For about a half mile, you’ll actually be walking along the Marymere Falls Nature Trail. This first section of the hike has a very gradual incline as you slowly meander through the Daniel J Evans Wilderness towards Barnes Creek.
Once you reach Barnes Creek, there will be a junction. If you go right, you’ll continue along the Marymere Falls Trail toward the iconic waterfall. As such, you’ll want to take the left fork, which merges onto the Storm King Trail.
Top Tip: There are signs at the trailhead and the junction to help direct you in the right direction. So don’t worry; it’s not like you’re blindly walking, hoping you’re on the right trail.
Bonus Tip: Add Marymere Falls to Your Storm King Trek
- Length: 1.7 miles (out-and-back)
- Elevation Gain: 298 feet
- Difficulty: Easy
- Best For: Families
- Trail Guide: Link
From the junction, it’s a short 0.4 more miles until you reach the picturesque Marymere Falls. The hike to the falls is fairly gradual and will add an extra 30 minutes to your trek, but it’s well worth the effort.
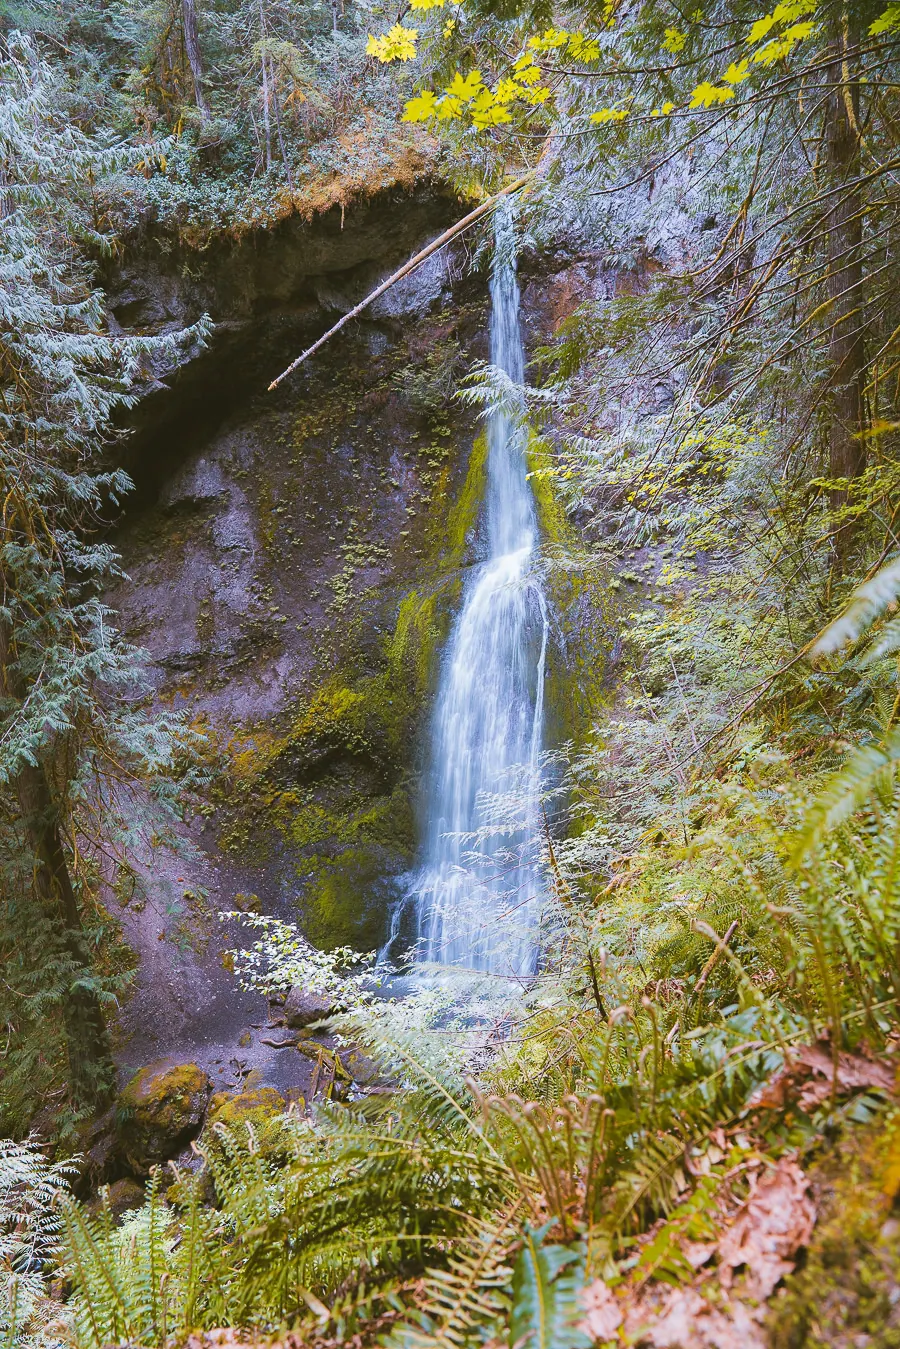
You’ll ebb and flow through lush, temperate forests, with the sound of crashing water getting louder with each step you take. The last section of the trek has a slight incline, but it’s nothing compared to what you’re about to experience on the Storm King Trail.
It’s a welcomed little excursion and easily one of the top things to do in Olympic. So, you may as well include this short hike so you can truly experience Olympic National Park in all its glory.
Download my free Outdoor Photography Guide
Trek Up the Switchbacks in the Forest
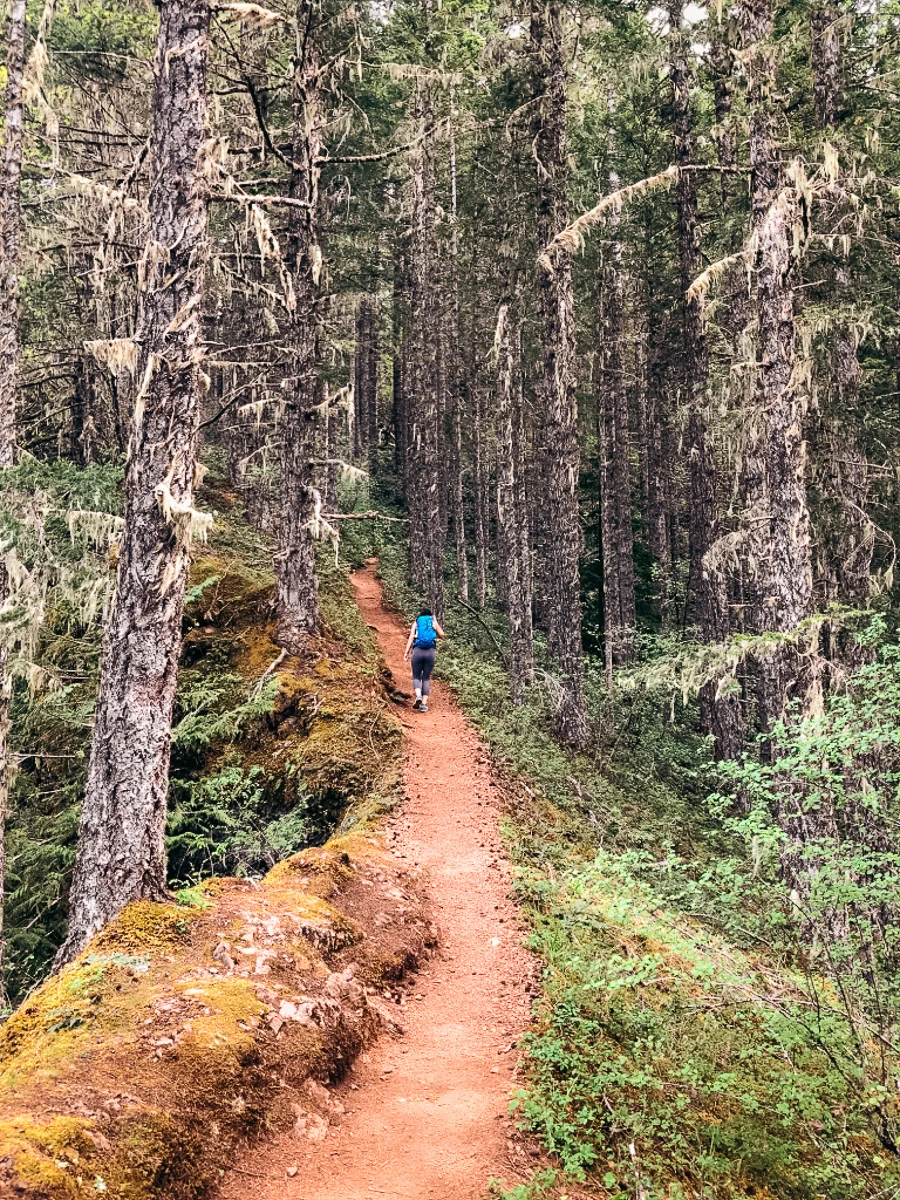
This next section of the trail has the most mileage. It’s also where all the strenuous uphill hiking begins (an elevation gain of 1,630 feet), and it doesn’t let up until you reach the summit. So be prepared for some burning thighs.
Fortunately, there is plenty of coverage thanks to the beautiful Madrona Trees that make up this part of the park. You’ll notice that this section of the trail has switchback after switchback. There are actually 12 sharp turns along this part of the trek, which does make the hike a bit more gradual — albeit ever so slightly.
Make sure you rest whenever you feel the need. There’s no point in pushing yourself to the edge, especially when you consider how intense this route is.
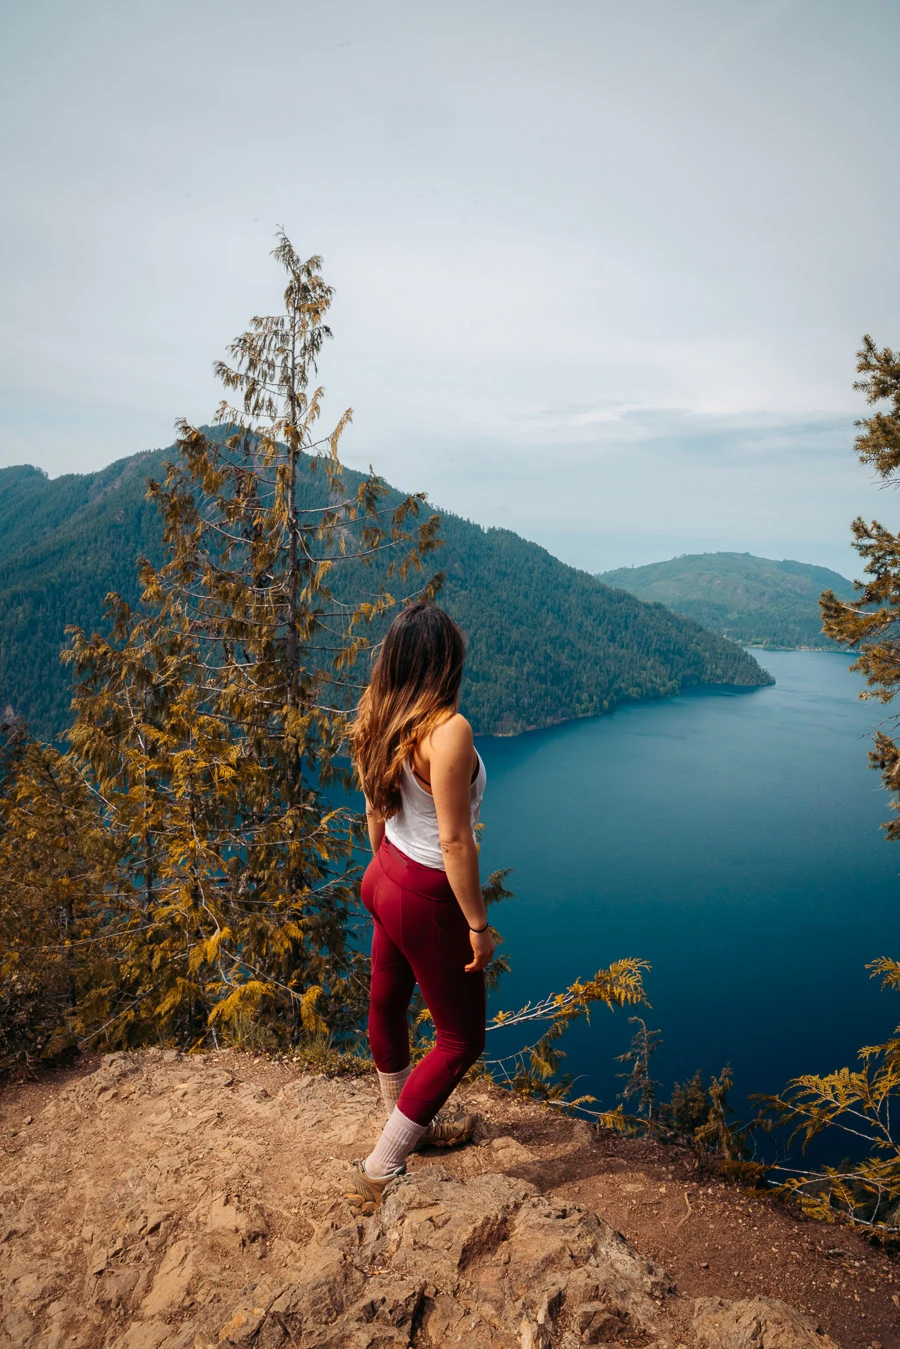
Roughly 1.6 miles into the arduous climb, you’ll find a fantastic viewpoint of Lake Crescent. Many hikers opt to end their trek here, as it offers stunning views of the surrounding wilderness without having to do the rope climb.
I’d still highly recommend you continue on if you have the energy, though, as the vistas from the top of Mount Storm King are truly unmatched. From the viewpoint of Lake Crescent, it’s just another third of a mile before you reach the rope section.
Climb Up the Rope Section

Technically the first rope is where the trail ends — or at least the maintained trail, that is. This is where the steep hike gets even steeper, as you’ll need to pull yourself up using the ropes to prevent you from slipping and falling.
There are six rope sections you’ll need to drag yourself up, each offering its own level of difficulty. If you don’t feel comfortable pulling yourself up the mountainside like this, it may be best to end your trek back at the maintained trail’s end.
As this part of the trail isn’t maintained, it is fairly uneven, so be careful where you step. It can also get really muddy during the rainy season, so wearing hiking shoes with great grip is essential.
The ropes section also has little to no cover, so make sure you apply another layer of sunscreen before taking on this part of the trail. It may be steep and require a lot of core, arm, and leg strength, but once you reach the end of the sixth rope, it’ll all be worth it.
Reach Mount Storm King’s Summit
The final push of this epic trek is a short rock climb to the top. Some say it’s scarier than the rope section, which is understandable. But if you take it slow and ensure your footing is sound, this will be a very quick and easy scramble to the summit.
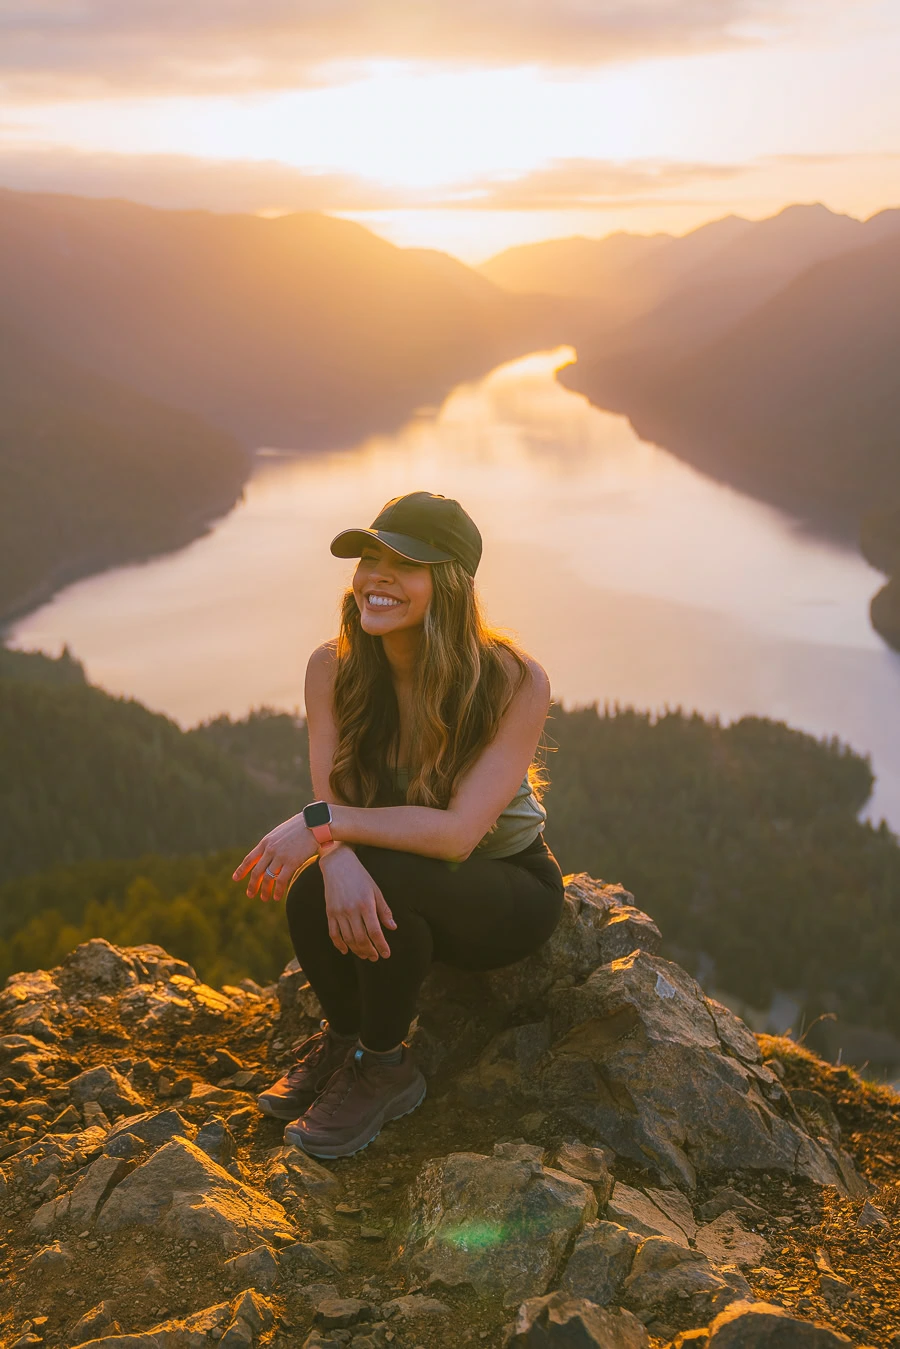
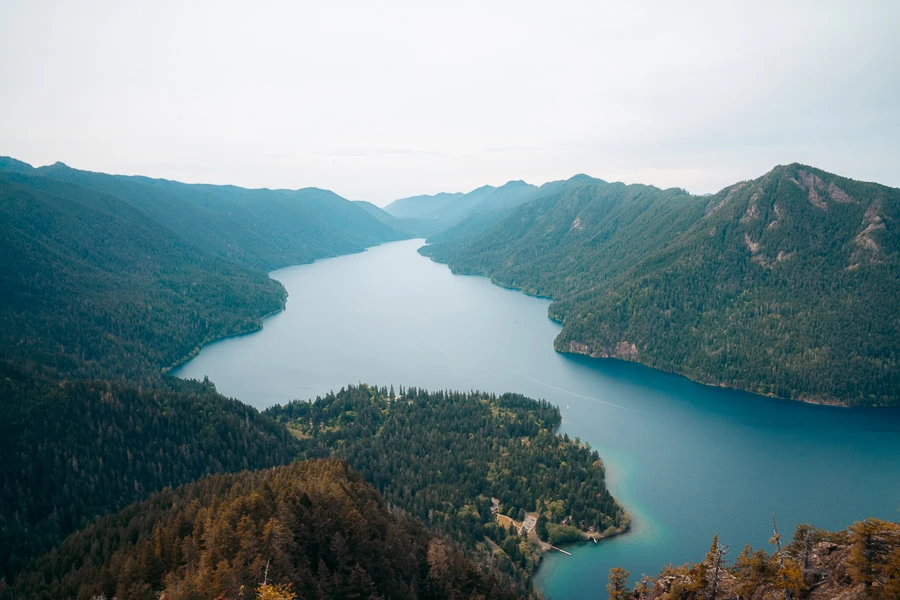
Once at the top, you’ll be blessed with absolutely breathtaking views that are truly incomparable. With the glistening Lake Crescent below and Pyramid Mountain in the distance, there are few views as picturesque as this.
On a clear day, you may even be able to see the Pacific Ocean in the distance. This can create a stunning optical illusion, making the stretch of land between the lake and the sea almost look like an island.
Just note that if you decide to arrive early, you may encounter other hikers going in the opposite direction as you are on the way down. This isn’t an issue, though. Just be courteous and make way for one another. This is especially the case during the rope section, where you may need to wait a bit as others scramble up.
Top Tip: If you want to snap an epic photo at the summit, there’s a rocky area with a large boulder jutting out of the ground. Standing atop this boulder is a surefire way to get your next Instagram-worthy pic.
How to Get to the Mt Storm King Trail at Olympic National Park

If you’re a Seattleite like myself, then getting to Mount Storm King can be fairly easy. For those flying into Washington to explore Olympic National Park, it’s best to fly to the Seattle-Tacoma International Airport (SEA) and rent a car from there.
Now, there are three different ways to travel from Seattle to Olympic National Park. All the routes have a similar travel time, taking around 3 and a half hours to complete.
Route One: The quickest and most direct route is via the ferry from Seattle to Bainbridge Island. You’ll then drive along the WA-305 before merging onto the WA-3. After that, take a turn left on the WA-104, which you’ll follow, and merge onto the WA-101 all the way to Port Angeles. You’ll cover around 102 miles taking this route.
Route Two: Heading north to Edmonds, you’ll take the ferry to Kingston. It’s then a direct drive along WA-104 until you merge with WA-101, which’ll take you all the way to Port Angeles. Route Two is around 103 miles, which is very similar to Route One.
Route Three: To avoid ferries altogether, you can drive along the I-5 to Tacoma. From Tacoma, you’ll go along the WA-16 and WA-3 before merging onto the WA-104. Then, drive along the WA-104, connecting to the WA-101 before reaching Port Angeles. This option takes the longest to complete and covers the most mileage (around 199 miles).
Note: Taking the ferry is far quicker than driving the entire way, but it is slightly pricier. You can see ferry prices here.
Getting to Mount Storm King From Port Angeles
After reaching Port Angeles, it’s a short half-hour drive to the Mount Storm King Trailhead. You’ll travel along the US-101 westbound for around 18 miles before reaching the Storm King Ranger Station. There’s a parking lot near the ranger station, but if that is full, look to go park at the overflow section along Barnes Point Road.
Before you embark on your epic trek, I highly recommend you stop at the Lake Crescent Pier. It’s a truly magical spot to snap some amazing photos, where you’ll be able to see a kaleidoscopic array of blues along the lake’s shore.
Download my Washington Hiking Checklist!
Things to Know Before You Go Hike Mount Storm King
As this is such a challenging trail, there are a few important things to note for your safety:
- Park Permits — You will need to pay the $30 per vehicle entrance fee for Olympic National Park. The permits last for 7 days, so you can still explore the rest of the park for a couple of days after your hike. Alternatively, you can gain free entry to the park with your America the Beautiful Pass.
- Weather — The weather can change quickly at Olympic National Park due to its proximity to the coast. As such, it’s best to check in on the weather before hiking the trail. Using a website like WeatherSpark can help you plan ahead.
- National Park Service — While Olympic National Park will always try to assist hikers where possible, its rescue services are not always in full swing. As such, having the contact details for a nonprofit organization like Olympic Mountain Rescue could be a lifesaver.
- Animal Safety — There are black bears in Olympic National Park, but bear attacks are very rare. Therefore, it’s best to follow these wildlife safety tips to help keep yourself and the precious animals out of harm’s way.
- Trail Conditions — While the trail is open year-round, it’s not always safe to hike. Ice, sleet, and rain can make it slippery and dangerous. So, it’s best to keep up-to-date with the trail conditions on the NPS website.
- Leave-No-Trace — Olympic National Park is a beautiful part of the world that we want to be available for generations to come. Do your part in preserving the park’s ecosystem by practicing the 7 leave-no-trace principles.
Best Time to Hike Mount Storm King

As a local, I’ve visited the park several times and can say, without a doubt, that summer (June to August) is the best time to hike Mount Storm King. With low levels of rainfall, bustling wildlife, and great trail conditions, it’s difficult to find a bad thing to say about Mount Storm King in summer.
Not everyone has the luxury of visiting in summer, though. Let’s have a look at each season so you know what to expect.
PS: Much like hiking Mount Storm King, summer is easily the best time to visit Olympic National Park in general.
Hiking Mount Storm King in Spring
Spring, between March and May, isn’t the best time of year to hike this trail. With highs hitting around 63°F (17°C) and lows reaching 37°F (3°C) it’s slightly chilly. That said, the expected rainfall decreases with each passing day, so you’re almost guaranteed some sunny days.
Despite the cool temperatures, the spring wildflowers do start shooting up around April, making it a truly magnificent time of year to hike this trail. The trail can be slightly dangerous in spring, though, as the winter snow melts and rainfall causes the trail to be slippery.
If you plan on hiking in spring, May is definitely the best month to do so.
PS: Spring is also a great time to try out some of Washington’s other hikes in and around the region.
Hiking Mount Storm King in Summer
Not only does summer have the lowest average rainfall for the year, but it’s also the warmest time of year to take on this trek. With the coolest temperature reaching around 48°F (9°C) and highs soaring to 71°F (21°C), it’s a great time of year to go on this day hike.
It’s also the time of year when the entire park is in full swing, so you can expect plenty of visitors and full access to the park.
The first section of the trail can become a popular hike due to the increased number of people visiting Mount Storm King and Marymere Falls. The trail is busiest in June and July, so your best bet at avoiding loads of crowds is in August.
Hiking Mount Storm King in the Fall
The expected rainfall gradually increases throughout the fall (September to November), so it’s the most ideal time to hike. That said, early fall is probably the second best time to hike Mount Storm King, with most of the trail still being fairly dry.
The temperature’s range from 47°F and 69°F (8°C to 20°C), so it’s still relatively warm. You can expect some pretty chilly afternoon breezes, though, which means a warm wind resistant jacket is a must.
Top Tip: If you’re looking for more fall inspiration, check out these Washington fall hikes that are sure to make your bucket list.
Hiking Mount Storm King in Winter
I hate to say it, but winter is easily the worst time to hike Mount Storm King. With highs of 44°F (6°C) and lows dropping to 35°F (1°C), the temperatures alone are enough to make your bones feel frozen.
Pair that with the fact that winter has the highest amount of rainfall of any of the seasons, and it’s bound to be a frigid affair. You’ll be hiking this trail at your own risk, with sloshy, slippery conditions almost being a given. Walking sticks or trekking poles may not even be enough to keep you sliding all over the place.
Suffice it to say, there are definitely better and much safer winter hikes in Washington State. So, you may be better off leaving Mount Storm King off your to-do list between December and February.
Best Time of Day to Hike Mount Storm King

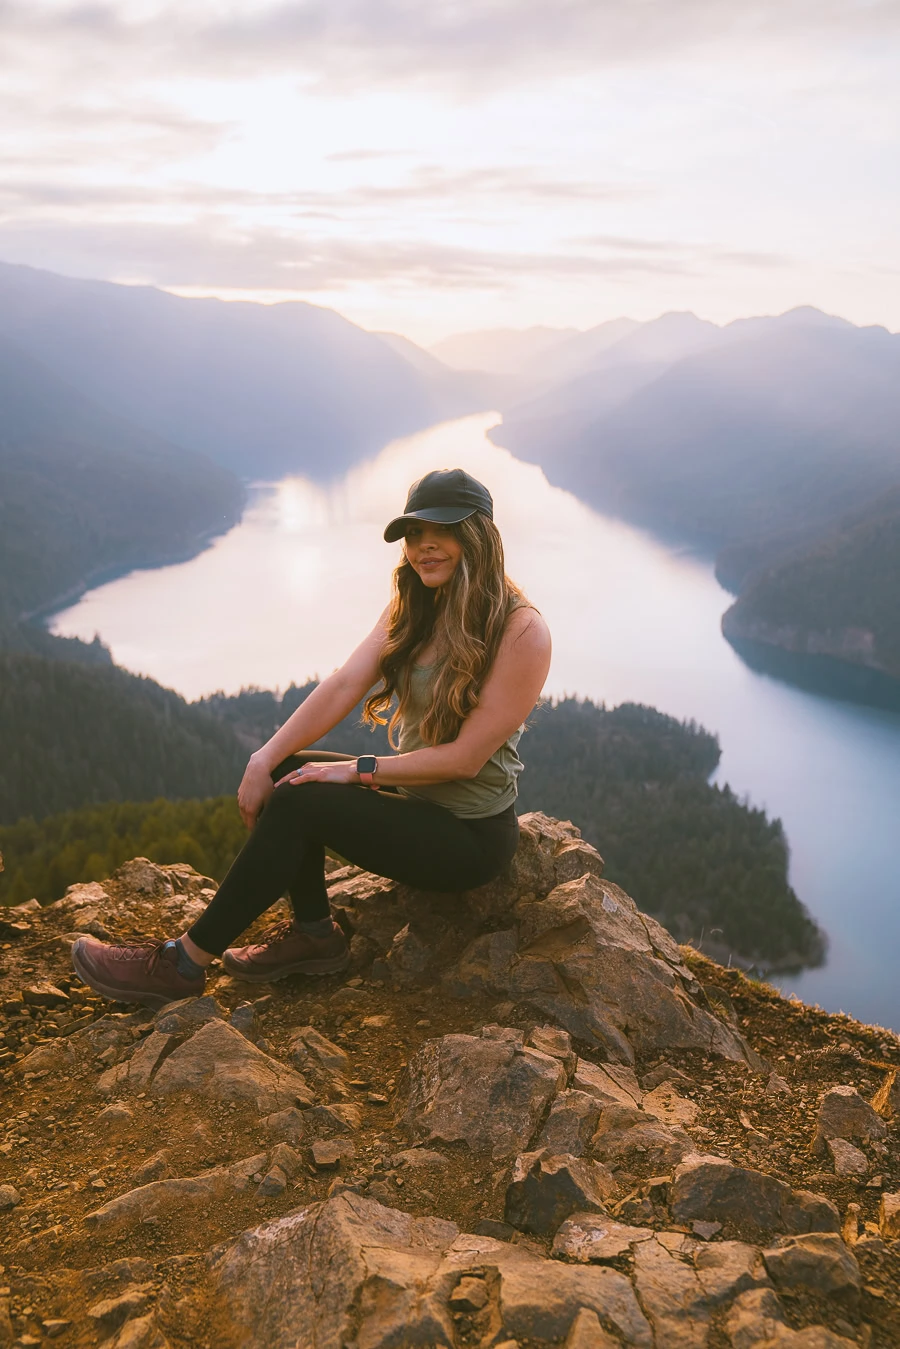
I’ve been fortunate enough to hike Mount Storm King twice — once at midday and once at sunset.
Each time has its perks, but if you had to ask me, sunset is definitely the ultimate time to take on this great adventure. From the fiery, sun-lit sky dancing in a myriad of reds, pinks, and purples to the reflective beauty of Lake Crescent, sunset has it all.
It will mean your descent is in darkness, so a headlamp is very much necessary. If you don’t feel confident hiking in the dark, a midday trek is still a great option. The view points are just as grand and you’ll be able to hike back to the trailhead without worrying about your next step.
If you do visit at midday, aim to get an early start. The parking lot fills up a lot quicker than you may think, and you’d rather be walking down the mountain in the midday heat than up it.
All the best views in the state
100+ WA Hikes
Embark on Washington’s best trails with our eBook! Inside, find top hikes, expert tips, and stunning views, making every adventure unforgettable. Dive into the beauty of Washington’s outdoors now!
What to Pack for the Mount Storm King Trail
Seeing as Mt. Storm King is such a tricky hike, there are a few essentials you have to pack for the trip.
- Hiking Poles — With the high elevation gain of this trail, getting some trekking poles can come in handy. >>>Get This Pair
- Climbing Gloves — The rope sections can be tough on your hands. To avoid rope burn, bring your own gloves. >>>Buy These Gloves
- Hiking Shoes — A quality pair of hiking shoes with a good grip is a must, considering how slippery and muddy the trail can get in the rainy season. >>>View These Boots
- Backpack — Bring a backpack that has space for your extra layers, gloves, snacks, and trekking poles. >>>Get This Backpack
- Sunscreen — You’ll want to reapply sunscreen a couple of times during the trek, so be sure to pack your bottle. >>>Check Out This Sunscreen
- Sunhat — Although there’s plenty of shade for most of the hike, the last section has little to no shade, so a sunhat is a must. >>>Get This Cap
- Layers — You’ll be chilly when you start your ascent and get warmer as you make your way up. So, wearing layers is a great way to ensure you don’t overheat or get too cold.
- First-Aid Kit — As this can be a fairly dangerous route, bringing a first-aid kit is always a good idea. >>>Buy This First-Aid Kit
- Water Bottle — Bringing a hydro flask that keeps your water ice-cold and refreshing can be a great addition to your bag of goodies. >>>Check Out This Bottle
- National Geographic Mount Rainier Map: Check out the National Geographic Olympic National Park Map on Amazon to help guide your way through the park and stay on track during your adventure.
- America the Beautiful Pass: If you don’t already have it, consider grabbing the America the Beautiful Pass to access all national parks and federal recreational lands for one fee.
- Headlamp — If you hike the trail at sunset, you’ll need a powerful torch to help guide you back home. >>>Get This Headlamp
Top Tip: For even more details on what to bring, check out this day hiking gear list.
Where to Stay Near Mount Storm King
Knowing where to stay in Olympic National Park for your Mount Storm King hike is more important than you might think. The last thing you want is to drive three hours back to Seattle after a long, difficult hike.
Luckily, Port Angeles is just half an hour from the trailhead, so you don’t have to go far to find great lodging nearby.
Budget | Aircrest Motel
For affordable accommodation that caters to large groups of up to six hikers, look no further than Aircrest Motel. Resting quietly alongside Front Street, this is a sleepy little motel offering a comfortable stay with spacious rooms.
Although each room has its own quirky finishes, all the options come with a flat-screen TV, desk, plush bedding, and a private bathroom. You’ll even have a mini fridge for storing your midhike snacks.
The amenities may be pretty basic, but you’ll have access to everything you may need. And if you’re feeling peckish after (or before) your hike, the nearby restaurants, like the Chestnut Cottage or Tendy’s Garden, are sure to fill you up. >>>Check Availability
Mid-Range | Lake Crescent Lodge
If you want uninterrupted views of Lake Crescent and the shortest travel time to the Mount Storm King trailhead, Lake Crescent Lodge is the place for you. Each room offers either stunning garden views or picturesque lakeside vistas, so you’re bound to have a relaxing stay no matter the room.
To make things even better, you can tuck into some delicious All-American cuisine at the on-site Singer Tavern. The restaurant also offers magnificent lakeside views with the Olympic Mountains in the background.
As for the rooms themselves, they have everything you could possibly need, from soft linen to complimentary toiletries. They even offer electric vehicle charging stations for those visiting with an EV. >>>Check Availability
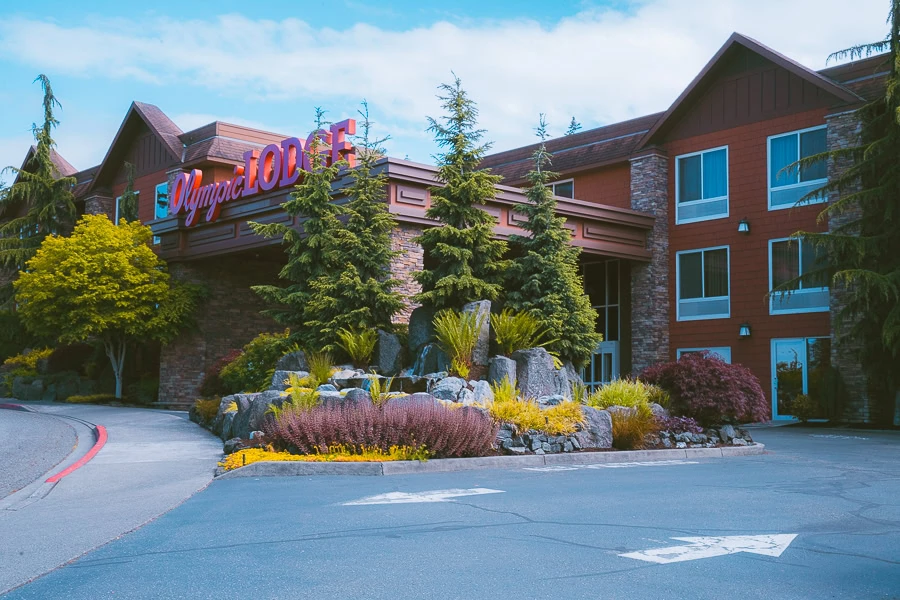
Luxury | Olympic Lodge by Ayres
If it’s luxury you seek, you’ll find the best of both worlds at the Olympic Lodge. With Pacific Ocean views to the north and vistas of the Olympic Mountains in the opposite direction, the views alone are worth booking a room here.
The rooms are truly larger than life, offering floor-to-ceiling windows so the great outdoors look no more than a few steps away. Add the finer touches like a coffee machine and hairdryer into the mix, and you’re in for an opulent stay.
The on-site restaurant and wellness spa add even more reasons to consider booking a stay here. And if that wasn’t enough, the outdoor heated pool turns those chilly evenings into a lovely way to end the day. >>>Check Availability
Camping | Fairholme Campground
For all my fellow backpackers and camp lovers, your best bet is to book a spot at the Fairholme Campground. With 84 campsites to pick from and mesmerizing views of Lake Crescent on offer, it’s difficult to see why someone would say no to camping here.
While all the campsites are non-electric, there are a plethora of other amenities to look forward to. You can make the most of the flush toilets, fire pits, picnic tables, drinking water, boat ramps, and fishing docks, just to name a few.
If you need any more convincing, the campsites are a short 12-minute drive from the Storm King Ranger Station. Could you ask for much more in a campsite? >>>Check Availability
new on the shop
The Ultimate Camping Trip Planner!
Our camping trip planner helps you stay organized and plan all aspects of your adventure so that you can conquer new territories with ease.
FAQs About Mount Storm King in Washington

You may still have some questions at the back of your mind about this hike in one of Washington State’s stunning parks. To put your mind at ease, here are some quick answers to the most asked questions.
Is the Storm King Ranger Station Open?
The ranger station stays open from April until September each year. Their general operating hours are from 9:00 am to 5:00 pm. If you visit the park when the station is closed, be sure to go to the park’s visitor center before heading out.
Can I Hike Beyond the Maintained Trail?
Yes, you can. The trail naturally continues beyond the maintained trail, as this is where the rope section begins. Many climbers turn around at this point, as the last stretch is very daunting.
If you don’t feel comfortable continuing, please rather stay safe and turn around.
Where Is the Best Place to View Crescent Lake During the Hike?
The best place is definitely at the summit. If you don’t feel confident going all the way to the top, then the second best viewpoint is around 1.6 miles into the hike, at the last switchback.
Is Mount Storm King Safe to Hike?
This really is down to how you feel, your experience, and your fitness level. All the way up until the unmaintained section of the trail, it is very safe, and there’s little chance you can injure yourself.
From the ropes, it can be somewhat dangerous. However, if you are a cautious and experienced hiker, it shouldn’t be too challenging. The important thing is to know your limits and not push yourself into doing the section of the hike you don’t feel confident in doing.
Final Thoughts on the Mount Storm King Hiking Trail
Now you know exactly what to expect from the incredibly rewarding Mount Storm King Hike. It truly is one of the best treks in the park — especially if you’re an experienced hiker.
Just remember that not completing the entire trail doesn’t make you a failure. Only hike to where you feel confident, and remember to enjoy every minute of your walk through the Olympic Mountains.
Until next time, stay safe and happy hiking!
PS: If you’re a Seattleite looking to expand your knowledge on all things hiking, my Washington hiking book is a great resource.