12 Great Tips On Biking Going To The Sun Road In Glacier National Park
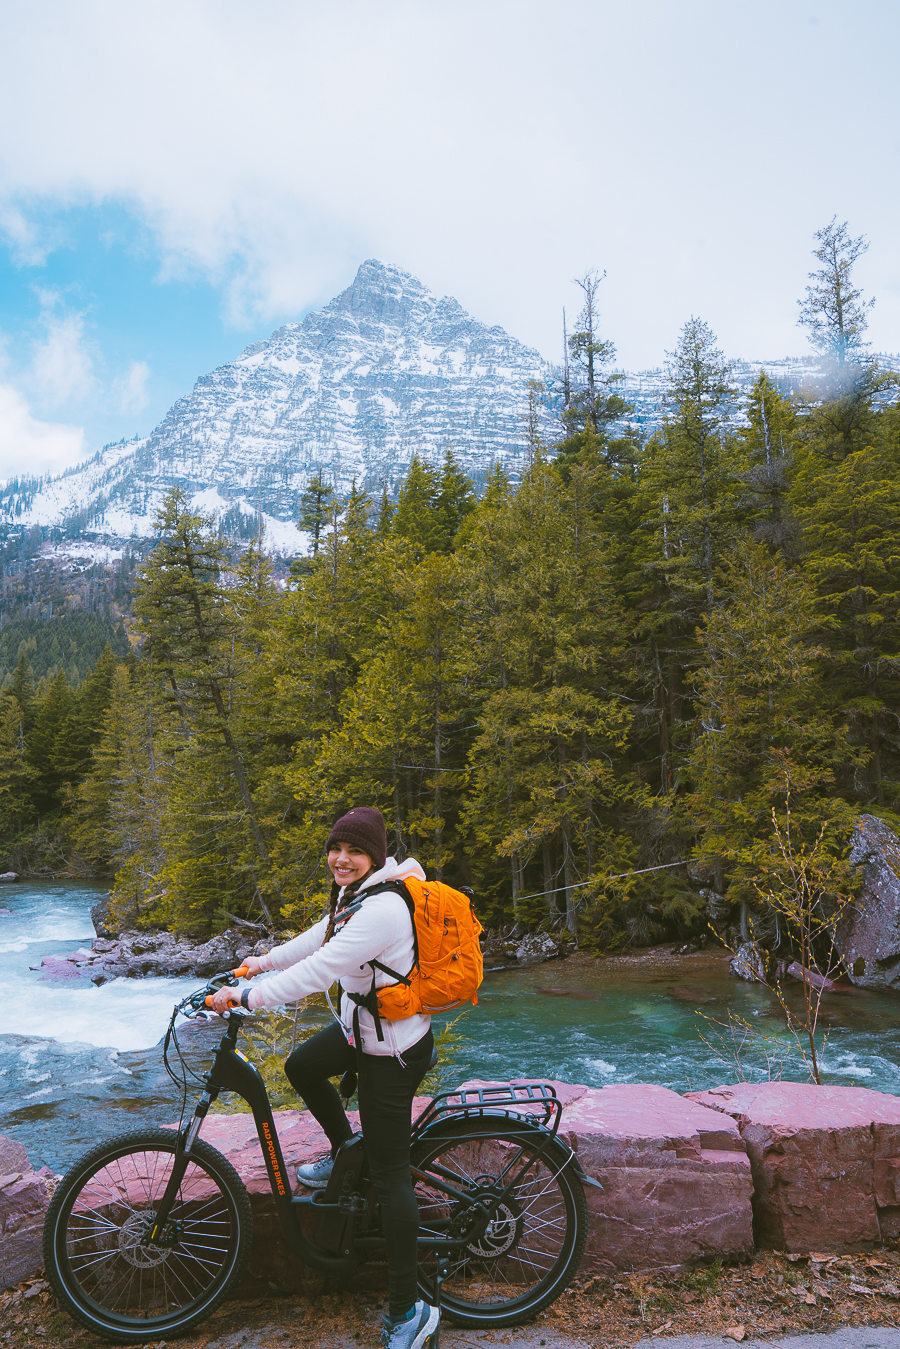
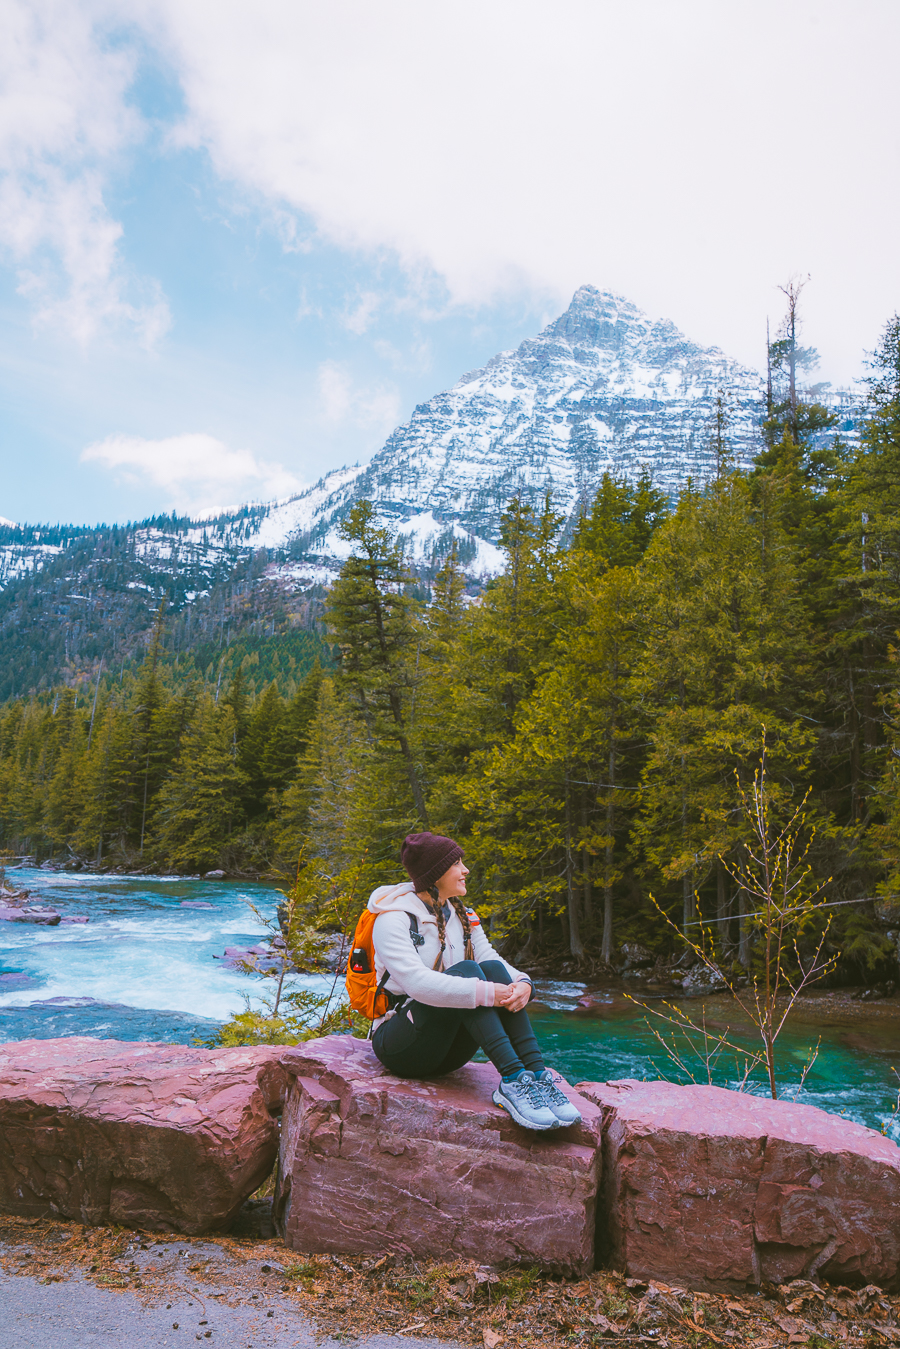
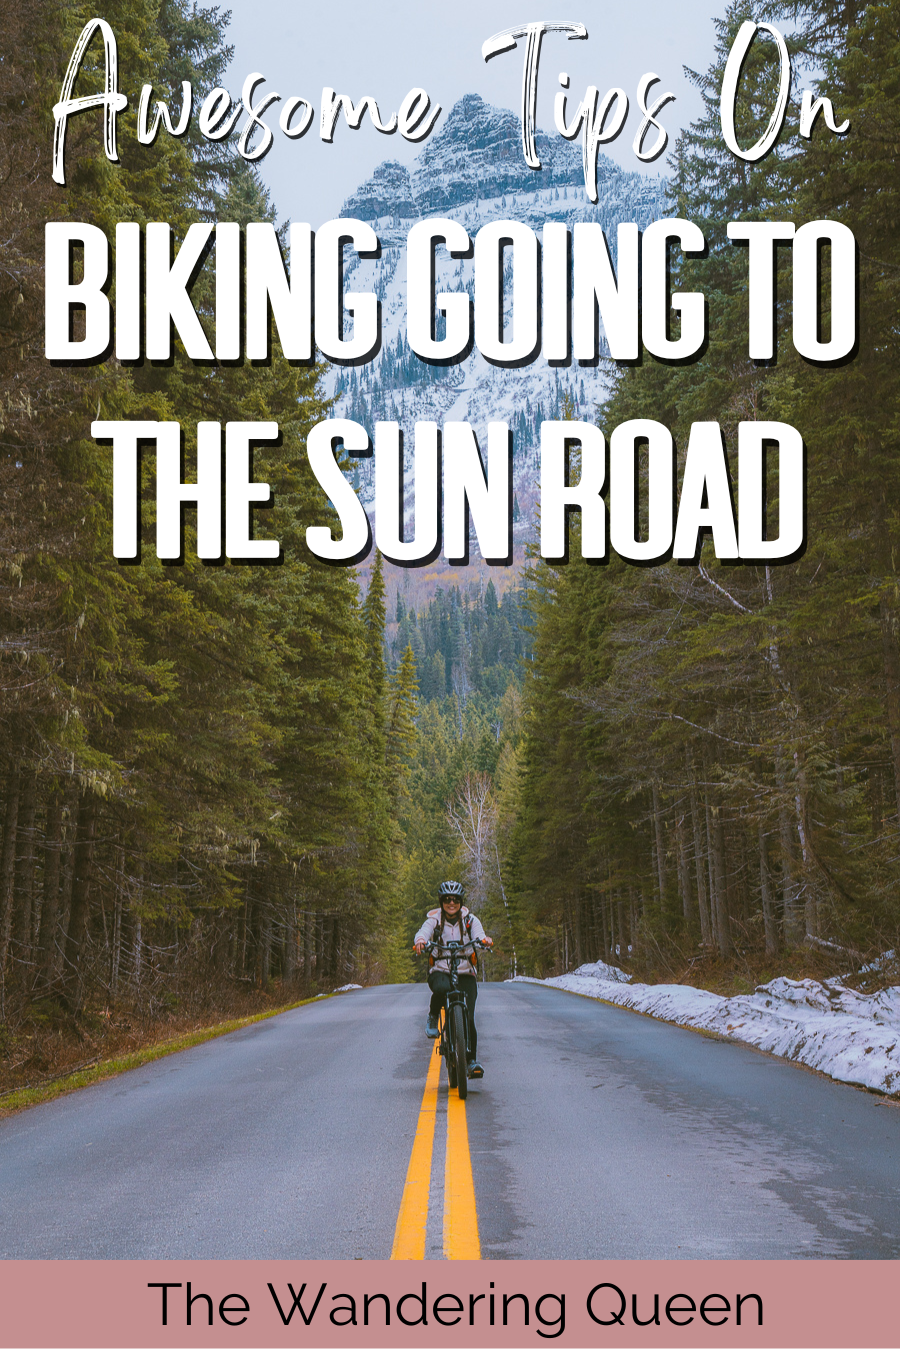
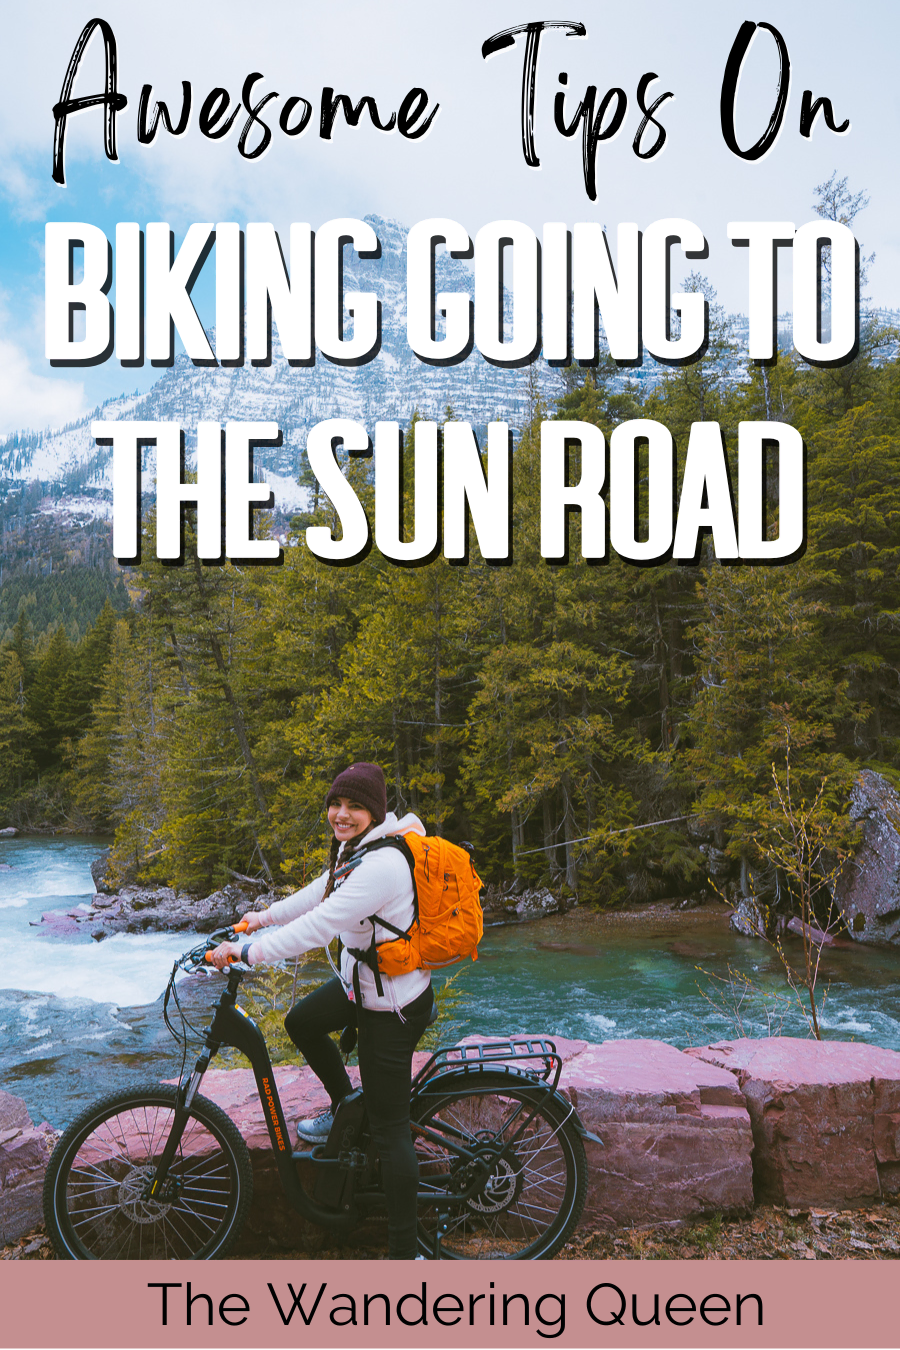
One of the most underrated activities I have ever done at a national park was biking Going To The Sun Road. Since you are riding a bike, you get 360-degree views of the fantastic mountains, and you can stop whenever you want to take incredible photos. This is not possible when you are driving Going To The Sun Road! The crowds are gone, and you get epic shots of yourself and the one-of-the-kind Glacier National Park Mountains. Biking Glacier National Park has become one of my favorite memories at a national park, and I hope you can also experience it. You can only have this outstanding experience during certain times of the year, but don’t worry; I will discuss this below. I have maps, tips, what to pack, and much more!
Disclosure: This post contains affiliate links. If you click one of them, I may receive a small commission (for which I am very grateful for) at no extra cost to you.
Glacier National Park
Related Posts
Biking Going To The Sun Road
About
Going To The Sun Road is a fun experience that should be on everyone’s bucket list. The Going To The Sun Road is a world-famous road that runs through Glacier National Park from West to East. Before I went to this park, I was not sure what the big deal was, and I had heard so much about this road but did not understand what it was all about. That was until I finally drove on it…
This long windy road has amazing epic views that make you want to stop your car and take photos. Of course, you cannot do that, or you will create a traffic jam. I also want to note that this road is only open for a few months out of the year. Since the elevation is so high, this road is usually under snow, so the summer months bring in HUGE crowds.
This is why it is best to bike this road with no cars. You can experience this during certain times of the year, and I discuss all of this below. Having experienced both the drive and the bike, I will say that I enjoyed the bike ride a lot more. Being able to have the freedom to stop where I wanted was such a great adventure. Plus, riding an e-bike was so much easier than I thought it was going to be.
The only downside about going in the Spring is that there are fewer trails to hike.
Read More: 20 Best Hikes in Glacier National Park: Trails You’ll Love
Where is Glacier National Park And How To Get There
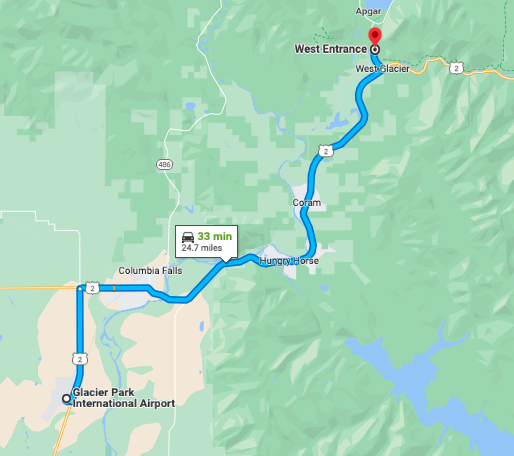
The best way to get to Glacier National Park is to fly into Glacier Park International Airpot, which is located in Kalispell, Montana, and then rent a car and drive to the park. The west park entrance is located 25 miles away.
Map Of Going To The Sun Road
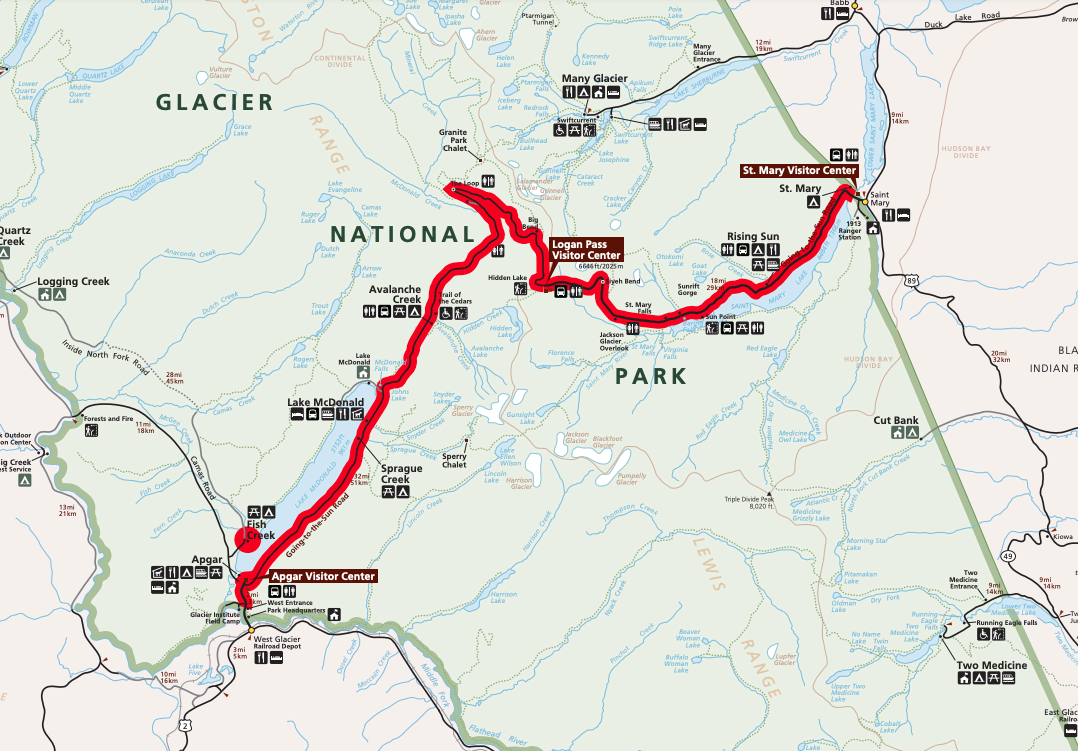
In the above map, you can see the Going To The Sun Road in red which stretches from the west side of the national park to the east side. The sections of the park you will bike all depend on how much snow there will be on the road.
For example, we parked and biked from Avalanche Creek to The Loop, but the week before, Avalanche Creek was not open to cars. It all just depends on the weather and the amount of snow. You can check the road status here.
Pro Tip: Before or after your trip, check out the Apgar Visitor Center. This is a great spot to experience Lake McDonald.
Going To The Sun Road Elevation Gain and Mileage
The Going To The Sun Road is around 50 miles from the west to the east and has an elevation gain of 6,466 ft. You might not be biking all of this mileage and elevation.
As mentioned in the previous section, we were dropped off in the Avalanche Creek area and biked up to the Loop. We could not get to Logan Pass due to avalanche danger, the highest point of the road.
The elevation gain is still pretty intense, so I recommend bringing an E-Bike if you can. Even though we did not get a chance to see the highest point, I still had a fantastic time.
Where To Start
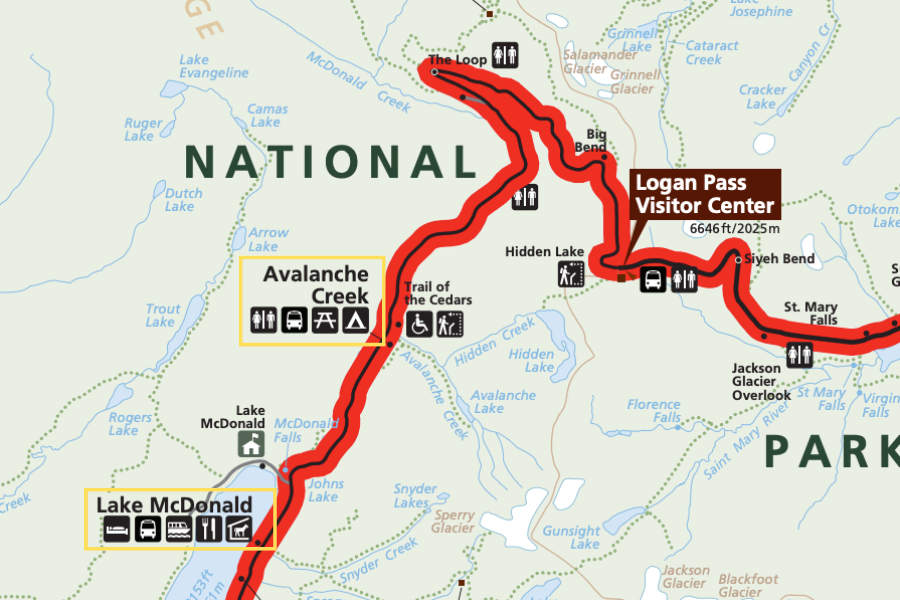
If you are taking a tour (more on this later), then you do not need to worry about this. But if you are driving there yourself, you will need to know where to park your car. The two spots where you park your car on the west side are Avalanche Creek and Lake McDonald Lodge (shown in the above map in yellow). It all depends on what area the NPS decides to open. It might get packed, so get there early for a parking spot.
Also, biking takes a lot longer than you would think. We stopped so many times to take photos and took our time, so you want to get there early to enjoy it to its fullest.
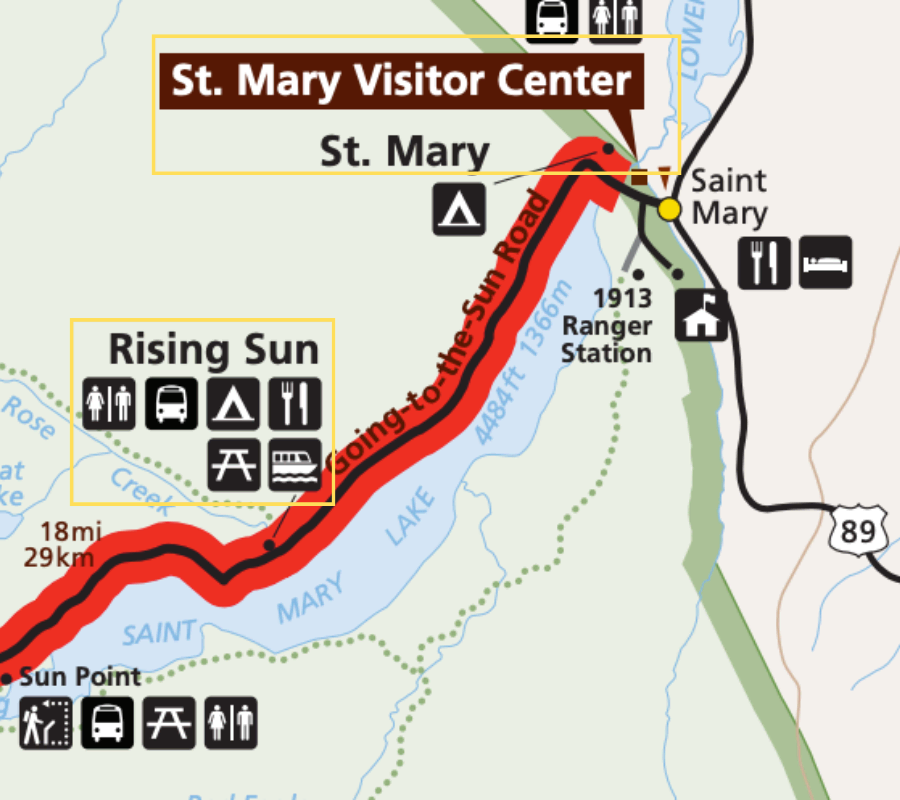
Most people bike from the west side, but not everyone does. On the east side, car access ends at either St. Mary or Rising Sun.
Best Time To Go
There are only a few months out of the year where you can avoid the hoards of cars and have this fantastic road with relatively no crowds. The months are in May and June. It all depends on when the Going To The Sun Road fully opens. You can check road status here as well as plow locations here. The road usually is fully open from the end to mid-June. Although there have been some odd years, the road is not open till mid-July, which happened this year (2022).
Download my free Outdoor Photography Guide
Where To Stay
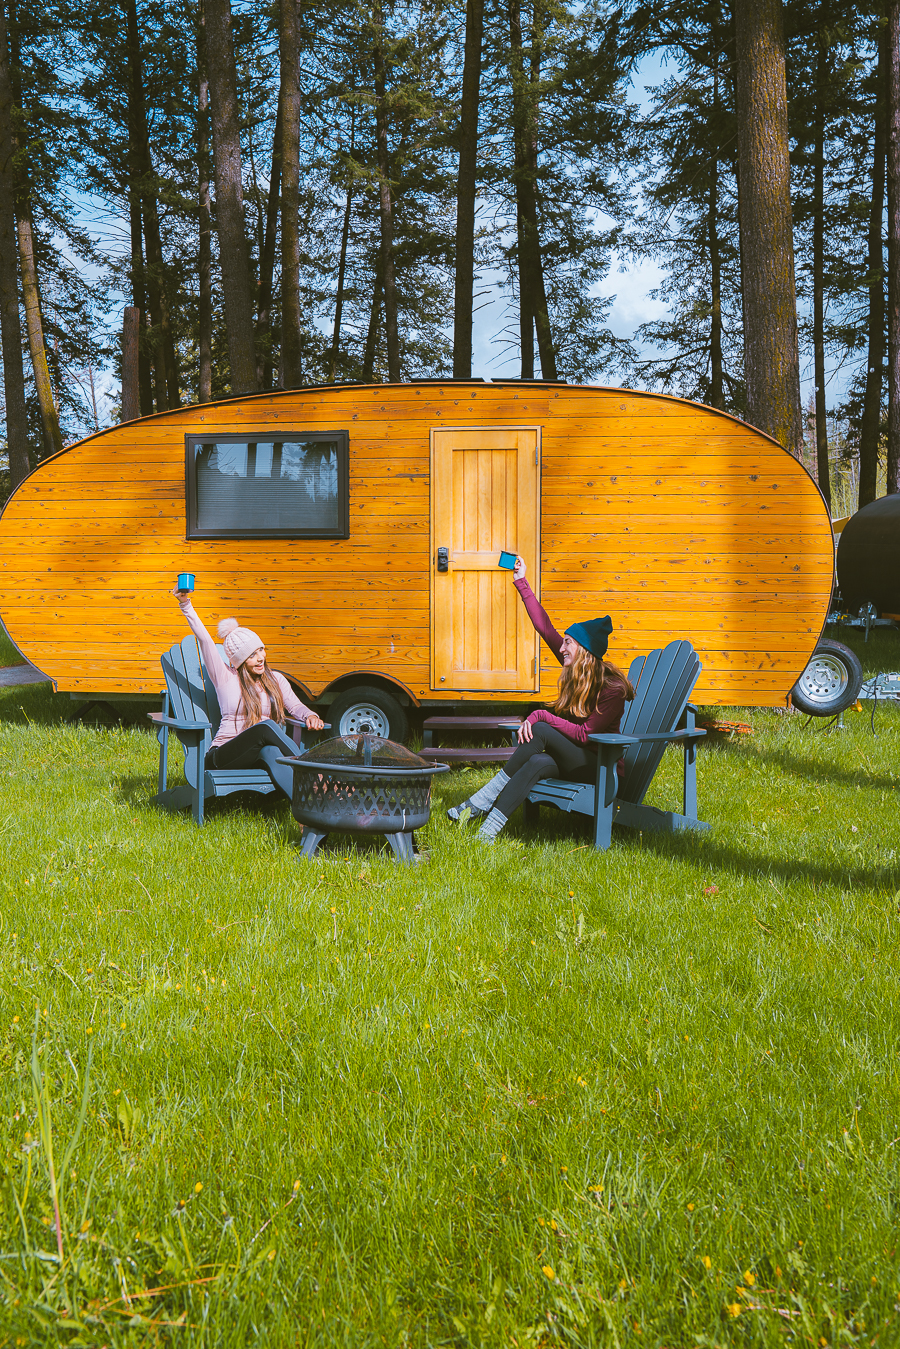
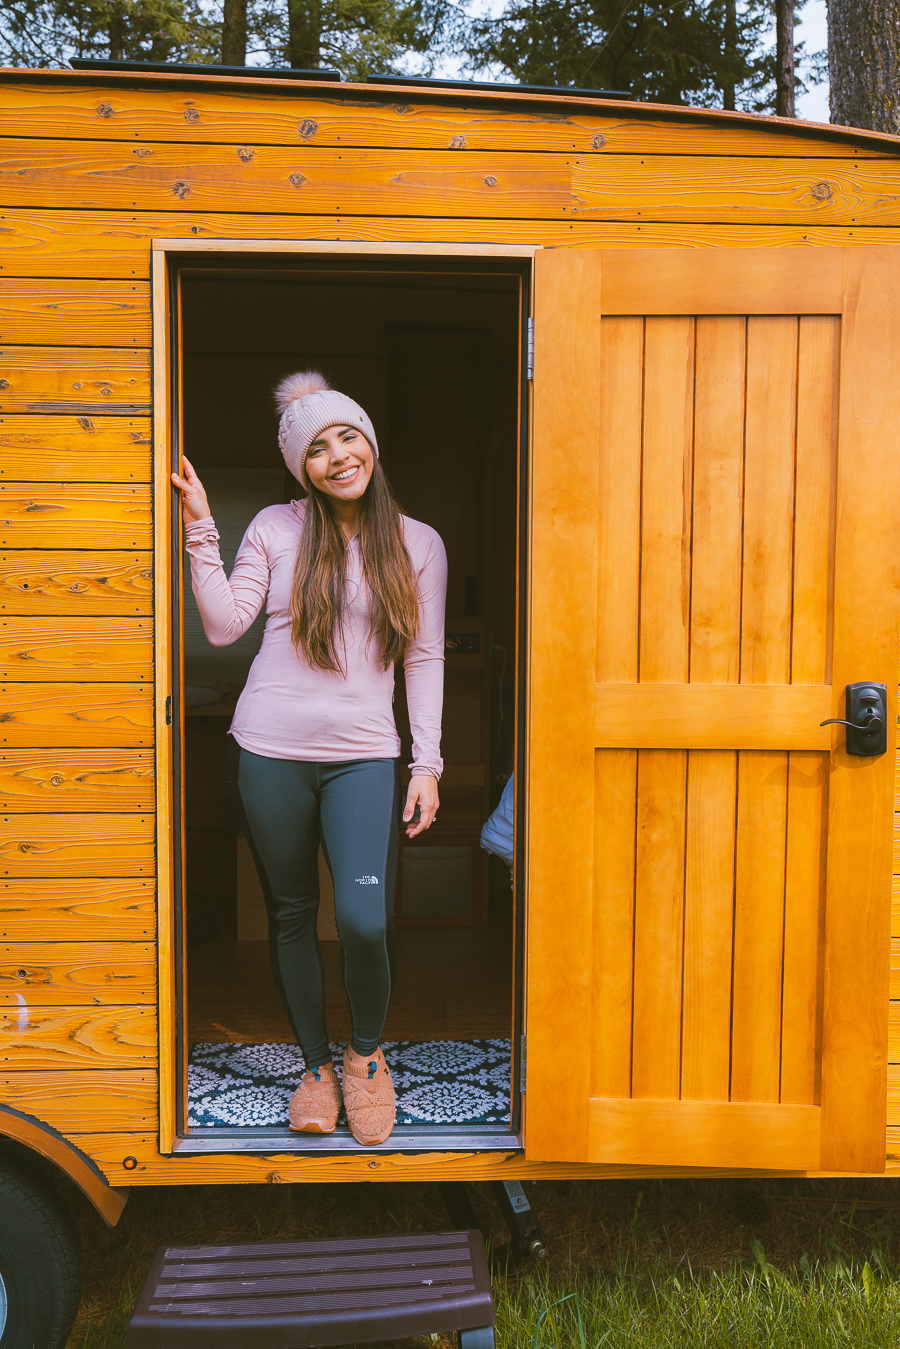
When I went to Glacier National Park, I stayed in the Roam Beyond cabin. I enjoyed my time here and loved the facilities, employees, and cute cabin. You can book your stay here.
When I went with Roam Beyond, they offered a package deal for the Going To The Sun cycling trip. It included food, the stay, transportation, and the bike. You can learn about this amazing package here, and even get 10% off using QUEEN10.
Read More: Where to Stay in Glacier National Park | 14 Best Hotels & Lodges
Glacier National Park Bike Rental
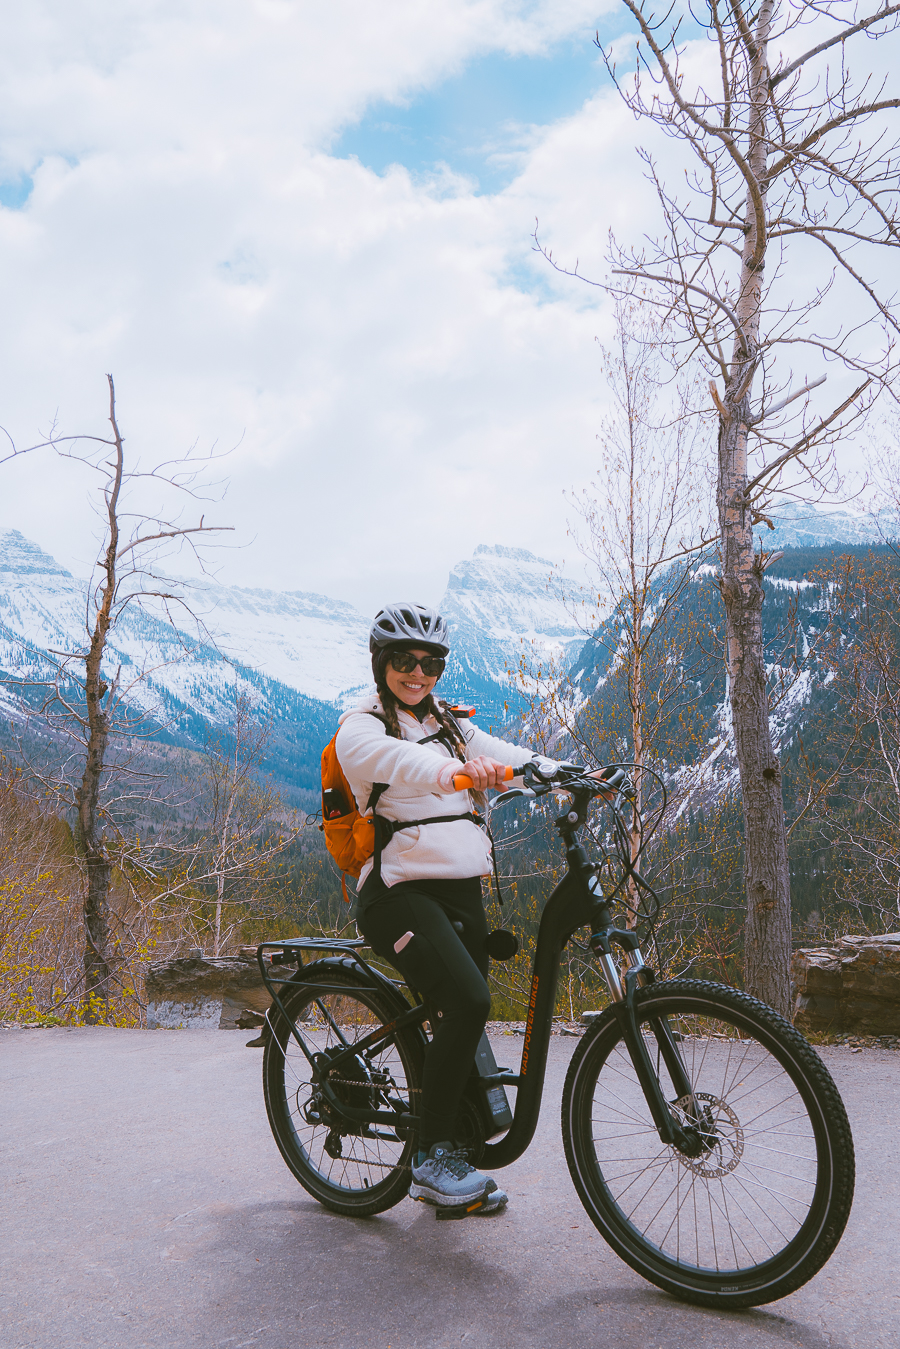
You can either bring your bike or rent it. Below are the locations for bike rentals:
- Glacier Cyclery & Nordic
- Great Northern Cycle & Ski
- Sportsman & Ski Haus
- Whitefish Outfitters & Tours
- Good Times Supply Co.
- Go Roam Beyond Package Deal
Best Places To Stop
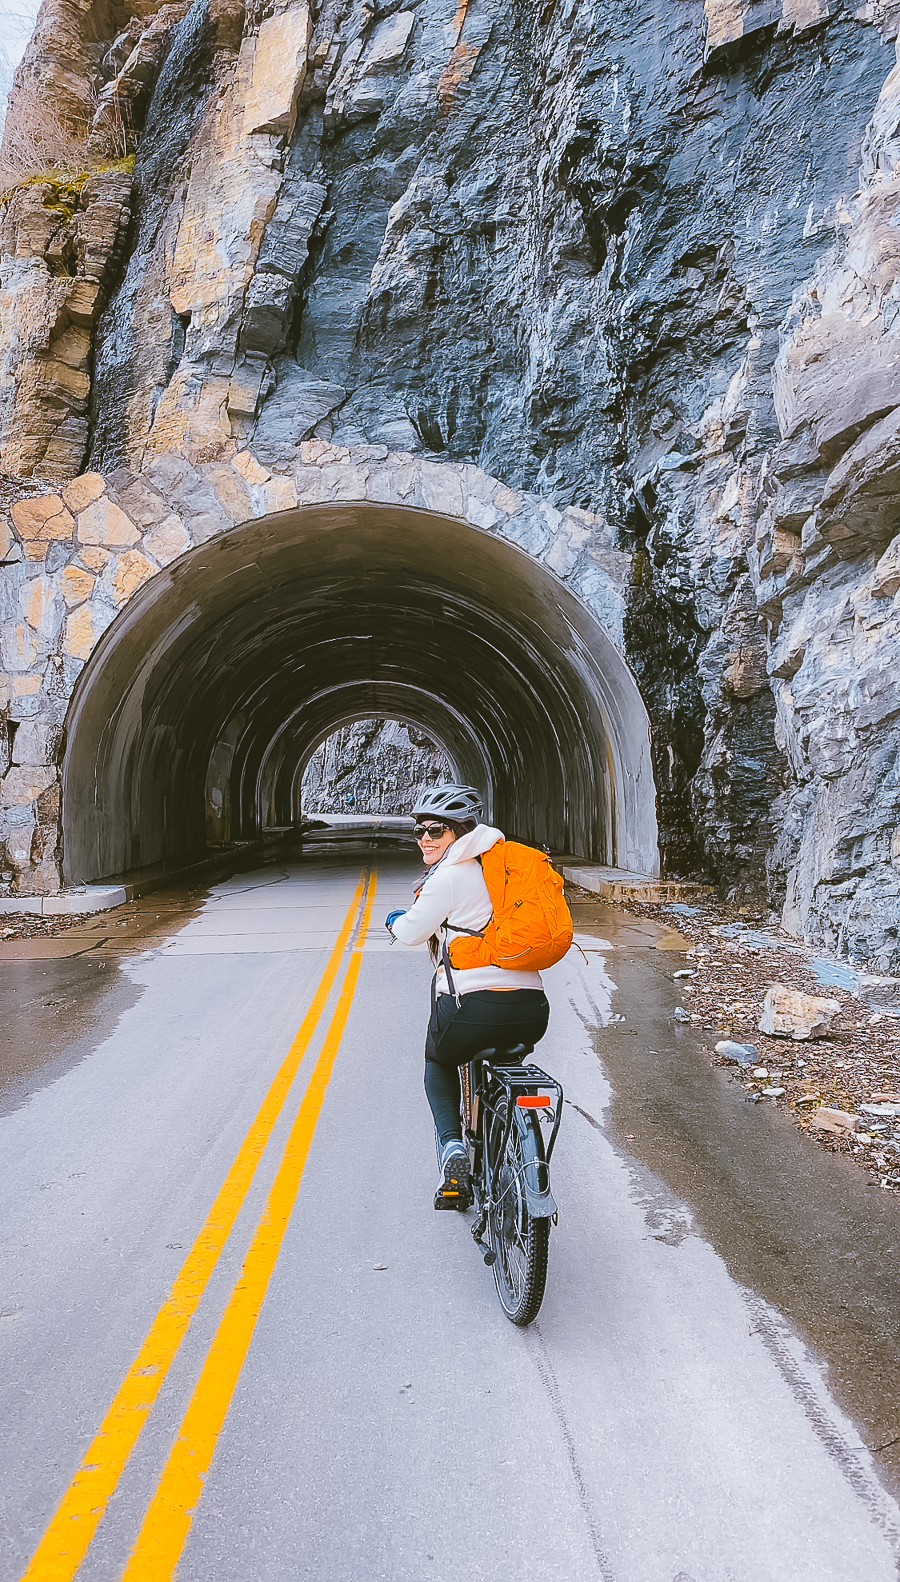
I’ll be honest, I did not look up locations on where to stop when biking this. I just stopped when I saw a beautiful picturesque area. But if you really want a list of some of my favorite spots, here they are:
- Mile 7 – Wild Goose Island Overlook
- Mile 16 – East Side Tunnel
- Mile 23 – West Side Tunnel
- Mile 24 – The Loop (4,400’)
- Mile 27 – Bird Woman Falls Overlook
- Mile 28 – Haystack Falls
- Mile 29 – Weeping Wall
- Mile 31 – Triple Arches
- Mile 32 – Logan Pass
What To Pack
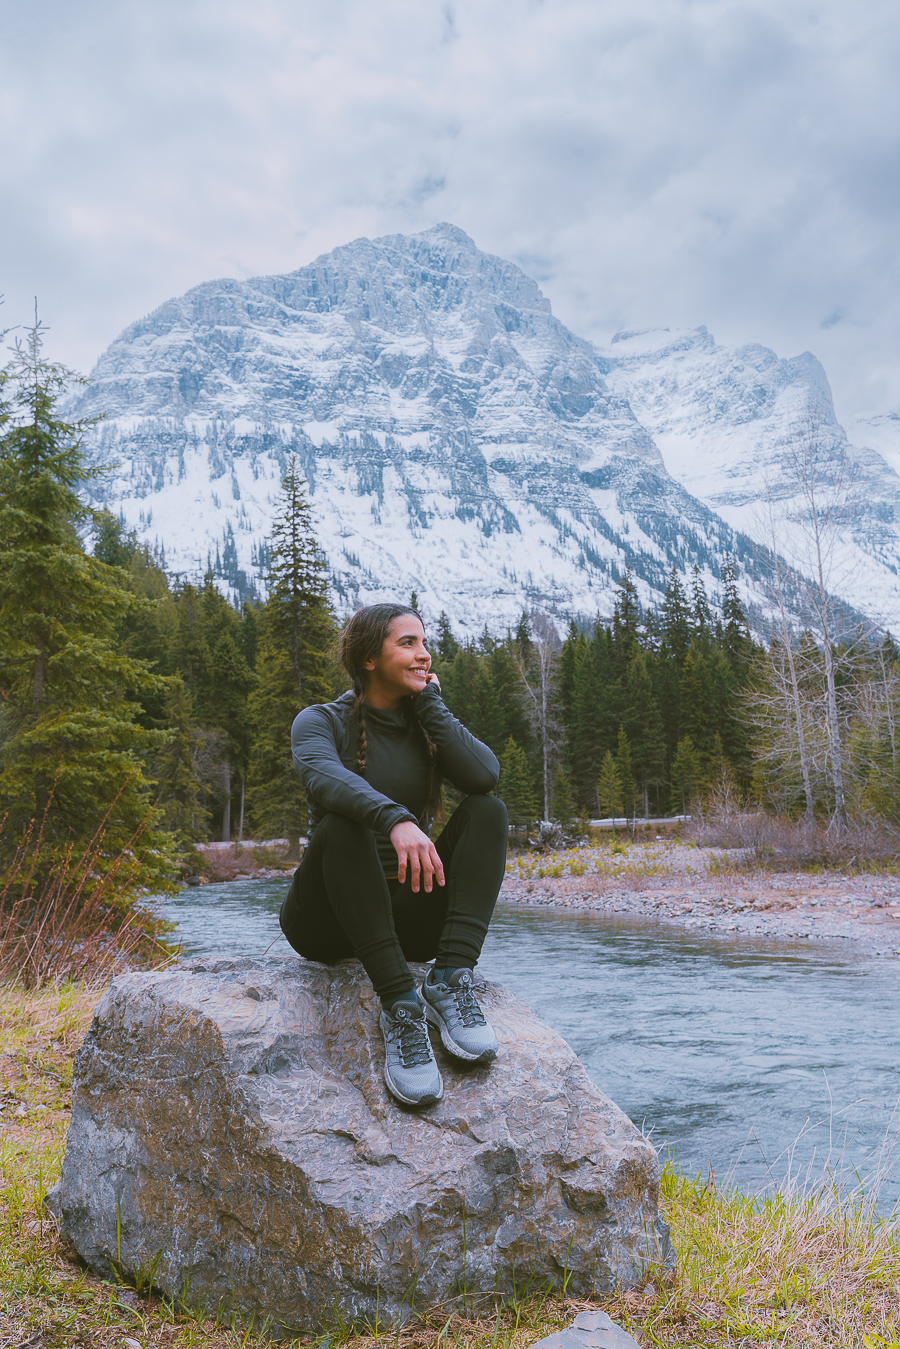
Since it is Spring on the mountain, it is best to pack as if you are hiking in the winter. Many layers, the ten essentials, and of course a backpack:
- Sunscreen: Super important and it is part of the ten essentials! >Buy Sunscreen
- Chapstick: This one has SPF so your lips won’t get burned if it is sunny! >Check Out This Chapstick
- Shoes: I used comfortable trail runners. >Check Out My Shoes
- Hiking socks: These are great socks. >Buy Socks Here
- Water Reservoir: It was so nice drinking water while I was biking. No need to take the water bottle out of my backpack pocket. This reservoir kept me hydrated. >Here Is My Water Reservoir
- Water: Stay nice and hydrated.
- Sunglasses: Even though it was only a little sunny, the sunglasses helped me because my eyes kept on watering since we were going so fast. >Check Out These Sunglasses
- Snacks: The best snacks are jerky, nuts, and energy bars. >>>Check Out These Bars
- Camera: The Sony A6000 was one of the first cameras I started traveling with. The Sony A6000 is an excellent camera for people that want to start improving at travel photography. >Buy Sony Camera Here
- First Aid Kit: This is one of the first things I bought when I first started going on adventures. It is super portable. >Buy This Awesome First Aid Kit Here
- Day Pack to carry all your things: To carry all your gear, water, and food, you need a good backpack. Osprey is known to have some of the best backpacks on the market. >Buy This Great Quality Backpack
- Headlamp: A headlamp is an absolute must in case you get stranded in the dark! It is a lot more portable and easier to use than a flashlight. >Buy A Headlamp Now
- Leggings: I wore my fleece leggings and felt pretty warm >Click For My Favorite Warm Leggings
- Breathable sweat-wicking shirts: Cotton shirts soak up your sweat when biking so make sure to wear something breathable. >Check out this awesome breathable shirt here.
- Mid Base Layer: I kept a sweater in my bag in case I got cold. >Check Out My Sweater Here
- Sports Bra: For women. >Check This One Here
- Jacket: I always have a jacket in my backpack, even if it is hot. I do it just in case of an emergency. >Buy My Favorite Jacket
- Rain Jacket: The worst feeling in the world is being wet and cold while biking. You can get hypothermia, so for sure carry a rain jacket. >Check Out My Rain Jacket Here
- Knife: I always carry a knife in my backpack just in case. >Check Out My Knife Here
- Base Layer: This was the bottom layer I wore while biking. >Check It Out Here
- Lunch: You will for sure get hungry. We ended up eating lunch when we got to the top.
- Gloves: Your hands get cold when you are riding downhill. >Get Some Gloves Here
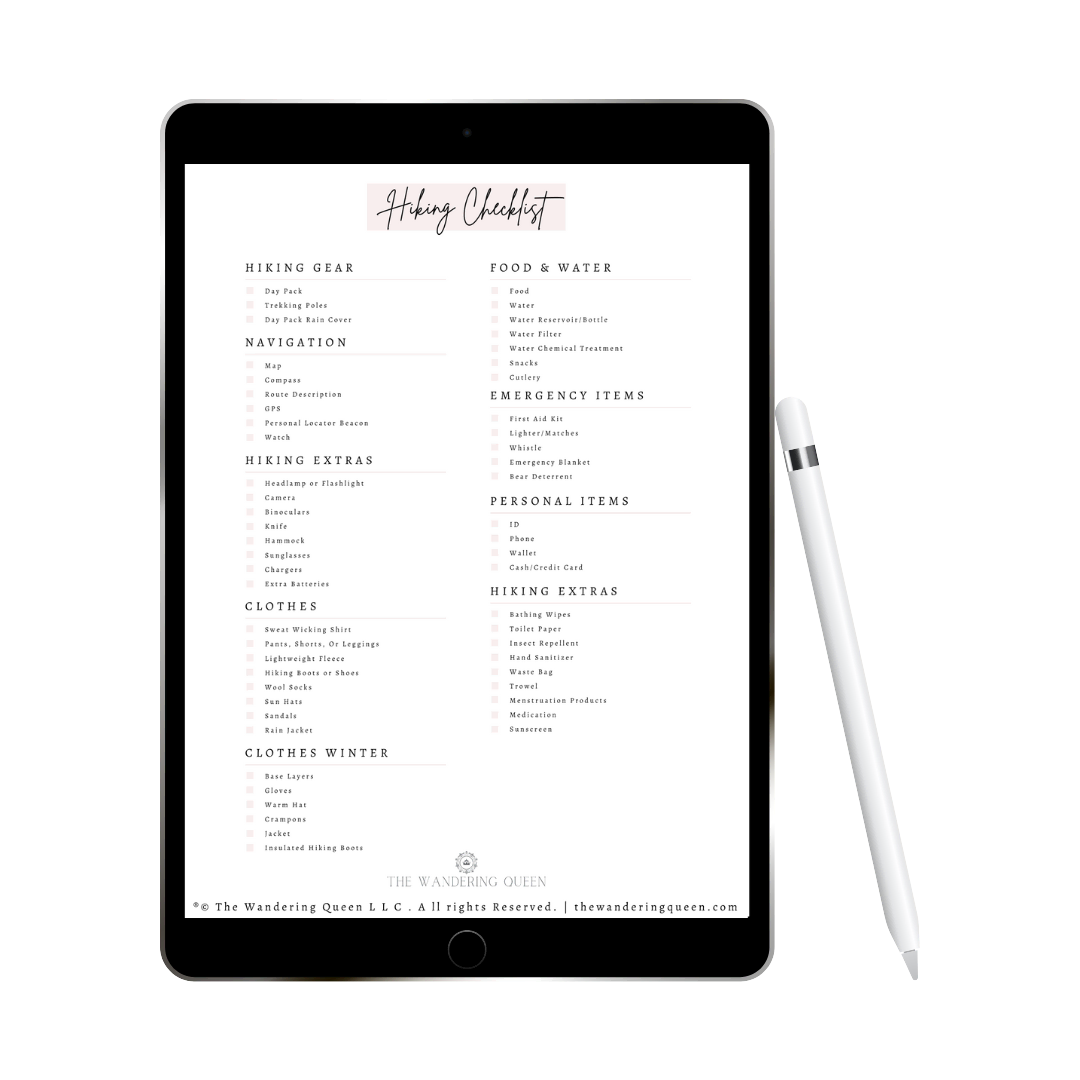
Claim your FREE Hiking Checklist
Ready to start hiking? Grab my free hiking checklist and never forget anything at home!
Tips
- Bring Bear Spray. There are grizzlies and black bears in the park. We saw a baby bear while biking, which was adorable, but we stayed far away from it.
- Pack a lunch in your backpack and eat it when you get to the top. Also, pack many snacks.
- Do not bring your dog. They are not allowed after the no-car area.
- Check the weather beforehand.
- For sure, bring gloves as your hands will get cold.
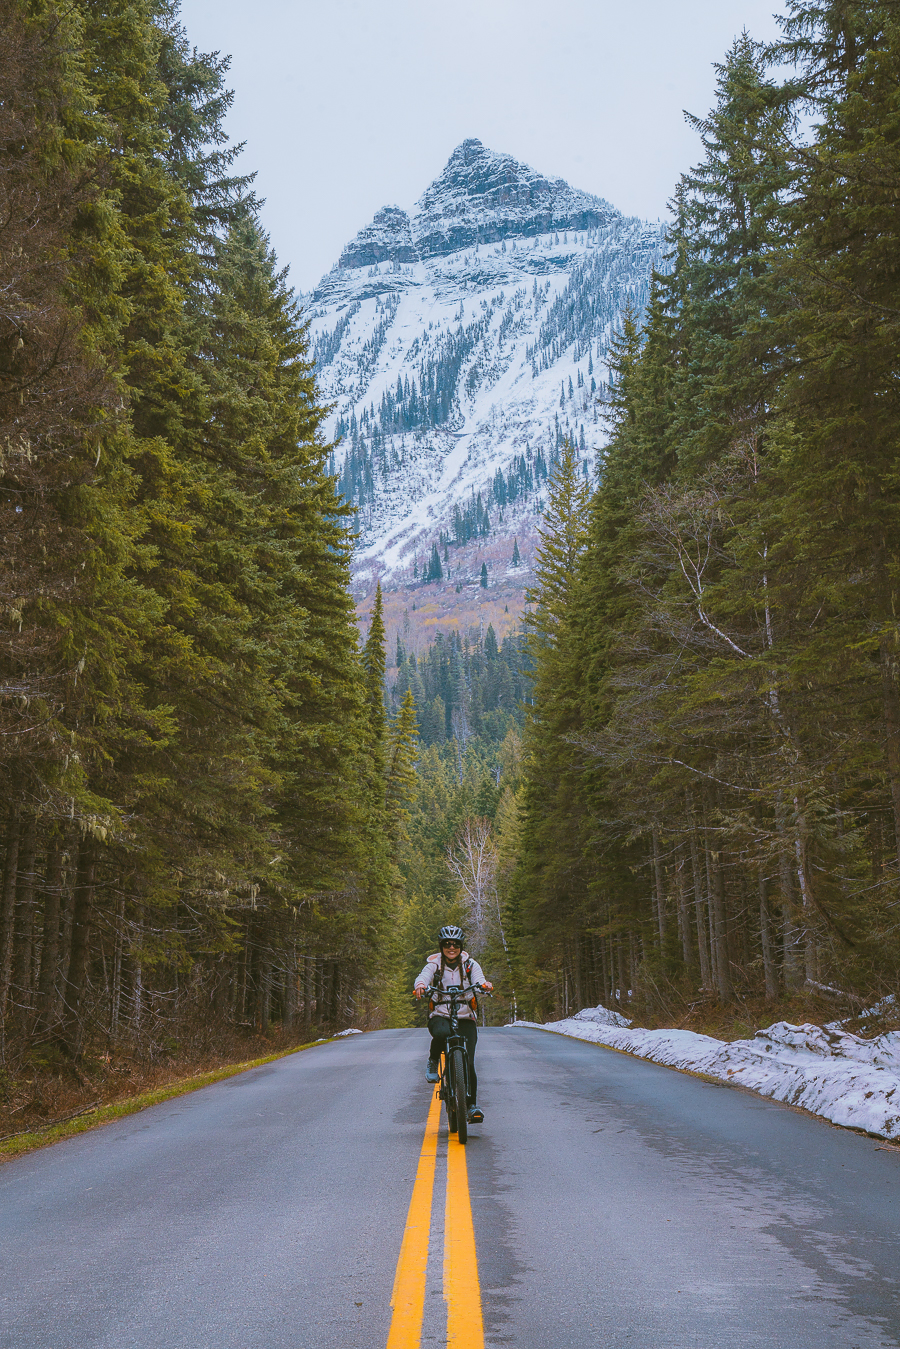
- Have fun and take many pictures! This experience is so unique, and I love that you can stop where you want and take photos in beautiful areas that are not accessible at other times of the year. Trust me, if you are driving instead of biking, it is difficult to stop anywhere.
Grab Your Free Car Camping Checklist! 🚗🌲
Ready to elevate your car camping game? Snag our essential checklist to ensure you’ve got everything you need for a stress-free, fun-filled adventure! Perfect for beginners and seasoned campers alike. Download now and hit the road prepared! 🌟🎒
Biking Going-To The-Sun Road Difficulty
When I first heard I was going to bike the Going To The Sun Road, I was pretty nervous. I am a pretty fit gal that works out up to 5 times a week, but I am not a biker. I almost did not go because I did not think I could do it. I am so glad I ended up getting over my fear and going!
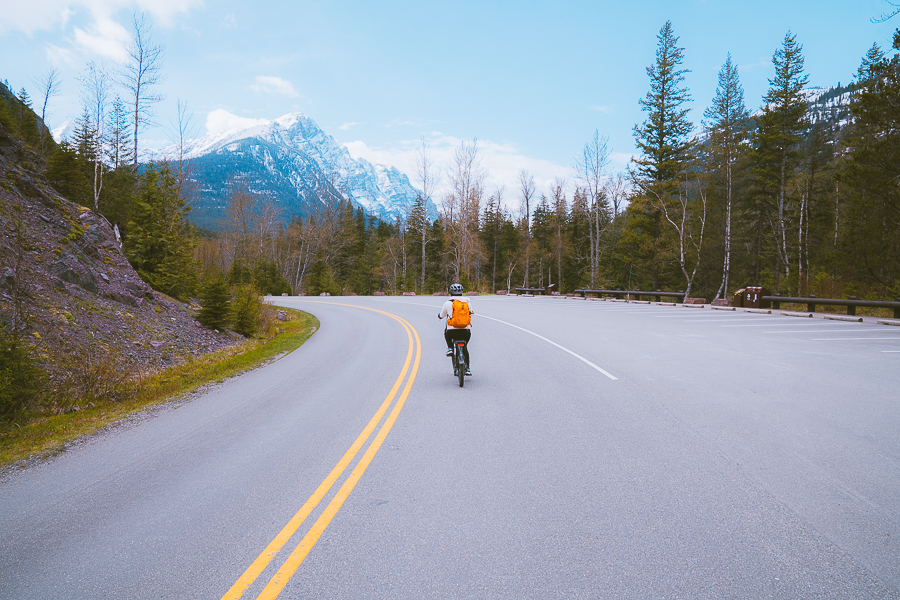
It was a lot easier than I thought it was going to be. I rented an e-bike, and holy moly, was it easy to get up that road. I did not break a sweat.
Now, if you are a cyclist that loves a challenge, then yes, for sure, bring your regular bike, but if you are like me and not an avid biker but in shape, then go with the e-bike. It does feel effortless, and you will not be sweaty in your beautiful pictures.
Final Thoughts On Going To The Sun Road Biking
Thanks for reading all about biking in Glacier National Park. It was such a fantastic, fun experience, and I hope you get a chance to do this unique activity. Below are some blog posts on some destinations near Montana if you want to extend your trip.
- Things To Do in Stanley Idaho: The Perfect 5 Day Itinerary
- 26 Awesome Things To Do In Grand Teton National Park
- 13 Stunning Idaho Hot Springs
- 25 Absolute Best Things To Do In Yellowstone National Park
- The Ultimate 7-Day Grand Teton To Yellowstone Road Trip Itinerary

