5-Day Banff Itinerary | Planning the Ultimate Canadian Trip
Banff is an eclectic blend of everything that makes Canada such a stunning destination. From the reflective lakes showcasing the Canadian Rockies to driving along the picturesque Bow Valley Parkway, there’s so much to enjoy on a Banff itinerary.
With so much to see and do, several questions start to play at the back of your mind: How long should you visit? When is the best time to go to Banff? You don’t need to worry anymore, as all these pressing questions are about to be answered with this ultimate Banff itinerary.
From visiting Lake Louise to taking on the best hikes in Banff, it’s time to get ready for the adventure of a lifetime.
Disclosure: This post contains affiliate links. If you click one of them, I may receive a small commission (for which I am very grateful for) at no extra cost to you.
Banff National Park
Related Posts
Best Time to Go on a Banff Trip
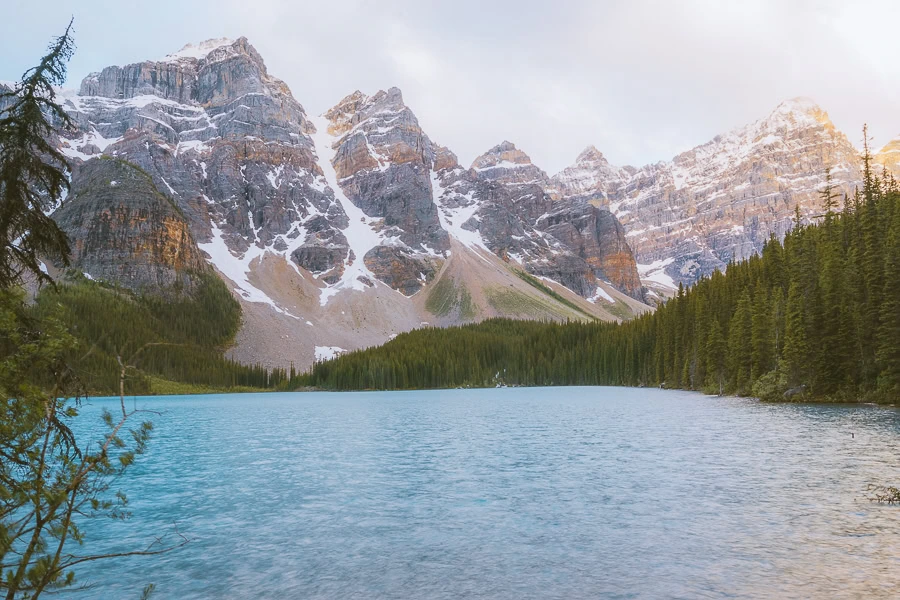
While Banff is an undisputed summer and winter destination, possibly the best time to visit Banff is in the fall, from September to November. There are several benefits to visiting in the fall.
For starters, you’ll get to enjoy the fall colors, which create some of the most breathtaking photos of the park. All the summer attractions and hiking trails will also still be open during this time of year, which isn’t the case in spring.
Furthermore, you’ll find lower rates at hotels and some restaurants compared to the peak times from June to August. It does get fairly chilly, especially towards the end of the season, so be sure to pack warm clothes.

Note: It generally rains in Banff from late April through to October. So, it’s a good idea to check out these tips for hiking in the rain before heading to the park.
How to Get to Banff Town

If you’re planning on flying into Banff, the closest destination is Calgary International Airport (YYC). It’s best to get a rental car, as it’s about a 145 km (90-mile) drive to Banff from the airport.
If you’re traveling from Jasper National Park, you’ll need to travel along the Icefields Parkway for roughly 233 km (144 miles). This scenic drive does include some of the stops recommended in this itinerary, though, as the route ends at Lake Louise.
All in all, there are eight entrances to Banff, but the most popular are the Banff East Park Gate and the Icefields Parkway Gate.

Top Tip: Although there is the Parks Canada Shuttle service with Roam Public Transit, it’s still best to have your own car.
>>>Find Your Rental Car Here<<<
Map Of Banff Itinerary
I’ve embedded a Google map below with this itinerary! You can download and save it for offline use, but I recommend printing it out, too, so you’re covered if you find yourself without service on the trail.
Banff National Park Permits and Passes
Before venturing off on your Lake Louise and Banff itinerary, you’ll need a pass. You can get these passes on the day at any of the park entrances, with the permits costing $11 USD per adult per day.
Passes are free for people under 18 years of age, and a family of up to seven can get the family pass for $22 USD per day. You’ll also need to pay camping fees before entering if you intend on camping.
Other fees for fishing, backcountry camping, or park reservations can also be found on the Parks Canada website.
Get our free camping checklist
When you join our newsletter
How Many Days in Banff Is Enough?
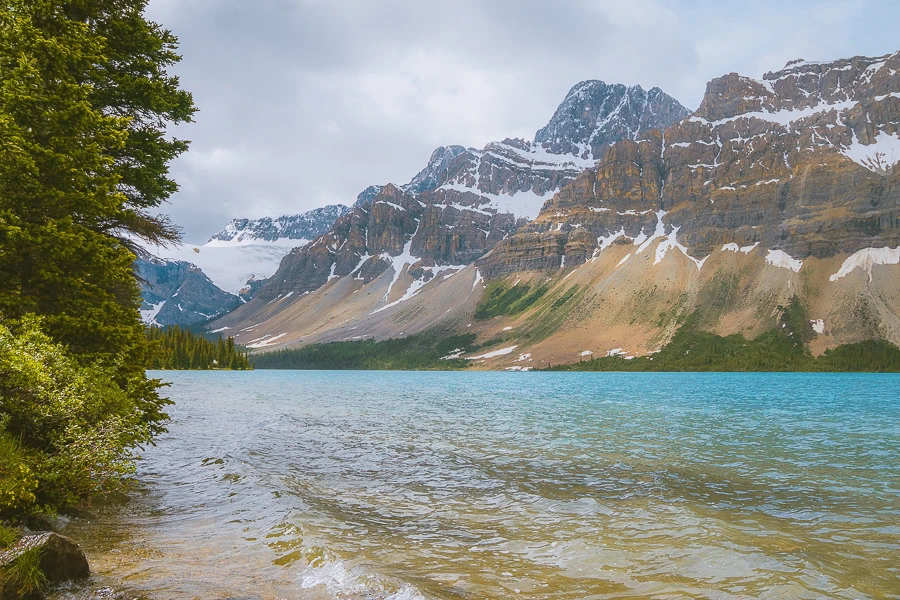
While you can see a lot of what the national park has to offer on a 3-day Banff itinerary, it will be a rushed affair. This is why 5 days in Banff is such a great option, as you’ll be able to truly soak up the beauty of this destination.
You’ll have enough time to take on hikes, absorb the eclectic vistas, and simply embrace everything that makes Banff such a unique place.
Some would even argue that a Banff 7-day itinerary is in order, but that’s not necessarily true. If you do want to extend your stay in the area, rather incorporate a visit to Yoho National Park. This way, you’ll be able to discover some more stunning landmarks, like Emerald Lake and Takakkaw Falls.
Where to Stay in Banff and Lake Louise
One of the bonuses of Banff National Park in comparison to US national parks is the fact it has loads of accommodation in the park itself. Whether you’re looking for a budget-friendly stay, a camping excursion, or an uber-luxurious lodging, you can find it all in Banff.

Top Tip: There are just a handful of the top lodgings listed in this post. If you want more variety, here’s a post dedicated to the top Banff accommodations.
Budget | Lake Louise Inn
Lake Louise Inn may be an affordable stay but don’t think for a second you’ll be missing out on the finer things in life. This pet-friendly inn has some truly opulent features, from three on-site restaurants to hot tubs and an indoor heated pool for utter relaxation.
While the rooms have a clean and sophisticated finish, the communal lounge and dining area embrace the traditional timber cladding found in the area. If that’s not enough, the lodging is in a prime area in the center of the park, with its northern and southern regions never being far away. >>>Check Availability
Mid-Range | Buffalo Mountain Lodge
If you want to stay in Banff Town, then Buffalo Mountain Lodge is a fantastic mid-range option that ticks all the boxes. This is a place that perfectly combines classic alpine architecture with a warm, inviting atmosphere.
While each room has a fireplace, making those nighttime rests truly comfortable, it’s the views that truly take the cake. You’ll be able to admire Cascade Mountain from anywhere in the lodge, be it your room, The Prow on-site restaurant, or the lush garden.
As it’s in the heart of Banff Town, you’ll also have easy access to restaurants, shops, and tour companies each day before exploring the park. >>>Check Availability
Luxury | Fairmont Chateau Lake Louise
Last but not least, there’s the simply breathtaking Fairmont Chateau Lake Louise. This is the only hotel you’ll find along the shores of Lake Louise, so you’re paying for unforgettable views as much as the room itself.
When you’re not resting in your sleek room with lakeside views, how about indulging in one of six on-site restaurants? You can also stretch before a day of adventure at one of their yoga classes or loosen your muscles at their wellness center.
If that’s not enough, it’s also in the Lake Louise area, so getting to popular sites like the Banff Gondola or Athabasca Falls is quick and easy. >>>Check Availability
Camping in Banff
If you’re looking for a slightly more rustic experience in Canada’s Banff, there are 14 campsites for you to pick from. The more popular spots include Two Jack Lakeside Campground and Lake Louise Campground, but there are some slightly more intimate locations scattered across the park.
Castle Mountain is a no-service campsite just off Bow Valley Parkway, which is, in some regard, a hidden gem for campers. Each campsite offers unique amenities, so you can pick your campsite based on what you need. >>>Check Availability

Note: You will need to reserve your campsite ahead of time, which is essential if visiting in summer. If you don’t have a reservation when collecting your entry pass and camping permit, you will not be allowed to camp in the park.
The Ultimate Banff 5-Day Itinerary

Now it’s time to get stuck into the fun stuff for this Banff travel itinerary. From the Icefields Parkway to Lake Louise, visiting Banff is an experience you can only start to appreciate once you’re there.
PS: This 5-day plan forms the first half of what can be an epic two-week Canadian Rockies itinerary.
Day 1 of Your Banff Vacation
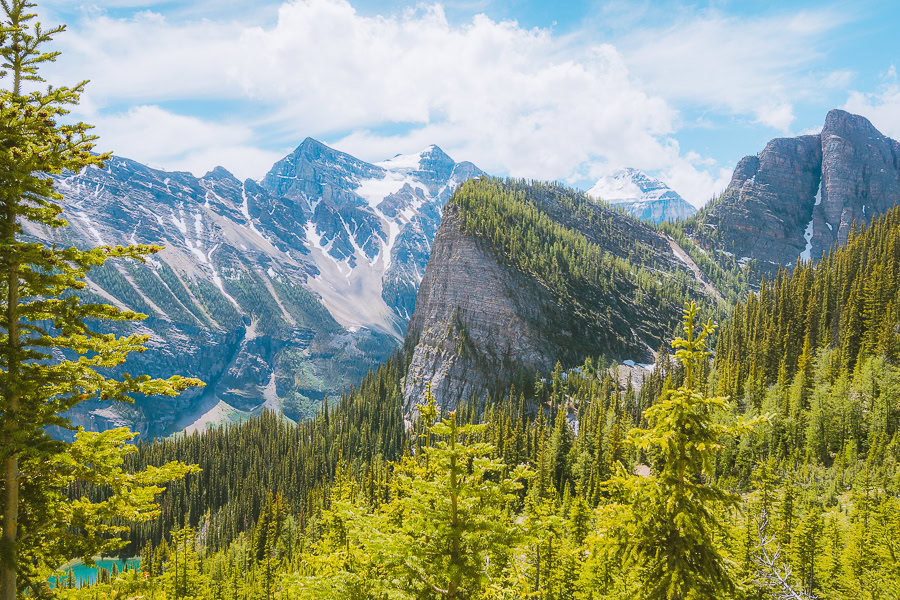
Start your Banff adventure by exploring the stunning city itself. You’ll get the chance to admire the natural sites around the town and enjoy some of its best eateries along the way.
Have Breakfast at Whitebark Cafe
Get your day going at the Whitebark Cafe in Downtown Banff. This is an independent coffee roastery that makes some of the smoothest brews in town.
You can enjoy the views of Sulphur Mountain while drinking your favorite beverage and filling up with some delicious food. From vegan quinoa rolls and delicate pastries to their renowned raspberry coulis cheesecake, there’s something on the menu for everyone.

Note: They open every morning at 6:30 AM, and seeing as you have a busy schedule ahead, try and get there as early as possible.
Hike Around Two Jack Lake
- Mileage: 4.8 km (3 miles) out and back
- Elevation Gain: 87 meters (285 feet)
- Difficulty: Moderate
- Trail: Link

Once you’ve had your fill, it’s time to take on the first hike of this Banff vacation itinerary at Two Jack Lake. The trail is fairly easy for the most part, with the only really challenging section occurring on your way back toward Two Jack Lake Campground.
All-in-all, you can expect to complete this lovely route in just over an hour, as you trek along the western side of the lake. You’ll have expansive vistas of the lake and Mount Girouard in the distance.
The trail leads you halfway through Cascade Canal before turning back toward the lake and is the perfect way to get your blood pumping.
Take a Boat Tour of Lake Minnewanka

A visit to Banff wouldn’t be complete without joining a Lake Minnewanka cruise. The first tours begin at 10 AM, and seeing as there’s still loads to do in the day, it’s best to join this early morning cruise.


Your camera will be in overdrive as you glide through the crystal clear waters while enjoying extensive views of the entire lake. Not only is Lake Minnewanka the largest in Banff, but it’s also the one with unforgettable vistas thanks to the gorge it rests within.

Top Tip: Be sure to get some photos of Mt Costigan and Saddle Peak when on the eastern side of the lake.
Snap Some Pictures at Johnson Lake
- Mileage: 2.9 km (1.8 miles) loop
- Elevation Gain: 54 meters (177 feet)
- Difficulty: Easy
- Trail: Link
While many just park near the lake and take photos from there, you’ll be missing out on some magical scenery if you do that. Rather, take on the easy and relatively short 45-minute loop trail that wraps around Johnson Lake.
If you walk clockwise, you’ll come across a lovely bench with scenic views roughly 1.3 km (0.8 miles) into this fantastic hike. It’s a great place to just relax and admire the views of the lake and Tunnel Mountain in the distance.
As you continue along the trail, you’ll come across the cabin built in 1910 by the Hermit of Inglismaldie. It’s a truly unique landmark that many completely miss as they don’t hike around the lake.

Top Tip: Have a look at these hiking photography tips. They could help take your images to the next level.
Enjoy Lunch at Banff Avenue Brewing Company
After exploring just north of Banff all morning, you’ll have worked up an appetite. This is where the Banff Avenue Brewing Company comes in with fantastic pale ales, stouts, IPAs, and everything in between.
Beer isn’t the only thing on offer here. They have three venues across town, each offering the perfect culinary pairing for your beer of choice. Don’t worry. If you don’t know what to pick, your waiter is sure to have some great recommendations.
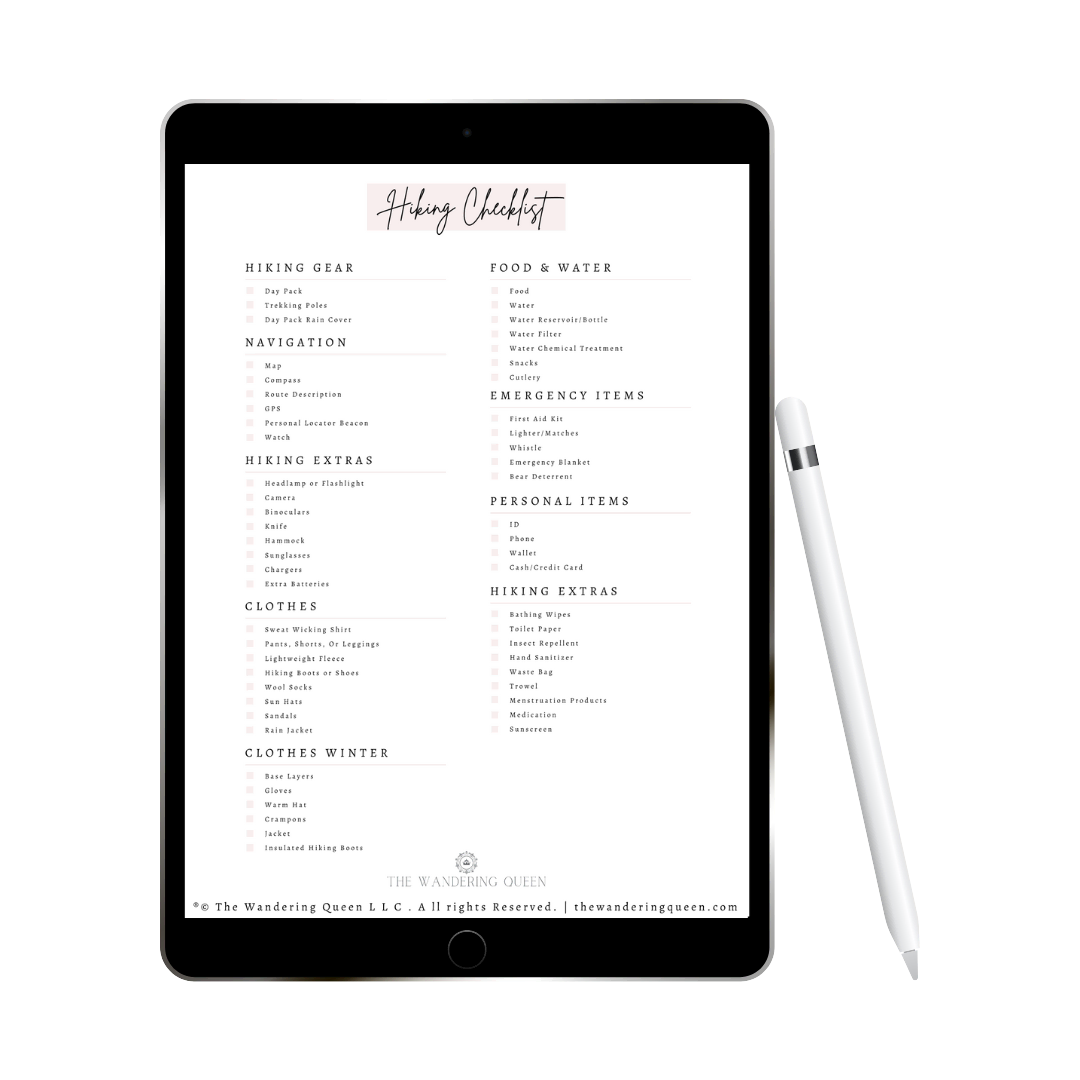
Get our free Banff Hiking Checklist
When you join my newsletter!
Explore Cascade Gardens
- Mileage: 0.5 km (0.3 mile) loop
- Elevation Gain: 17 meters (56 feet)
- Difficulty: Easy
- Trail: Link

Just across Bow River in Banff, you’ll find the beautiful scenery of Cascade Gardens. This is the place where trickling ponds, weather-worn wooden gazebos, and mountain views culminate into a sensory experience like no other.

You’ll be able to feel the calming serenity of this garden space as you walk along its pathways that wind through picturesque gardens. Come summer, the pathways are lit up by vibrant plant life. If you’re visiting in winter, then the fall colors offer an experience just as stunning as the one you’d experience in summer.
Drive to Mount Norquay Lookout

Starting at the Trans Canada Hwy, it’s time to embark on a winding 5.8 km (3.6-mile) drive up to the top of Mount Norquay. The majority of the meandering drive is shrouded by forest, so the spectacular views are only really seen once you reach the summit.
At 1,988 meters (6,522 feet) above sea level, you’ll be able to gaze into the valley between Fatigue Mountain and Mt Rundle. The idyllic town of Banff rests within the valley, with Goat Mountain filling the skies in the distance. It truly is one of the top viewpoints in the park.
Take Epic Photos of Vermilion Lakes

Just west of the town of Banff, you’ll find a vivid array of reflective lakes that’ll use up all your camera’s storage space. It’s best to drive along the entirety of Vermillion Lakes Road to get unique views of each of the three lakes.
From the Vermillion Lakes viewpoint, you can take in the mirroring effect of Sulphur Mountain on the middle lake. As this is a fairly quiet road with few tourists driving down it, you’re also more likely to spot wildlife like pika, wapiti elk, and moose.
Admire the Views at Banff Surprise Corner
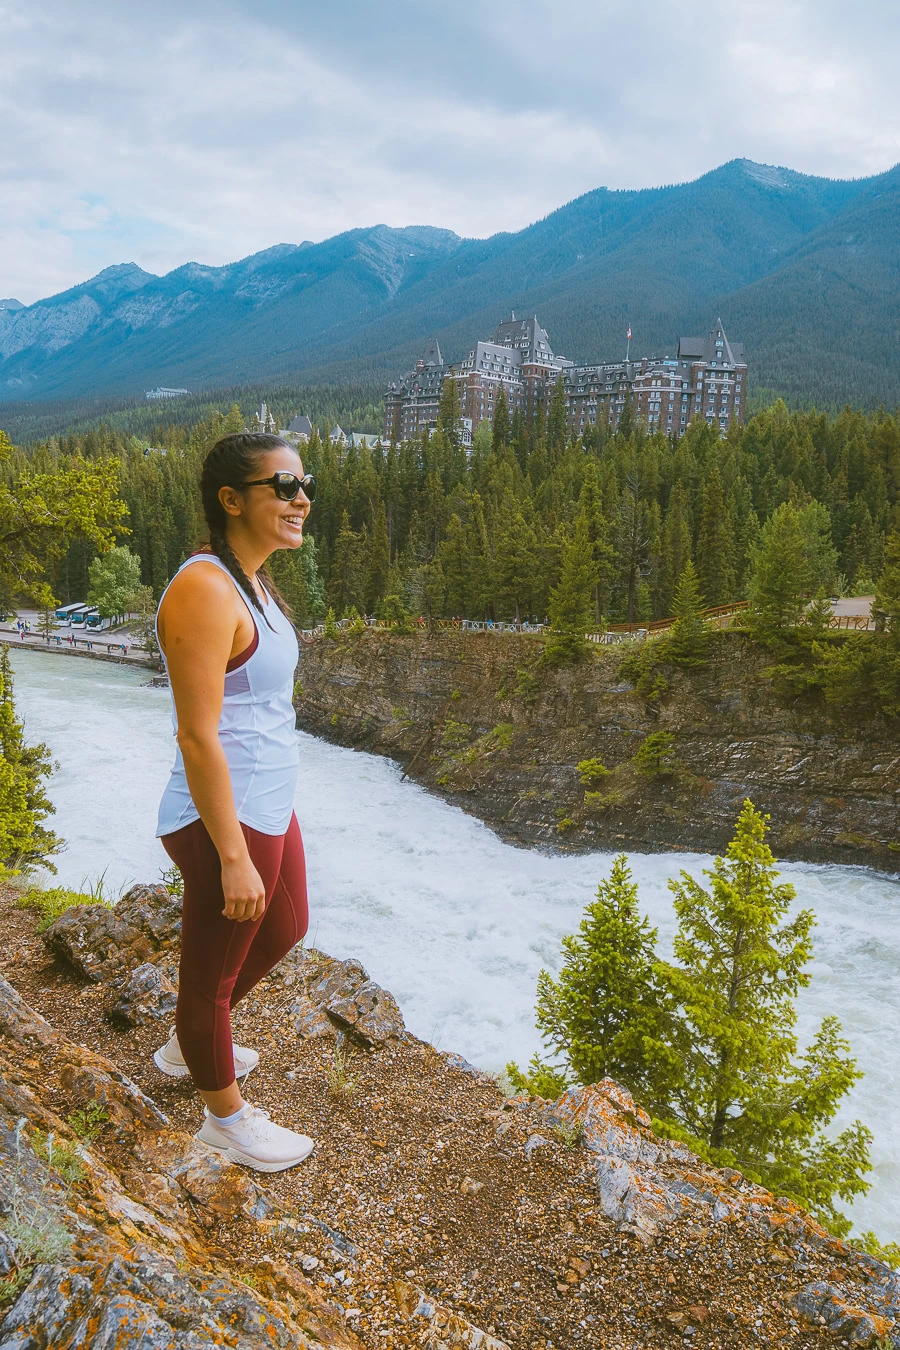
Before heading up the Sulphur Mountain Gondola, be sure to stop at Surprise Corner. This spectacular viewpoint is at a sharp U-turn in the road linking Buffalo Streat to Tunnel Mountain Drive.
What makes this worth a stop, though? You simply need to look beyond Bow River to see exactly why. Resting at the base of Sulphur Mountain, you’ll see what appears to be a fairytale castle, but in actuality, it’s Fairmont Banff Springs.
It’s the postcard-worthy spot for your next Instagram post or family Christmas cards.
Enjoy the Gondola to Sulphur Mountain
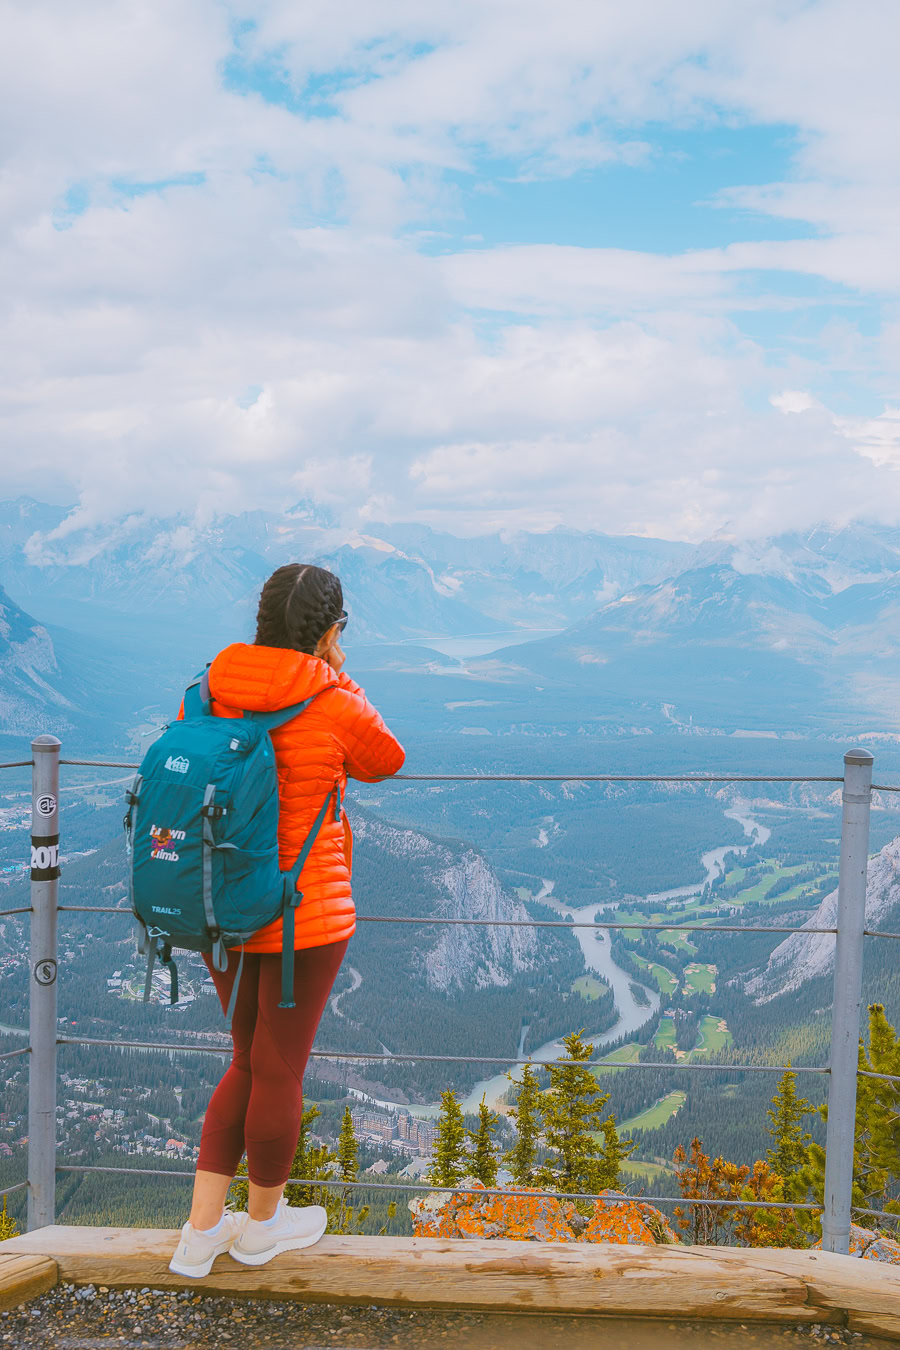
Now for one of the top things to do near the main town. Enjoy the eight-minute ride on the Banff Gondola up to the top of Sulphur Mountain, where several activities await.
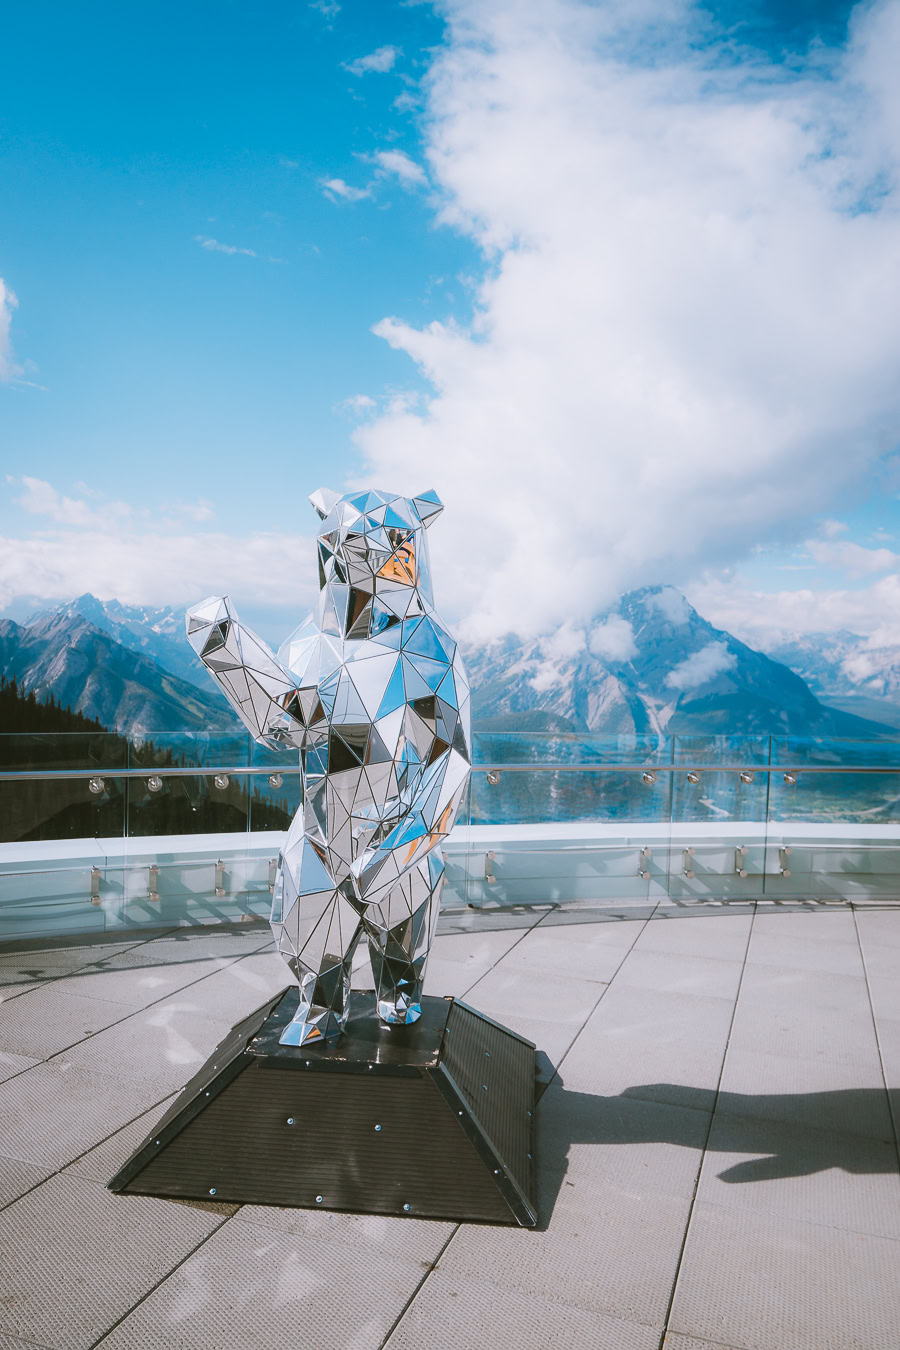
You can enjoy popping over to the rooftop observation deck, where you can take in the sweeping sites of the national park. You can make your way along the boardwalk to Sanson’s Peak and the Sulphur Mountain Cosmic Ray Station or visit the Above Banff Interpretive Center.
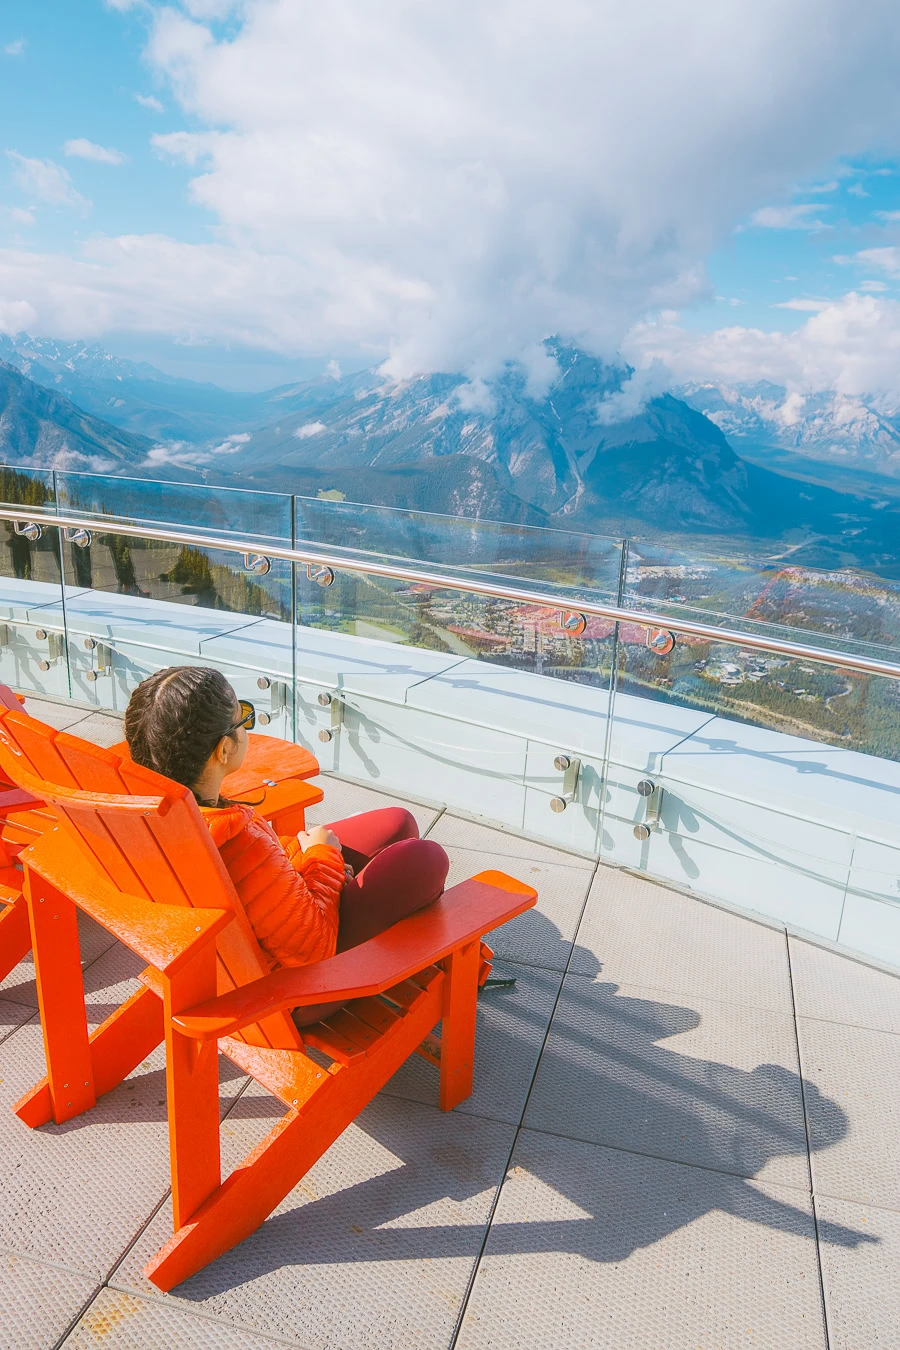
There are also some hiking trails that you can take on, but the real star of the show is the next activity on this jam-packed itinerary.
Take a Dip at Banff Upper Hot Springs
Just an eight-minute walk from the Gondola, you’ll find Banff Upper Hot Springs. This is a place with epic views and relaxing waters go hand in hand. They also only close at 10 PM, so you could stay here after sunset and gaze at the starry night sky.
You can only purchase tickets on the day, and even if you visit in summer, the hot springs will still have plenty of space for everyone. While it’s not every day you can say you visited the highest operating hot springs in Canada, the main reason for visiting is to soothe those stiff muscles after a long day of exploring.
Have Dinner at Park Restaurant & Distillery
End the best start to a Banff itinerary by enjoying a meal at the OpenTable Diner’s choice winner for 2023, the Park Restaurant and Distillery. This is a restaurant that embraces the natural colors and tones of Banff in its interior design, allowing the muted greens and deep browns to create a relaxing atmosphere.
You’re here for the food, though, so let’s dig into what you can expect. You’ll find several unique takes on meals, from vodka-infused soups and pasta to more traditional dishes like Bison burgers and cedar-planked salmon. This is all combined with a drinks menu consisting of some of the restaurant’s very own distilled beverages.
Day 2 of Your Vacation in Banff
Day two of your Banff National Park trip is all about exploring the sites between Banff Town and Lake Louise. You’ll make your way along the Bow Valley Parkway, ending off at the quaint town of Lake Louise.
Take a Morning Hike on the Johnston Canyon Trail
- Mileage: 5.5 km (3.4 miles) out-and-back
- Elevation Gain: 274 meters (899 feet)
- Difficulty: Moderate
- Trail: Link

Begin day two bright and early with a two-hour hike through Johnston Canyon. Aside from feeling the fresh mountain air fill your lungs, you’ll also be able to enjoy the Johnston Canyons Lower and Upper Falls.
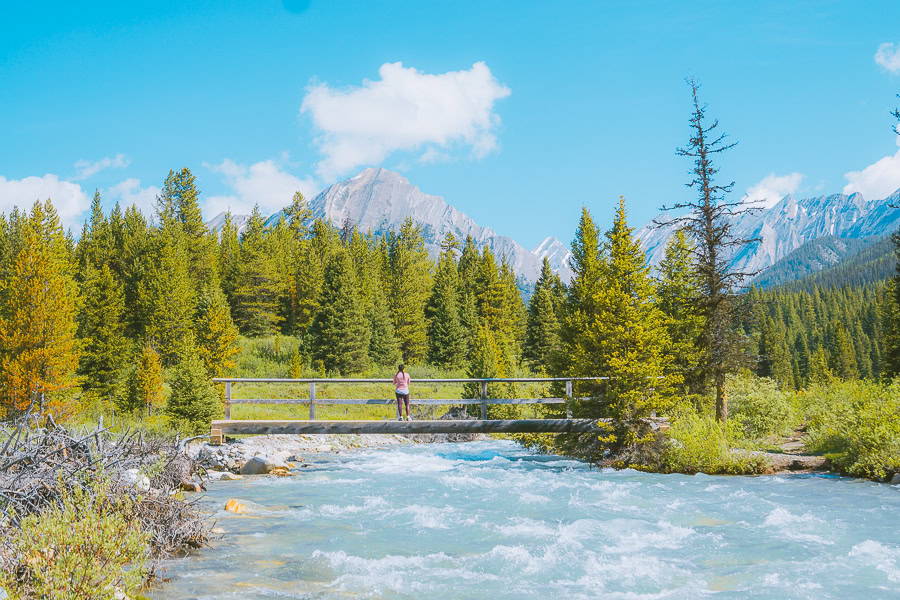
The trail takes you along sturdy iron catwalks beneath overhanging cliff walls that make this a truly unique hike. You’ll come across the Lower Falls just 1.1 km (0.7 miles) into the hike, where gushing water flows ferociously down the canyon.

The trail then leads you alongside the canyon all the way to the Upper Falls, where the turquoise waters caused by glacial water are at full force. The iron catwalk makes its way here, giving you the opportunity to explore the area a little bit more.

Top Tip: The catwalk cuts across the front of the Lower Falls so you can cross the canyon. This is where you’ll be able to snap some stunning photos.
Eat at the Johnston Canyon Lodge
You’re really spoiled for choice when it comes to breakfast at the Johnston Canyon Lodge. Of the three dining options available: the Market Cafe, Blackswift Bistro, or The Shack, it’s safe to say the Market Cafe takes the cake come breakfast time.
Think classic French-Canadian hospitality with the best coffee, pastries, and relaxing music in the area. If you’re looking for something a little more healthy, their yogurt parfaits are a crowd favorite, while their homemade health sandwiches are perfect for when you’re on the go.
They also have a gift shop for you to take souvenirs home to remember the experience.
Take Pictures of Castle Mountain
- Mileage: 7.2 km (4.5 miles) out-and-back
- Elevation Gain: 547 meters (1,794 feet)
- Difficulty: Hard
- Trail: Link

Before embarking on a challenging three-hour hike to the Castle Mountain Lookout, be sure to stop at Castle Junction. It’s located about halfway between the trailhead and Johnston Canyon and offers awe-inspiring vistas of Castle Mountain.
Once you’re done snapping photos, it’s time to take on this difficult trek. The path is fairly well worn, so it’s difficult to follow but keep in mind this is an all-uphill slog, so your calves will really be feeling it at the end.
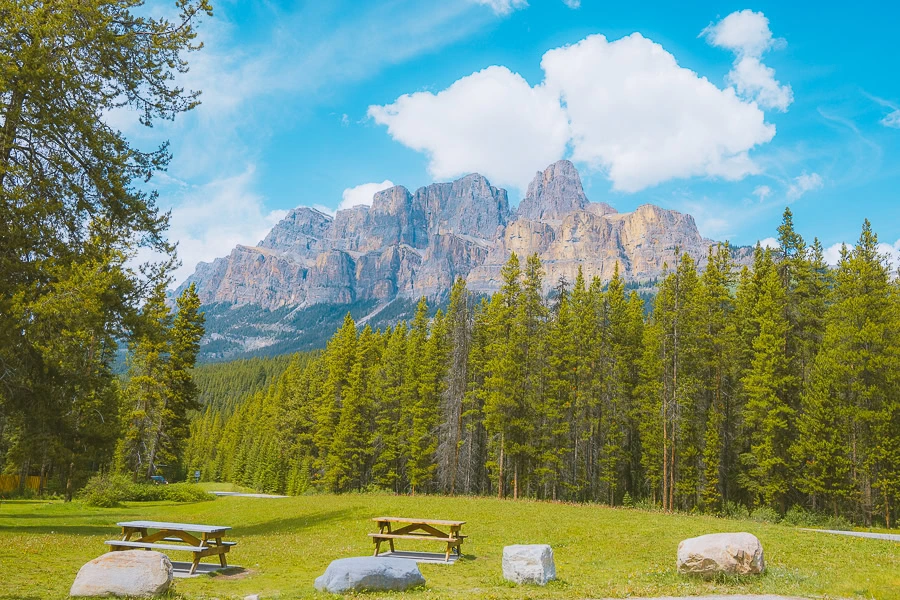
You will have to scramble through some tight passages and climb up some areas, but it’s all worth it. Around about 3.1 km (1.9 miles) into the hike, you’ll come across a waterfall that freezes over in winter.
Top Tip: Most of the hike is covered by forest, so the magical views are only really at the end of the trek.
Capture the Sunset at Morant’s Curve
Make sure one of your last stops along the Row Valley Parkway is at Morant’s Curve. Photographer for the Canadian Pacific Railway, Nicholas Morant, named this his favorite location, and it’s fairly easy to see why.
As the sunsets behind the distant mountains, the sky is painted in a tapestry of pinkish hues. Add to that the baby blue waters of Bow River and the deep green forest and your in for a real treat.

Top Tip: Although the Canadian Pacific railway schedule isn’t available for safety reasons, stick around for a bit and capture a shot of the iconic red train.
Have Dinner at Lake Louise Inn
Wrap up another eventful day in Banff with a heartwarming pizza or pasta at Timberwolf in Lake Louise Inn. While there are three restaurants at the inn, Legends Restaurant only serves breakfast and lunch, while the Explorers Lounge is only open for dinner on Fridays and Saturdays.
Timberwolf’s wood-fired pizzas are definitely the main calling card for many travelers, but their pasta is also worth considering. You can enjoy anything from blackened cod and lemon cream linguine to wagyu meatballs and spaghetti.
Download my free Outdoor Photography Guide
Day 3 of Your Banff Itinerary
You’re halfway into your itinerary now, and day three is purely dedicated to exploring Lake Louise. There’s a lot of hiking done today, so be sure to stretch before heading out.
Canoe on Lake Louise During Sunrise
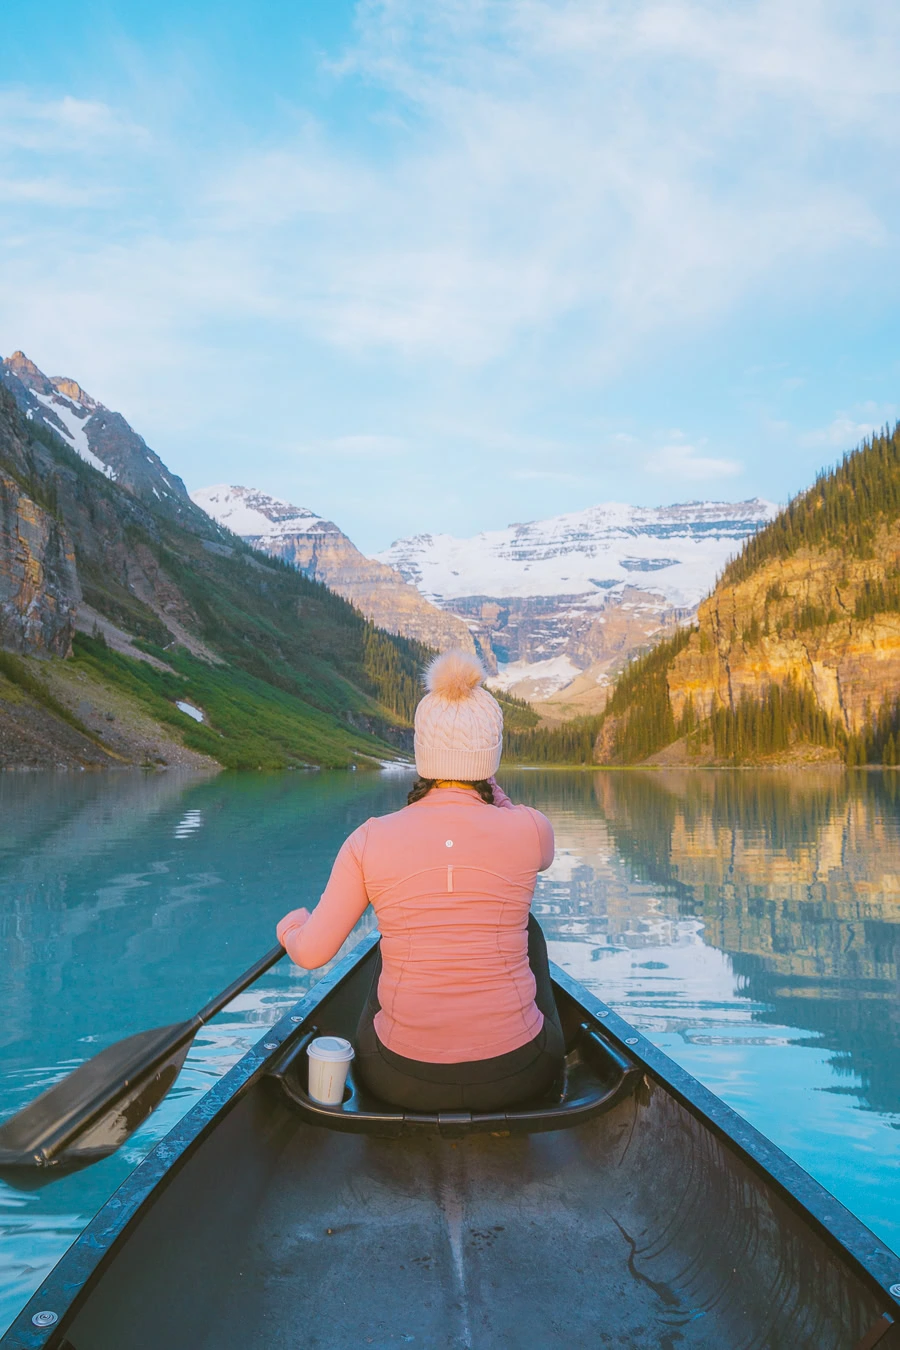
Kickstart your day in the icy turquoise waters of Lake Louise. Don’t worry. You won’t get wet… well… you’ll be in a canoe, so you might, but that’s all part of the fun. Head over to the Fairmont Chateau and rent a canoe from there.

The rentals are fairly pricey, starting at around $95 USD an hour, but it’s really the best way to explore the lake. Unmistakable views of Mt Huber and Six Glaciers are on full display as well, but the true real reason for canoeing is the epic reflective photos you can capture from on the lake itself.

Note: It’s best to use a waterproof camera for this. If you don’t have one, have a look at this list of camera gear to help you get exactly what you need.
Hike Up to Lake Agnes Tea House
- Mileage: 3.7 km (2.3 miles) one-way
- Elevation Gain: 384 meters (1,260 feet)
- Difficulty: Moderate
- Trail: Link

Take on this slightly challenging hike that’ll take you around an hour and 20 minutes to reach the end of the trail. The start of the route winds around the northern shore of Lake Louise before beginning the gradual ascent along the side of Big Beehive.
There are a few places you’ll need to scramble up, but in general, it is a smooth uphill climb. You’ll also pass Mirror Lake on your way up, which is another great photography spot. Once you reach the Lake Agnes Tea House, you’ll be met by lovely vistas of Lake Louise to the southeast and the Nokhu Crags to the northwest.
As for the Lake Agnes Tea House, it was constructed in 1901 by the Canadian Pacific Railway and offers fantastic views over Lake Anges.

Note: All the trails in this region are avalanche-prone in winter and are generally closed, so rather visit them between summer and fall.
Hike Up to Little Beehive and Back to Lake Agnes Tea House
- Mileage: 1.8 km (1.1 miles) out and back from the Lake Agnes Tea House
- Elevation Gain: 151 meters (495 feet)
- Difficulty: Hard
- Trail: Link
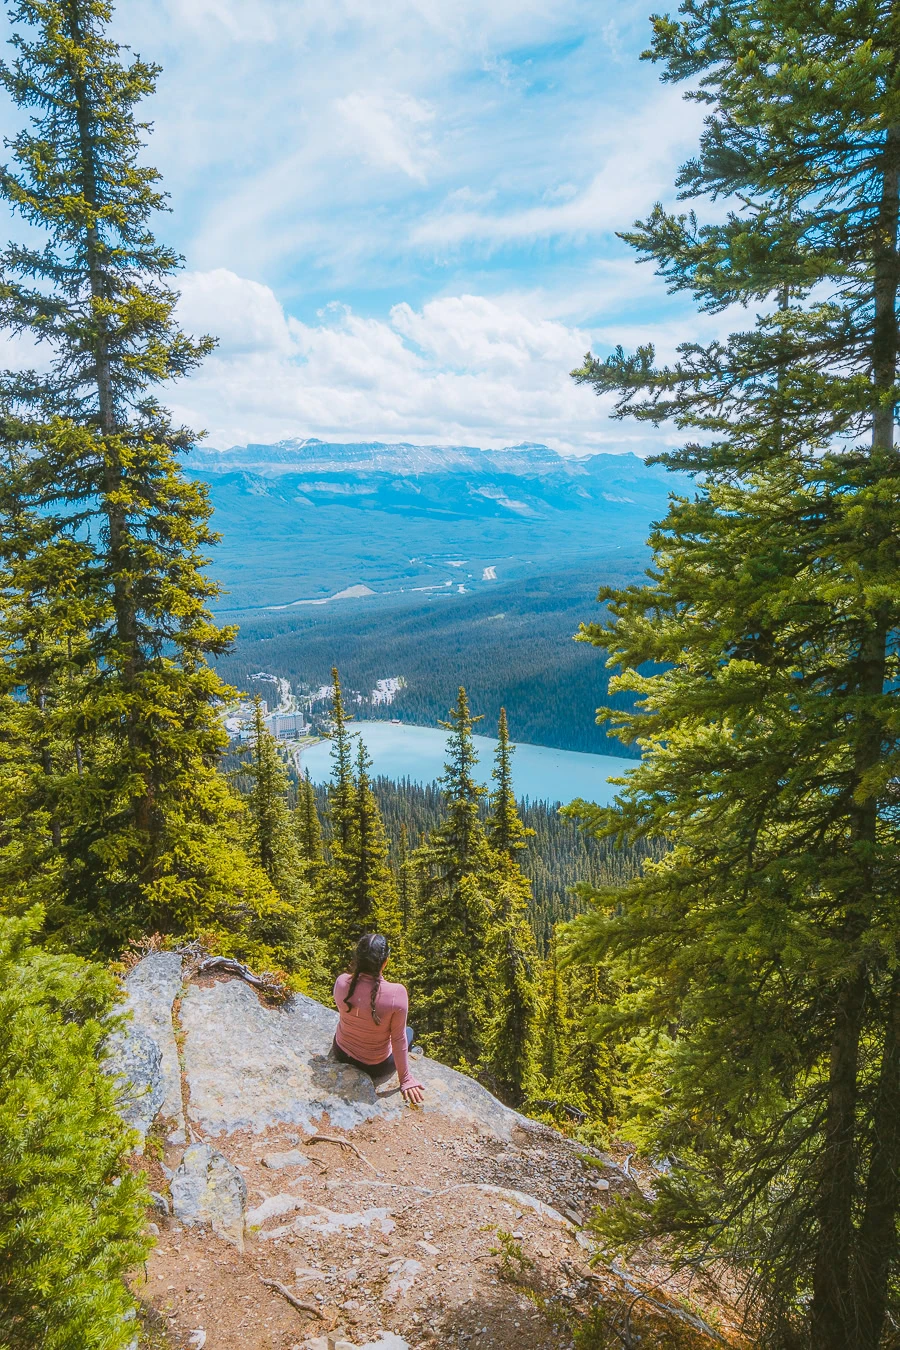
Once you’ve caught your breath, it’s time to take on a short but challenging trek up to Little Beehive. The trail consists of lots of switchbacks to make the gradient easier to hike, but it’s still fairly steep, so be sure to take breaks whenever you need to.
At the top of Little Beehive, you’ll have sweeping vistas of the Lake Louise town below and Lipalian Mountain in the distance. This is a stunning little extension of the Lake Agnes trek and one you’ll truly appreciate once at the summit.
Lunch at Lake Agnes Tea House
Your tummy will be grumbling by the time you get back down to Lake Agnes, so it only makes sense to have a cup of tea and some food while you’re there. Boasting 100 types of tea and a delectable selection of lunchtime treats, you really have the pick of the green at Lake Agnes Tea House.
Consider trying their sandwich and soup of the day combo; it’s the perfect comfort food. Bear in mind the Tea House is only open from 4th June until the Canadian Thanksgiving (14th October).
Hike Up to Big Beehive
- Mileage: 1.7 km (1 mile) from Lake Agnes Tea House
- Elevation Gain: 339 meters (1,112 feet)
- Difficulty: Hard
- Trail: Link
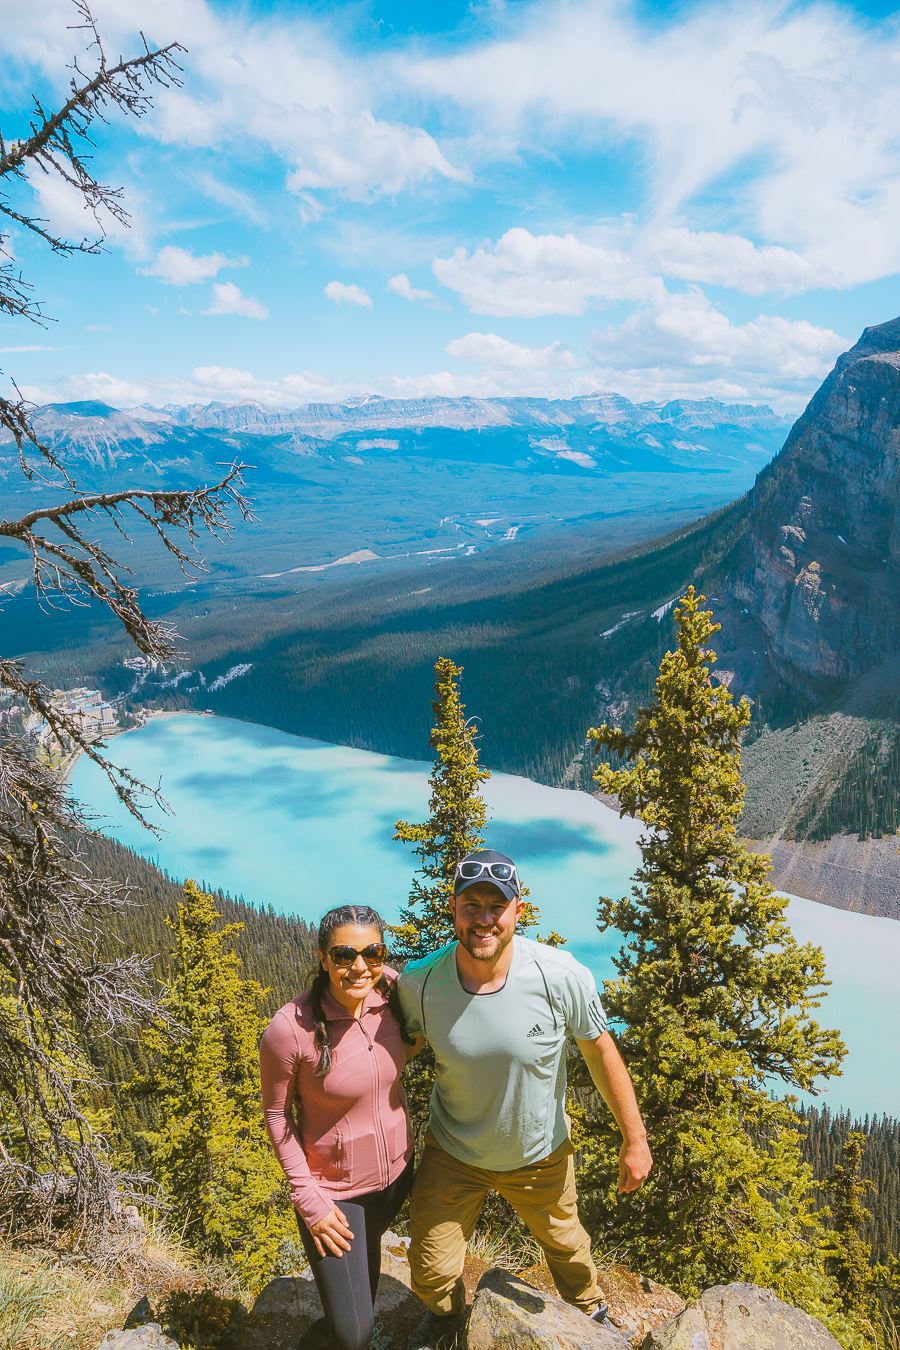
Now that you’ve refueled, it’s time to hike up to Big Beehive, where magical views of Lake Agnes and Lake Louise await. The first half of the trail wraps around Lake Agnes before reaching a series of sharp switchbacks.
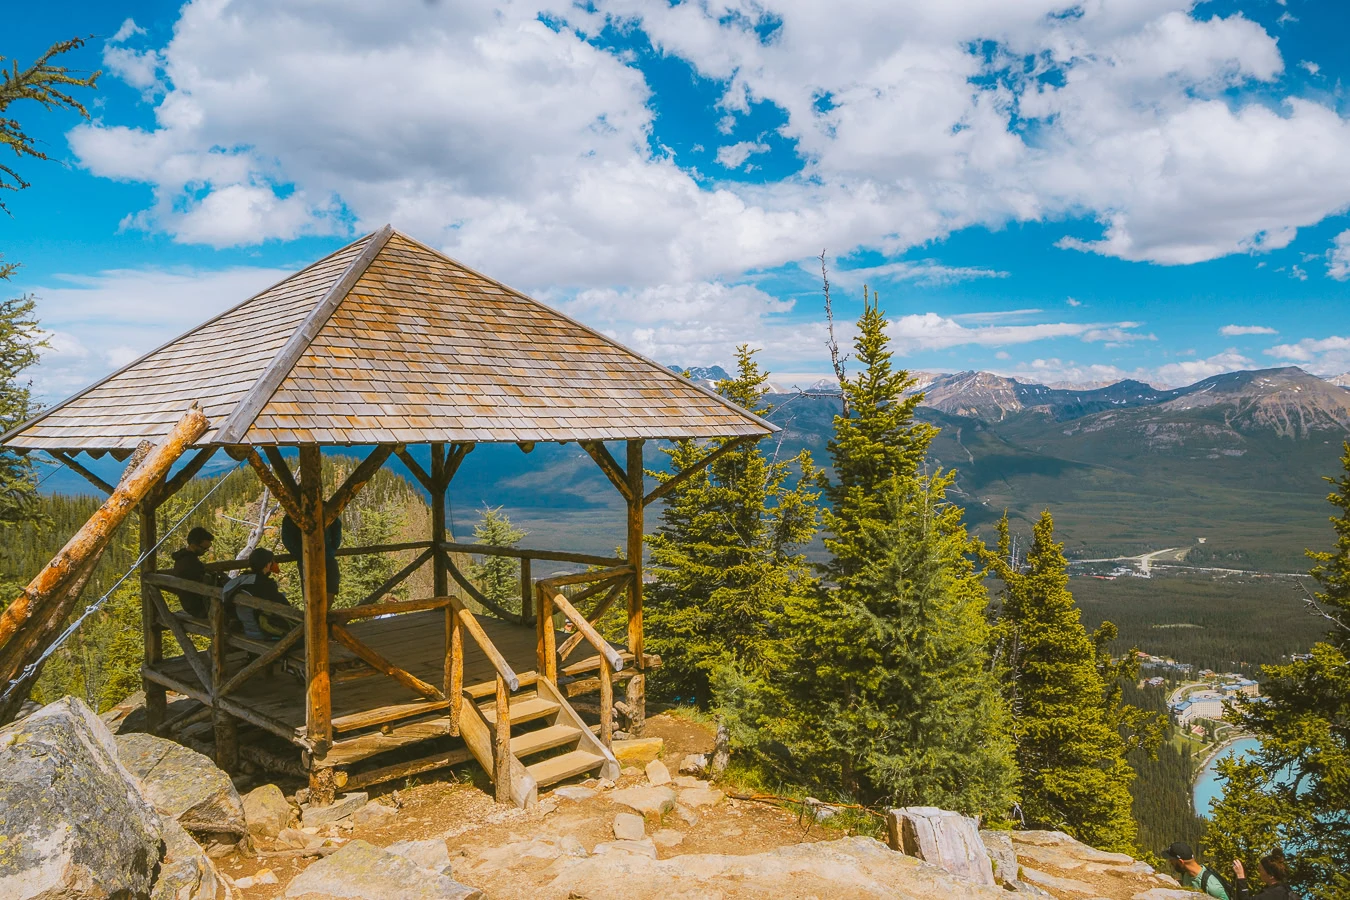
This meandering section is where you’ll experience the most elevation gain, so be sure to stop if you need to. From the switchbacks, it’s a 0.5 km (0.3-mile) stroll to the summit.
From here, you’ll have eclectic views of both lakes as well as Six Glaciers, which feeds both lakes with its glacial water.
Hike Down to Six Glaciers Tea House
- Mileage: 12.9 km (8 miles) from the Big Beehive
- Elevation Gain: 300 meters (984 feet)
- Difficulty: Hard
- Trail: Link

To round off the day of hiking, instead of turning right toward the switchbacks, take the left fork onto the Highline Trail.
This route starts a nice and easy descent before meeting up with the Plain of Six Glaciers Trail. This is where you’ll experience a gradual incline as you head toward the Six Glaciers Viewpoint.

Roughly 1 km (0.6 miles) from the viewpoint, you’ll come across the Six Glacier Tea House, which is a great place to rest. After that, continue along the trail to the viewpoint, where you have vivid views of the glacier that feeds Lake Louise and Agnes. It’s then a gradual descent all the way back to Fairmont Chateau.
End With Dinner at Fairmont Chateau Lake Louise
Complete day three with a lovely dinner at Walliser Stube in Fairmont Chateau. They use dark timber and large windows to create an atmosphere the Swiss Alps would be proud of and use fresh heirloom produce to create only the best meals.
You can tuck into a classic fondue, try out a wiener schnitzel, or dig into some succulent Alberta rainbow trout. Simply put, you’re bound to have a memorable dinner at one of Fairmont’s top restaurants.
Day 4 of Your Trip to Banff
Seeing as you’re in the Lake Louise area, it only makes sense to spend a day admiring Moraine Lake and its stunning surroundings.
Admire the Sunrise Over Moraine Lake at Rockpile
- Mileage: 0.8 km (0.5 miles) out and back
- Elevation Gain: 10 meters (33 feet)
- Difficulty: Easy
- Trail: Link

You may be traveling in the dark, but you’ll first need to drive the 14.3 km (8.8 miles) from Lake Louise to reach Moraine Lake. From the parking area, it’s a very short and sweet trek up some stairs to Rockpile.
This is where you’ll be able to capture the best sunrise photos of Moraine Lake. So, aim to get there and set up at least 30 minutes before sunrise. As the sky begins to change from navy blue to shades of pink and purple, the lake itself begins to replicate the surreal sky. It’s quite simply the best way to start your day.
Note: Moraine Lake Road is closed to personal vehicles, so you’ll need to get a Parks Canada shuttle ticket. >>>Purchase Tickets Online
Have Breakfast at Moraine Lake Lodge
After admiring the sunrise, it’s to fill up on a delectable breakfast at the Walter Wilcox Dining Room. They open every morning from 7 AM and offer an elegant menu, using only the freshest ingredients from local farms.
As they support the local farms in the area, the menu is regularly updated based on the seasonal ingredients. No matter the time you visit, the coffee will be hot, and the views of the garden with Moraine Lake in the distance will set the scene.
new on the shop
The Ultimate Camping Trip Planner!
Our camping trip planner helps you stay organized and plan all aspects of your adventure so that you can conquer new territories with ease.
Rent a Canoe at Moraine Lake
Now that your stomach is settled, you can get going with the first bit of action for the day with a stunning canoe ride on Moraine Lake.
You’ll need to rent a canoe from Moraine Lake Lodge, which works on a first-come, first-served basis. So, if you’re visiting in the peak season, you’ll want to snatch a canoe fairly early in the morning.
If you look to your left as you wade through the turquoise water, you’ll spot the Tower of Babel. Dead ahead from the boathouse lies Tonsa Peak, while Eiffel Peak will rest to your right. Be sure to canoe around the entire lake, as each area holds unique vistas you simply have to see for yourself.
Buy a Sandwich at Snowshoe Cafe for Larch Valley/Minnestimma Lakes Trail
- Mileage: 8.9 km (5.5 miles) out-and-back
- Elevation Gain: 564 meters (1,850 feet)
- Difficulty: Hard
- Trail: Link
Before tackling the challenging three-and-a-half-hour hike up Larch Valley, go grab a sandwich and some snacks from the Snowshoe Cafe. It’s located in Moraine Lake Lodge and has a vast selection of delicious treats for you to take on your trek.
Once you’re sorted on the food front, it’s time to begin the gradual but grueling ascent through Larch Valley to the Minnestimma Lakes. The steepest section of the trek begins after around 1 km (0.6 miles) as you zig-zag up the side of the valley.
At the end of the switchbacks, it’s then a fairly gentle trek up to the largest of the Minnestimma Lakes. The largest lake offers stunning photo opportunities, as the baby blue lake rests between Pinnacle Mountain to the west and Mt Temple to the east.
Enjoy Dinner at Bill Peyto’s Cafe
Round off another amazing day with a hearty meal at Bill Peyto’s Cafe in Lake Louise. As the restaurant for a hostel, not many would expect it to be a good dining experience, but that is far from the truth.
Bill Peyto’s is an affordable, heartwarming restaurant, allowing its good food, large fireplace, and wooden finishings to create a lovely experience. From burgers and pasta to sticky toffee pudding and brownies, you can have a true feast here.
Day 5 of Your Banff, Canada Vacation
To end off an epic itinerary for Banff, you’ll explore all the scenic spots between Lake Louise and the Saskatchewan River Crossing. This is the halfway point of the Icefields Parkway drive from Banff to Jasper National Park.
Breakfast at the Trailhead Cafe
Start day five the way you mean to end with a filling meal at one of the town’s top spots, the Trailhead Cafe. You’ll find it on the strip along Lake Louise Drive, and it’s the perfect place to dig into some real comfort food.
From full American breakfasts to light pastries and indulgent coffee, you’ll have a world of options to pick from.

PS: They also have really cute signs throughout the cafe with quirky sayings.
Take Some Reflection Pictures at Herbert Lake
- Mileage: 1.6 km (1 mile) loop
- Elevation Gain: 27 meters (88 feet)
- Difficulty: Easy
- Trail: Link

Just six minutes into the Icefields Parkway, you’ll come across the charming Herbert Lake. It’s situated alongside the road, and you can take photos from your car. However, it’s best to walk the easy 30-minute trail so you can admire the lake from all angles.
Roughly 1 km (0.6 miles) into the walk, you’ll come across a platform that stretches out over the lake. This is the perfect place to capture the reflection of the mountains and yourself in the lake.
Hike to Hector Lake
- Mileage: 4.5 km (2.8 miles) out-and-back
- Elevation Gain: 114 meters (374 feet)
- Difficulty: Easy
- Trail: Link
After an 11-minute drive along the parkway, you’ll reach the Hector Lake Viewpoint. While taking photos from here is a fantastic opportunity, it’s also worth taking on the one-hour and 15-minute hike to the lake’s edge.
Roughly 1.1 km (0.7 miles) into the trek, you’ll meet up with Bow River and follow along the tributaries all the way to Hector Lake. Once at the lake’s shore, you’ll have sweeping views of the brilliant blue lake and Mount Gordon and Balfour in the distance.

Top Tip: If you don’t want to hike to the lake, you can always just snap photos from the viewpoint.
Take Memorable Photos at Bow Lake

Drive a further 15.7 km (9.7 miles) along the parkway to Bow Lake, one of the first lakes fed by the Bow Glacier. You can really tell it’s one of the first glacier-fed lakes thanks to its brilliant turquoise waters.
The viewpoint along the side of the road offers fantastic vistas of Bow Lake, with Mt Thompson wrapping around the stunning body of water. It’s also best to capture the photos from the right-hand side of the parking area, as it offers the best vantage.

Note: If you want to visit Bow Falls and the viewpoint of Bow Glacier, consider taking on the 8.9 km (5.5-mile) hiking trail.
Grab Some Lunch at The Lodge at Bow Lake
Just before taking on the afternoon hikes, go to The Lodge at Bow Lake and get some lunch to go. They offer packed lunches that are perfect for your hike.
That said, you can also enjoy your lunch in the gardens of the lodge overlooking Bow Lake. It’s worth noting The Lodge was previously known as the iconic Num-Ti-Jah Lodge, which has been inviting guests since 1923, so it’s worth visiting just for the history of the lodge.
Hike the Bow Summit Trail to View Peyto Lake
- Mileage: 6.8 km (4.2 miles) out-and-back
- Elevation Gain: 287 meters (941 feet)
- Difficulty: Moderate
- Trail: Link
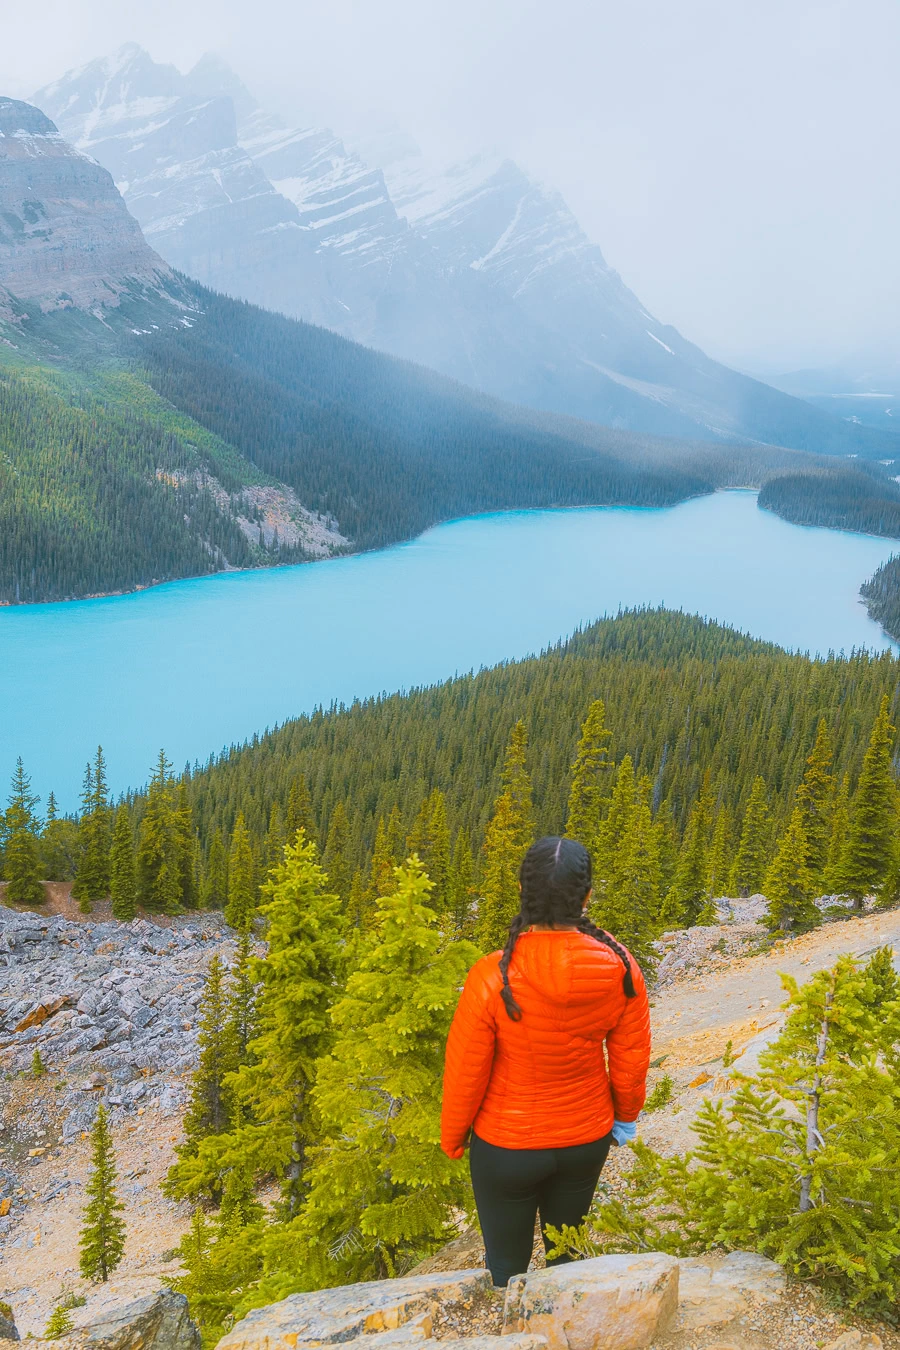
Between Peyto Lake and Bow Lake, you’ll find the moderately challenging Bow Summit hike. Starting at the parking lot, the trail meanders its way up the northern side of Mount Jimmy Simpson.
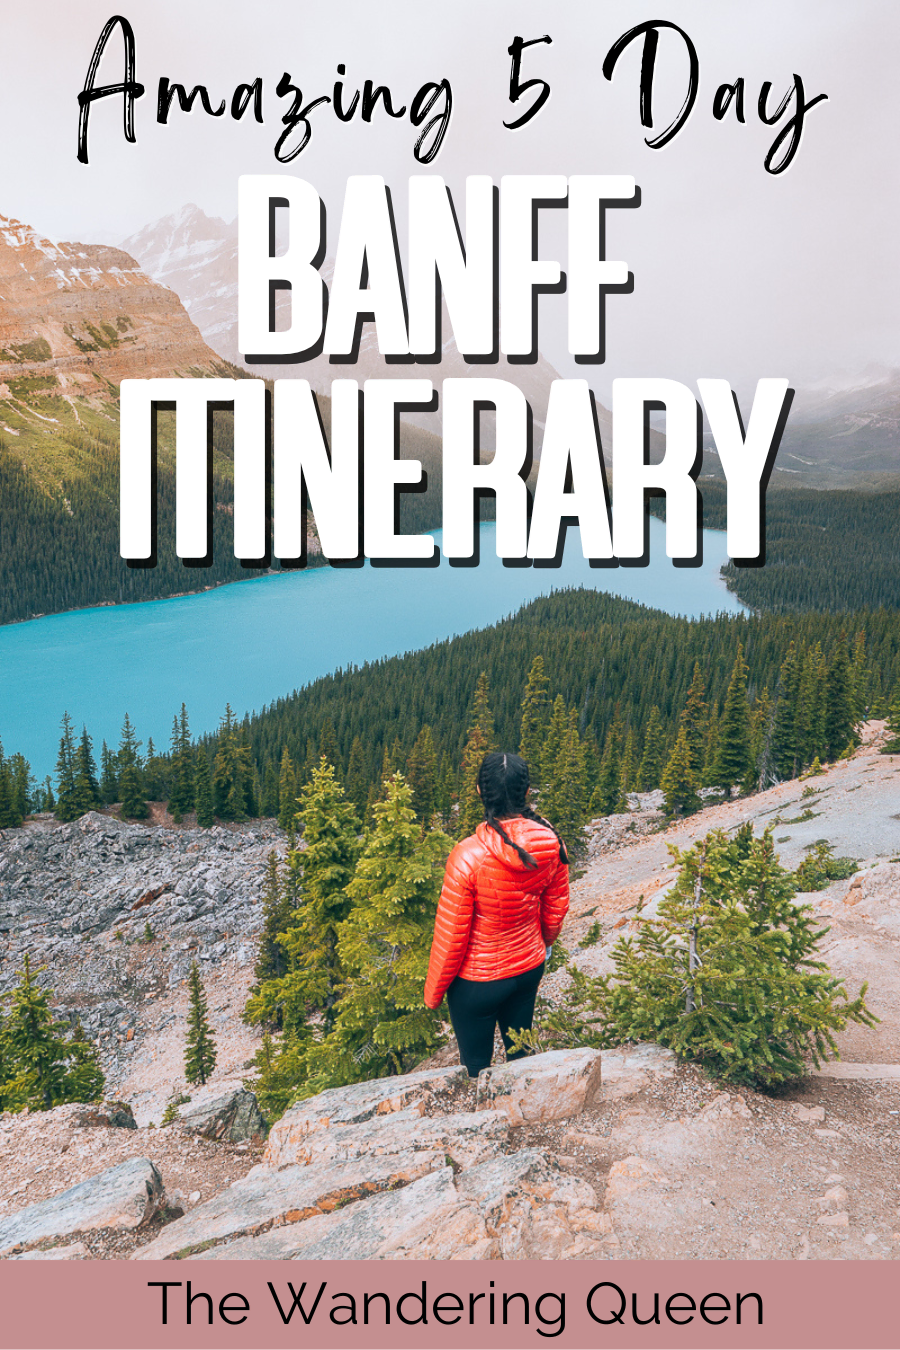
Roughly 0.7 km (0.4 miles) into the climb, you’ll come across the first lookout of Peyto Lake. The views of the lake surrounded by alpine forests are nice from here, but they’re nothing compared to what you’ll see at the summit.
You’ll start to experience a steep incline from 1.4 km (0.8 miles) into the trail. Your thighs will be on fire by the time you reach the summit, but it’ll all be worth it once you look upon the brilliant blue of Peyto Lake from above.
Hike to Chephren Lake
- Mileage: 8.2 km (5.1 miles) out-and-back
- Elevation Gain: 258 meters (846 feet)
- Difficulty: Moderate
- Trail: Link
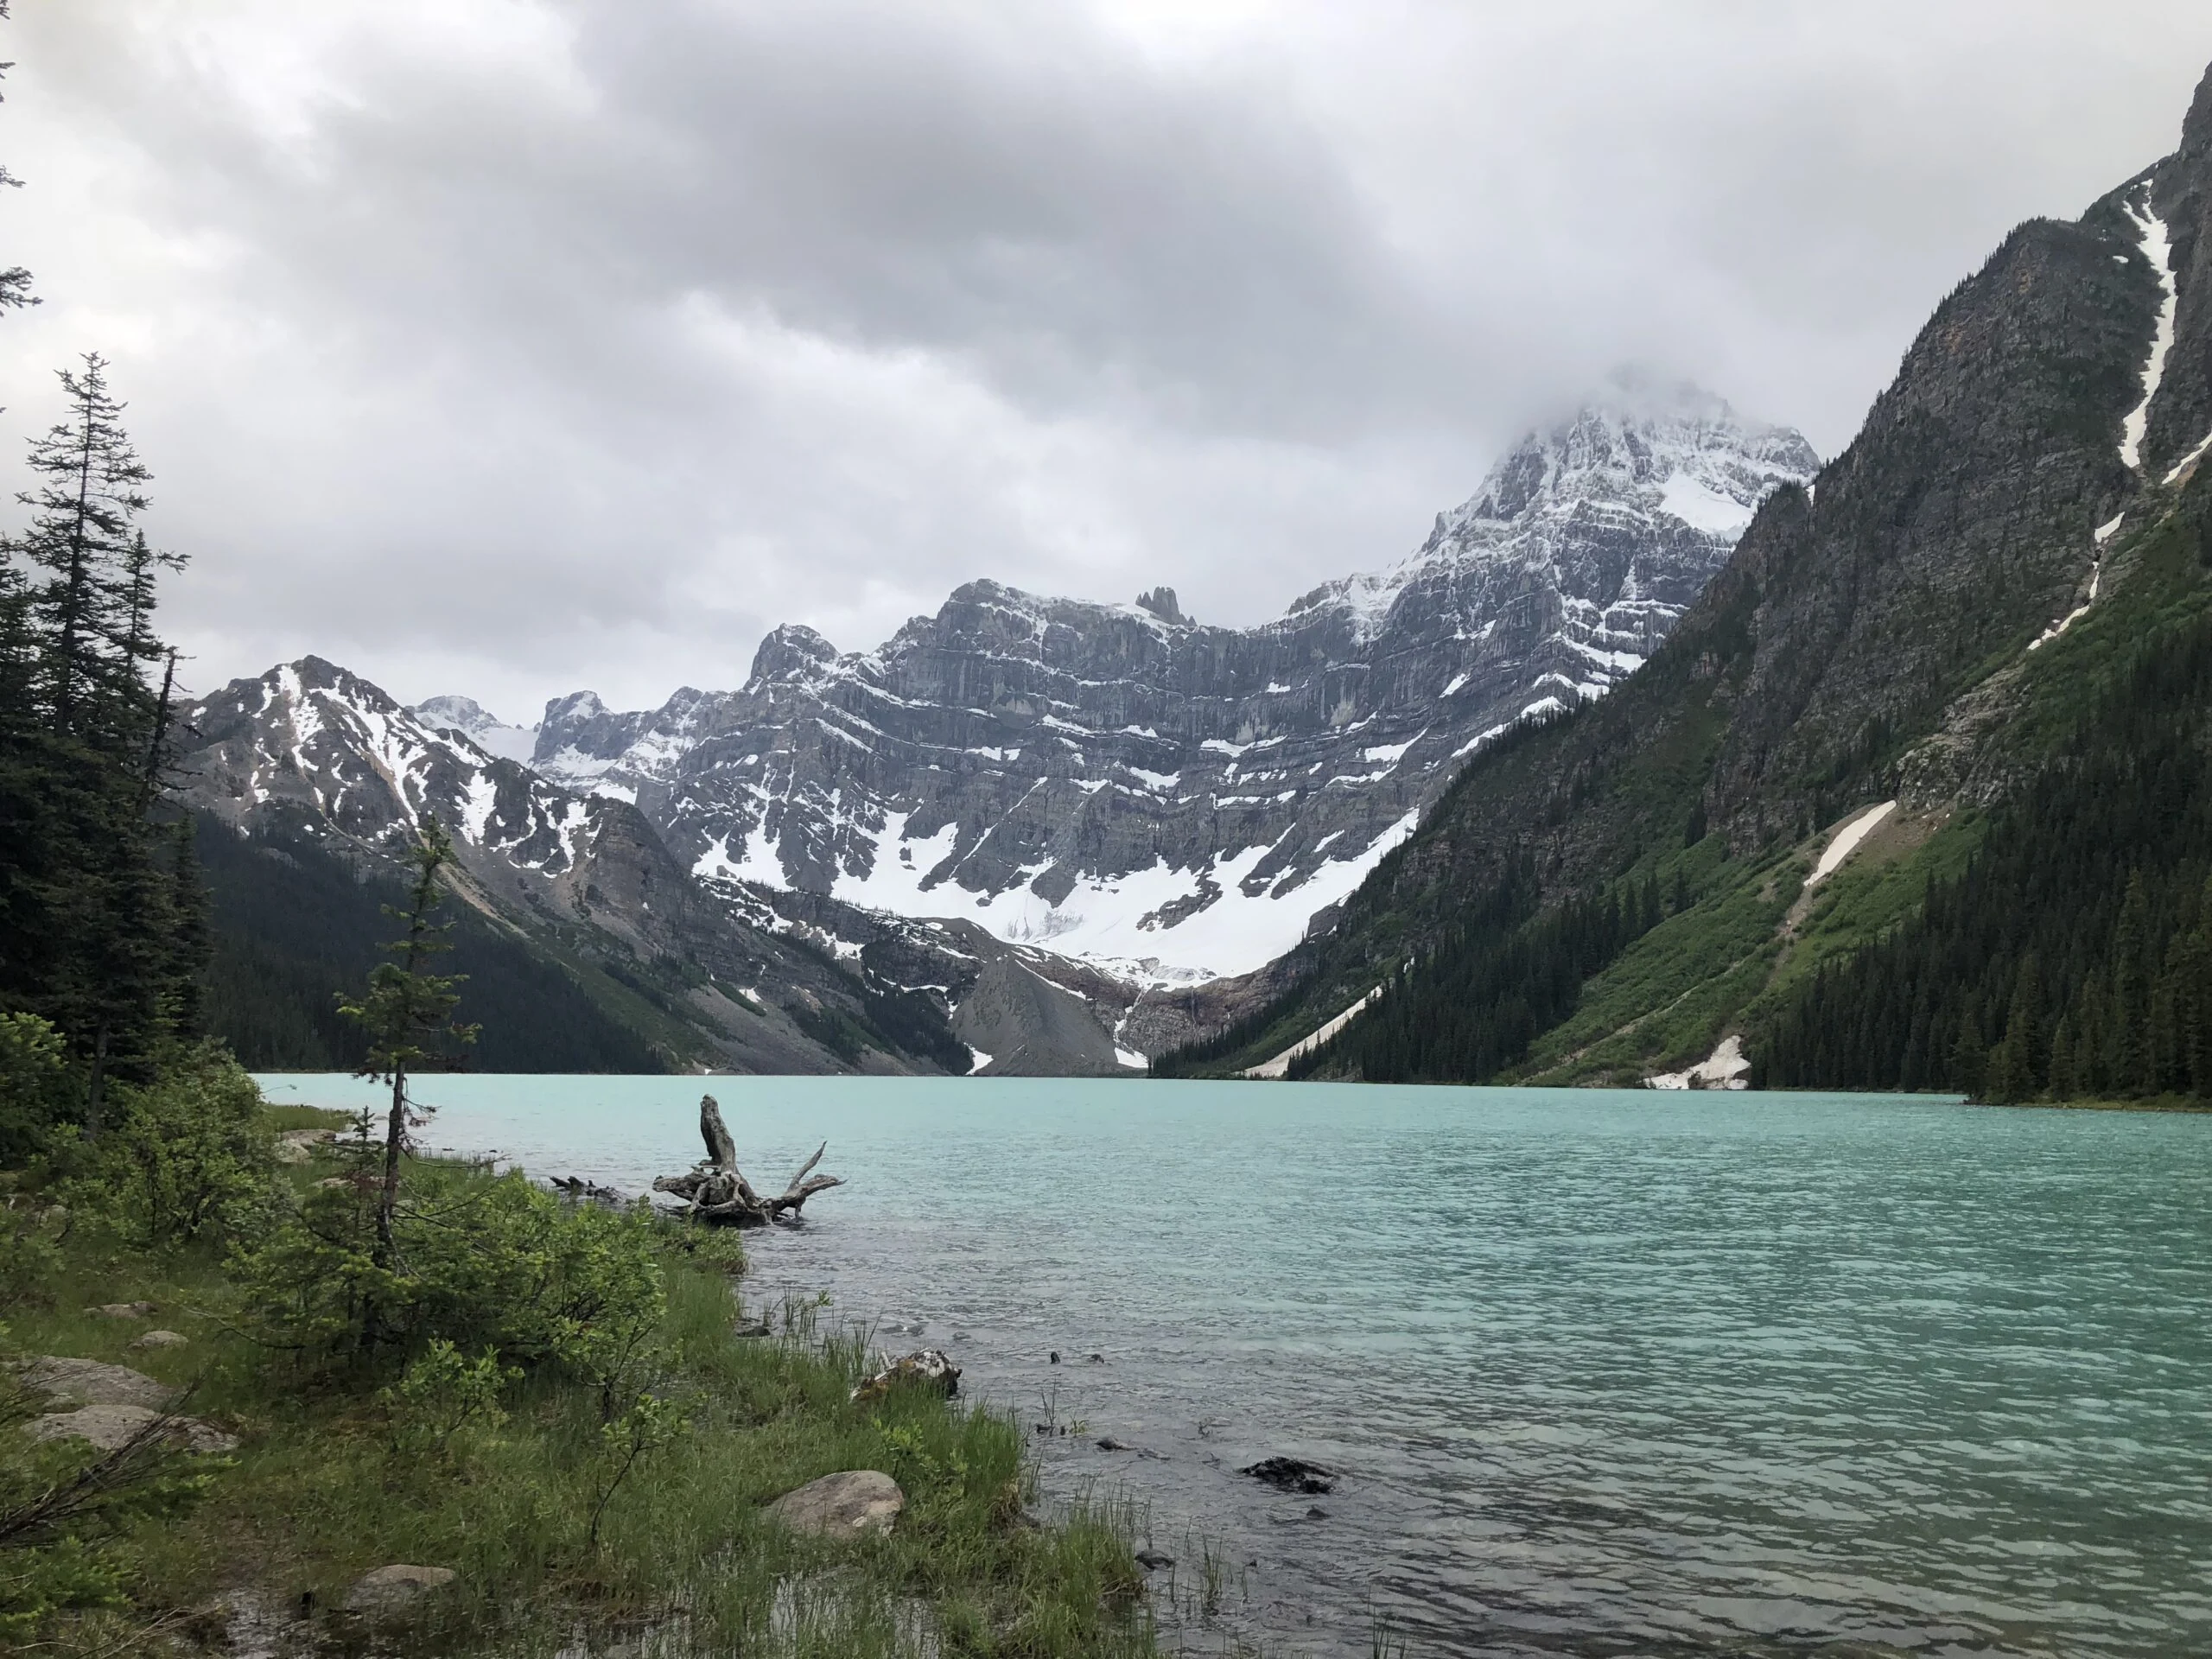
Starting at the Waterfowl Lakes Campground, the Chephren Lake trail is a two-and-a-half-hour trek through the spectacular Canadian alpine forest. Throughout the hike, you’ll notice much of the trail is muddy, largely due to snowmelt and rain, but you can easily avoid it by walking along the trail’s outer borders.
There is a slight incline towards the start of the trek, but you’ll notice this peters out as the rest of the trail is relatively easy. Once you reach the lake, you’ll have undisturbed views of Mount Chephren overhead.
Dinner at The Crossing Resort
To round off an epic journey through Banff, have a sublime dinner at The Crossing Resort near the Saskatchewan River Crossing. While there are three restaurants to pick from, Mt. Wilson Restaurant is the pick of the bunch come dinnertime.
With eclectic views of Mt. Wilson in the distance, you can tuck into their seasonal all-you-can-eat dinner buffet. This is a hearty way to say au revoir to Banff and bonjour to Jasper National Park.
Other Banff Trip Itinerary Ideas
Now, you may not have a full five days to explore Banff, so for your convenience, here are three other itineraries for you to consider.
Planning a One Day Vacation in Banff, Canada
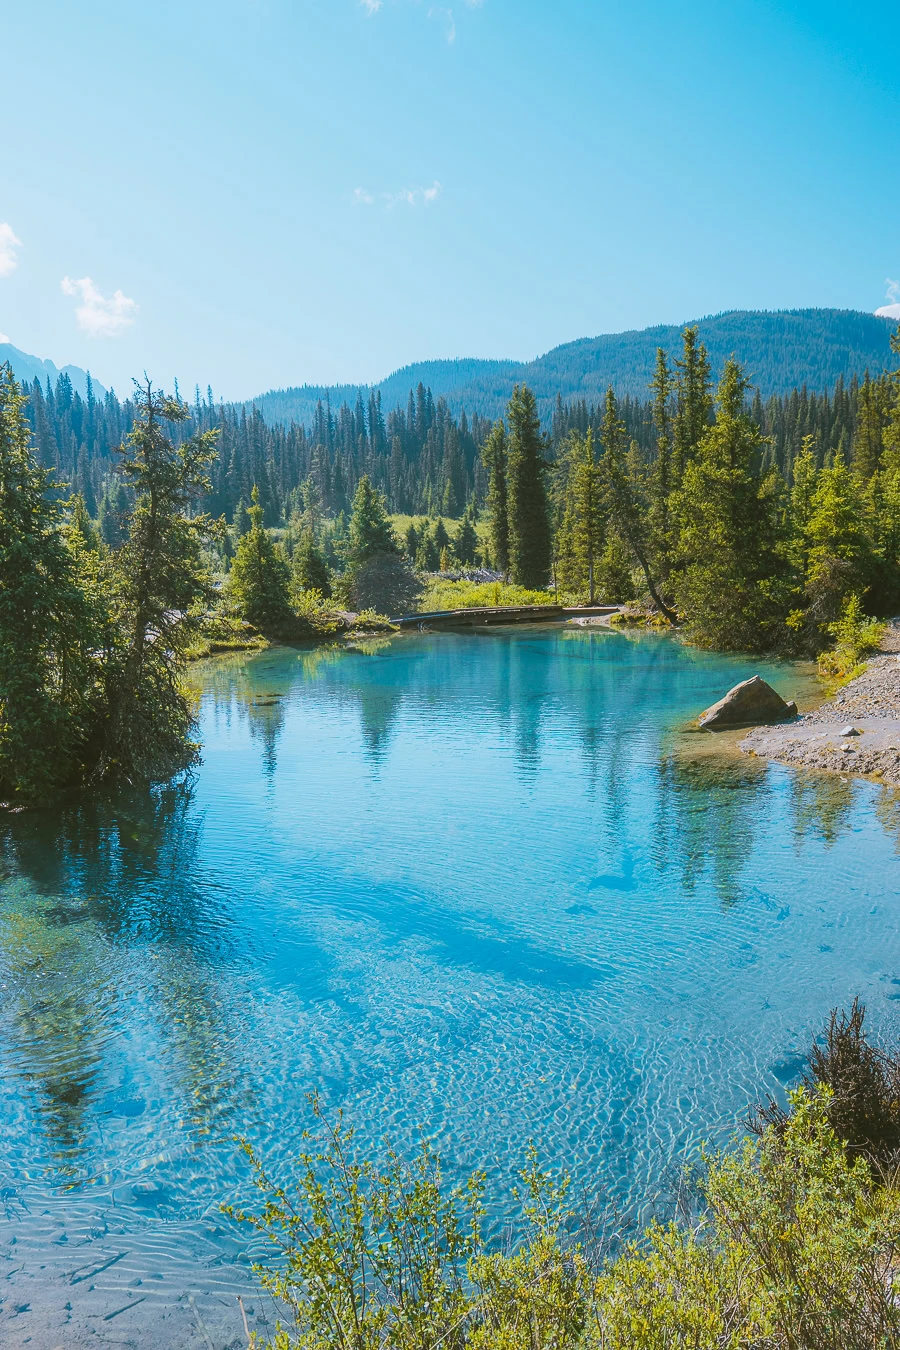
If you only have one day in Banff, spend it road-tripping along the Trans Canada Highway. You’ll have plenty to see as you stop at the top viewpoints and lakes between Banff and the Saskatchewan River Crossing.
Stop One — Lake Minnewanka boat tour
Stop Two — Mount Norquay Lookout
Stop Three — Vermillion Lake
Stop Four — Hike Johnston Canyon
Stop Five — Take photos of Castle Mountain at Castle Junction
Stop Six — Admire the views at Morants Curve
Stop Seven — Stop at Lake Louise for lunch at the Fairmont Chateau
Stop Eight — Take a detour to Moraine Lake for some stunning vistas
Stop Nine — Snap some epic reflective photos at Herbert Lake
Stop Ten — Take the short hike to Hector Lake
Stop Eleven — Stop to take some photos at Bow Lake
Stop Twelve — Admire the sight of Mt Patterson Glacier
Stop Thirteen — Gaze at Waterfowl Lake Viewpoint
Stop Fourteen — End with a dinner at The Crossing Resort
Planning Two-Day Trips to Banff
For a 2-day Banff itinerary, split your time between Banff Town and Lake Louise. You can spend the first day in a similar vein as day one of the 5-day itinerary and plan a night drive to Lake Louise. After that, aim to explore Lake Louise as described for the third day of the 5-day Banff itinerary.

PS: Are you planning a Banff and Jasper itinerary but only have two days to spend in Banff? Start early on your third day, and you’ll have more than enough time to stop at some of the top viewpoints along the Icefields Parkway between the two parks.
Planning a 3-Day Banff and Lake Louise Itinerary
For a Banff 3-day itinerary, aim to combine day one, day three, and day five of the original trip plan. This will allow you to enjoy the region around Banff Town, the stunning scenery near Lake Louise, and the eclectic drive along the Icefields Parkway.
Best Tours In Banff
FAQs About Planning a Banff National Park Itinerary

Before you leave, here are some quick answers to the most asked questions about Banff.
Should You Add Jasper National Park to Your Banff Itinerary?
There are loads of Jasper attractions worth seeing, so it’s a great idea to add Jasper National Park to your itinerary. If you do want to include this additional park, consider extending your trip to a 7-day Banff itinerary.
Can You See the Northern Lights in Banff?
Banff is actually a fantastic part of the world to see the Northern Lights. While you can see them at any time of the year, they are most frequent from October to mid-April.
Is Banff National Park Dog-Friendly?
Fortunately, Banff is an extremely dog-friendly destination. You can bring your dog along all the hiking trails and to most of the hotels in the park. Just be aware that they’ll need to be on a leash.
What To Pack For Hiking In Banff
- Sunscreen: Although our time in the Canadian Rockies was overcast, bring some just in case! >Buy some sunscreen, so you don’t accidentally burn!
- Hiking Boots/Shoes: OMG this was honestly one of the muddiest, wet places I have ever hiked. If you don’t get actual hiking shoes or boots, you will have wet soggy feet. >Don’t have soggy wet feet. Buy my Hiking Shoes
- Hiking socks: Having the correct socks helps you prevent getting blisters. Smart Wool is probably my favorite brand out there. I also love how they now have pink socks too 🙂 >Buy Hiking Socks
- Refillable water bottle: I always bring a Hydroflask on all my adventures. They are on the heavier side, but I know for a fact they will not break. I have had a few cheap water bottles break on me before. >Check Prices Now
- Water: Hiking for sure requires water.
- Sunglasses: Just in case you get lucky and the sun comes out. Also, I usually wear the most fashionable sunglasses when I hike. 🙂 >Check Out These Sunglasses
- Snacks: The best snacks are jerky, nuts, energy bars. >Clif Bars are great for hiking so click HERE.
- Trekking Poles: This is an optional product, but they help with the knees. The poles I have listed are known to be one of the best in the market. I am not going to lie I didn’t use trekking poles in Banff, but I don’t have problems with my knees. Not everyone’s bodies are the same, so if you feel like you need some extra help, then check out my trekking poles. >Buy My Trekking Poles Here
- Camera: I have linked the camera I used to take pictures of The Canadian Rockies. The Sony A6000 is an excellent camera for people that want to start improving at travel photography. >Buy Sony Camera Here
- Crampons: This will help you not slip and fall with the snow and ice. I went at the end of June and only ran into snow once (Six Glaciers Trail). If you are hiking before the end of June, I highly recommend getting crampons. It sucks walking in the snow without them. >Buy your Crampons Here
- First Aid Kit: This is one of the first things I bought when I first started backpacking and camping. It is super portable. >Buy This Awesome First Aid Kit Here
- Day Pack: The REI bag I have linked, we have had for seven years now, and it is still going strong! >Buy This Great Quality Backpack
- Good hiking pants: These are probably the best hiking pants that I have found. They keep you dry in the crazy weather, and they are durable. I will say that I brought a lot of shorts with me but never wore them. It was a little too cold for me. Your best bet is leggings or hiking pants. >Buy my hiking pants here
- Breathable sweat-wicking shirts >Check Out This Shirt
- Sports Bra: For women.
- Jacket: Yes it was chilly at times in the summer >Buy My Favorite Jacket
- Base Layers: If you run cold like me I recommend bringing them on the trip (Yes even in the summer). >Buy the bottoms here, >Buy the top here
- Tripod: This is an optional item, but it is excellent for getting the perfect sunset pictures. >Check out this tripod
- Bear Spray: You can usually buy this in the city of Banff.
- Hammock: Hammocks are a great way to lounge around. They are perfect for naps. >Buy A Packable Hammock
- Poncho or Rain Jacket: We were rained on so many times, so it is best to take a poncho with you at all times. >Buy A Great Rainjacket Here
- Headlamp: Just in case you get stuck hiking at night! >Buy A Headlamp Now
Claim your FREE Hiking Checklist
Ready to start hiking? Grab my free hiking checklist and never forget anything at home!
Final Thoughts on Planning a Trip to Banff

So there you have it, the best Banff itinerary you could ever ask for. While spending five days in Banff is ideal, you can also shorten or extend your trip as needed.
If you do decide to extend your trip and visit some of the nearby national parks, make sure you’re also prepared for these destinations. As such, it could help if you look into where to stay in Jasper to help you plan that extension of the vacation.

Get my free National Park Checklist
When you join the newsletter!
Pin For Later: Banff Itinerary
