Backpacking Olympic National Park Trails: Best Hikes & Tips
US national parks provide some of the absolute best hikes and camping there is to offer in the country, and backpacking Olympic National Park is no exception. If you’re looking for a place to backpack, stretch your legs, try out the fresh Washington air, and explore the mountains, this is as good an option as any.
There’s plenty of ecological diversity to enjoy when backpacking the Olympic Peninsula, including abundant wildlife like elk, bears, and a wide variety of birds and even sea life. Don’t worry about the difficulty, either. There’s something here for every experience level.
The options below will help you choose the perfect length and difficulty for your Olympic National Park trip. From scenic beach walks down the west coast to wooded multi-day excursions, Olympic National Park has it all.
After all, hiking and camping are among the best things to do in Olympic Park. So, let’s look into some awesome hikes you should consider on your backpacking trip.
Disclosure: This post contains affiliate links. If you click one of them, I may receive a small commission (for which I am very grateful for) at no extra cost to you.
Olympic National Park
Related Posts
A Quick Note on Olympic National Park Permits & Passes
Before your hike begins, note that in Washington State and on the Olympic Coast, there are some particular requirements around passes and permits. It’s recommended you get an America The Beautiful Pass, as it conveniently includes both the Northwest Forest Pass and the National Park Pass.
Alternatively, the Discover Pass grants access to any state park in Washington and can save a lot of money if you head out into the wilds regularly.
For Olympic National Park specifically, you’ll need to obtain an overnight backpacking permit before visiting. You can find more information on the NPS website and get your permits on Recreation.gov.
Map Of Backpacking Olympic National Park Trails
Best Hikes in Olympic National Park for Backpacking
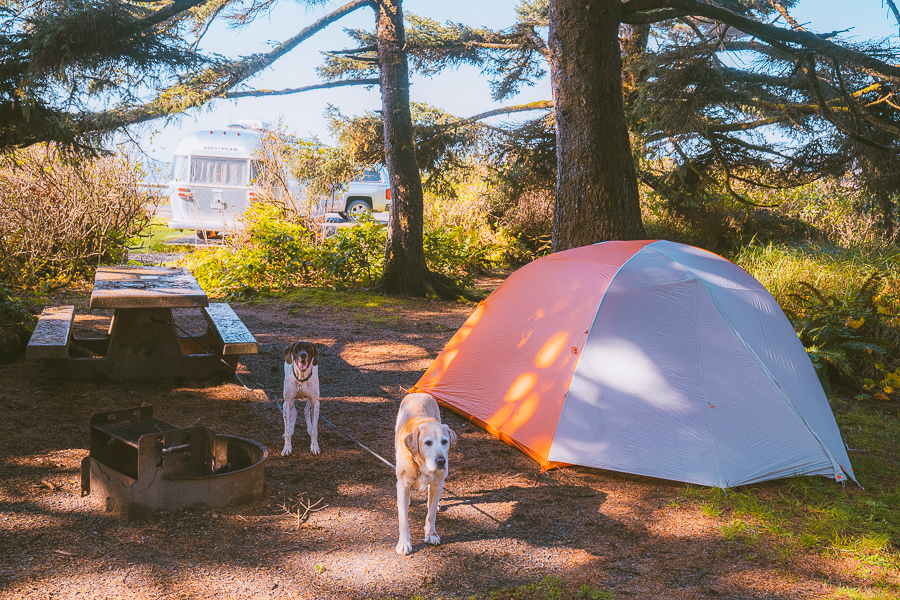
There are nearly a million acres of absolutely breathtaking wilderness comprising the National Park. Within that acreage, there are several options for your backpacking trip and trails to hike, catering to all levels of difficulty and distances.
If you’re wondering where to stay in Olympic National Park, there are also plenty of camping spots available.
It’s safe to say these Olympic National Park backpacking trips will be a huge draw for any nature lover. Lakes, the Enchanted Valley, The Olympic Mountain range, and the Pacific Ocean are the feeders of this biodiverse area.
On that note, bear in mind (no pun intended) that you will need a bear canister for most of these hikes. In many cases, you can rent one from the local ranger station or last-stop kiosk.
From Hurricane Ridge to the Enchanted Valley trail and beyond, here are the best hiking trails in Olympic National Park.
All the best views in the state
100+ WA Hikes
Embark on Washington’s best trails with our eBook! Inside, find top hikes, expert tips, and stunning views, making every adventure unforgettable. Dive into the beauty of Washington’s outdoors now!
Tours Of Olympic National Park
1. Hoh River Trail to Blue Glacier
- Elevation Gain: 5,633 feet
- Mileage: 35.1 Miles Round Trip
- Difficulty: hard
- Trail Guide: Link
One of the most remarkable aspects of this particular rainforest hike is the incredible biodiversity you can observe. Normally, you’d have to go much further off the beaten track to see the kind of range of wildlife you’d see on the Hoh River Trail.
Most of the hike is through the Hoh River Valley rainforest, and though there are many backcountry campsites dotted along the way, they are usually very much in demand. If you plan to camp, it’s best to reserve a space well in advance if you can.
Before you get to the campsites and the Blue Glacier, though, you’ll likely encounter a lot of other hikers on the first five miles or so of the hike. This day hike is popular and marked by the aptly named Five Mile Island.
Several of the other campsites along the trail are very small – think two or three tents. This is why you’ll need to chat with the ranger about booking and reserving the spots in advance. These campsites are the ideal point from which to reach the Blue Glacier in a day.
There is one major obstacle on the trail in the form of a washout. The rope and ladder solution makes navigation tough with a heavy backpack, so take this into consideration.
Join my Newsletter to receive my free Backpacking Checklist!
Subscribe to have posts delivered straight to your inbox!! PLUS, get my FREE backpacking checklist!
2. High Divide – Seven Lakes Basin
- Elevation Gain: 5,419 feet
- Mileage: 19.1 Miles Roundtrip
- Difficulty: Hard
- Trail Guide: Link
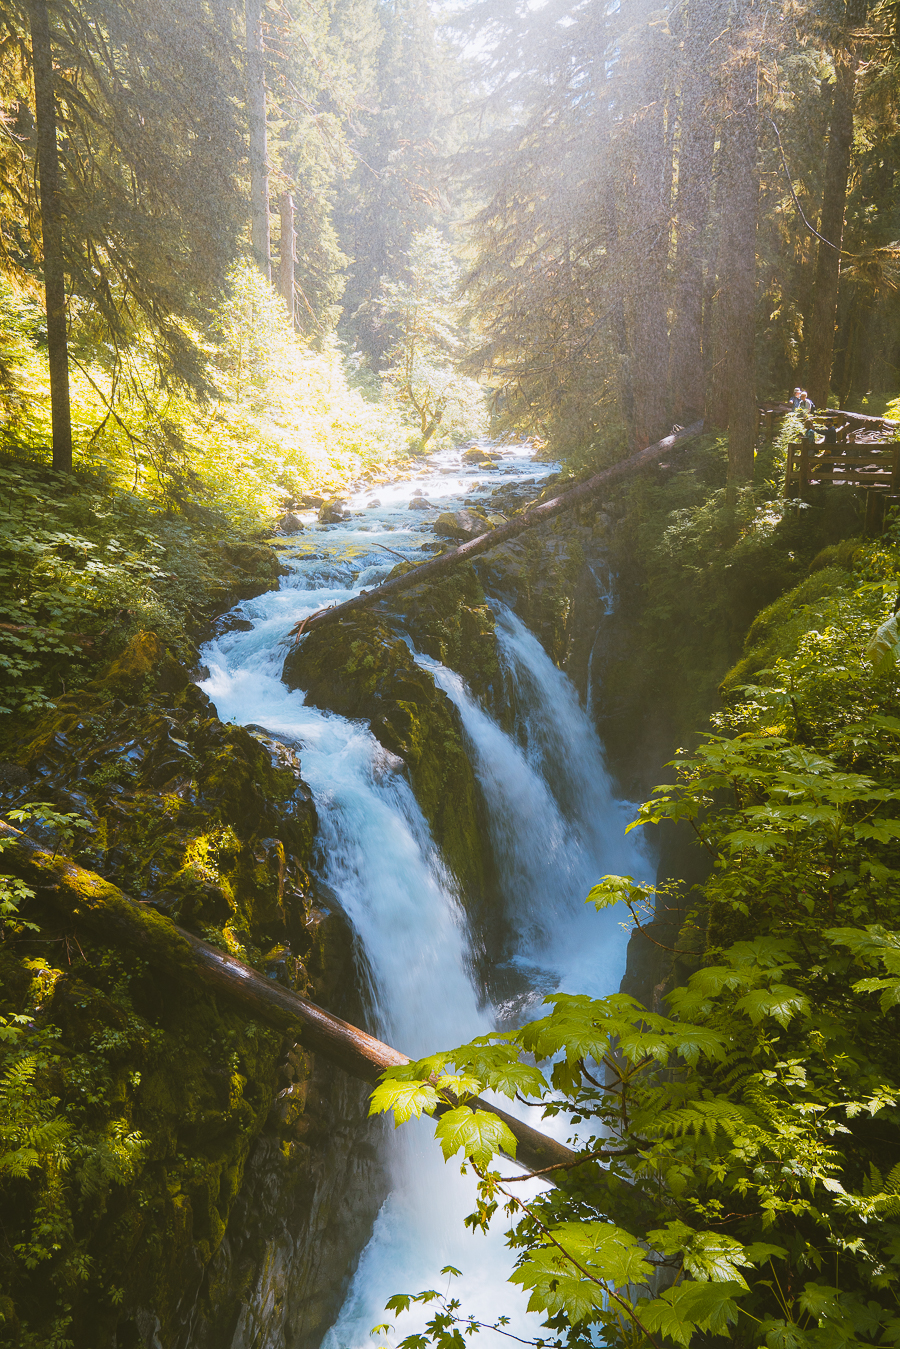
The three trailheads that feed the High Divide Trail or Seven Lakes Basin Loop all involve an early climb to the ridge in question. The main trailhead is Sol Duc Falls. Once there, the view becomes breathtaking, taking in the North Cascades’ unquestionable beauty. Further along, The Alpine Lakes will likewise take your breath away.
When you begin your hike at the Sol Duc trailhead, you’ll hit a junction for the Seven Lakes Basin Loop within a mile. Go right to explore the path leading to Sol Duc Falls, Deer Lake, and Lunch Lake. If you choose to go left, you’ll be on a trail that follows the picturesque Sol Duc River, taking you to Sol Duc Park and Heart Lake.
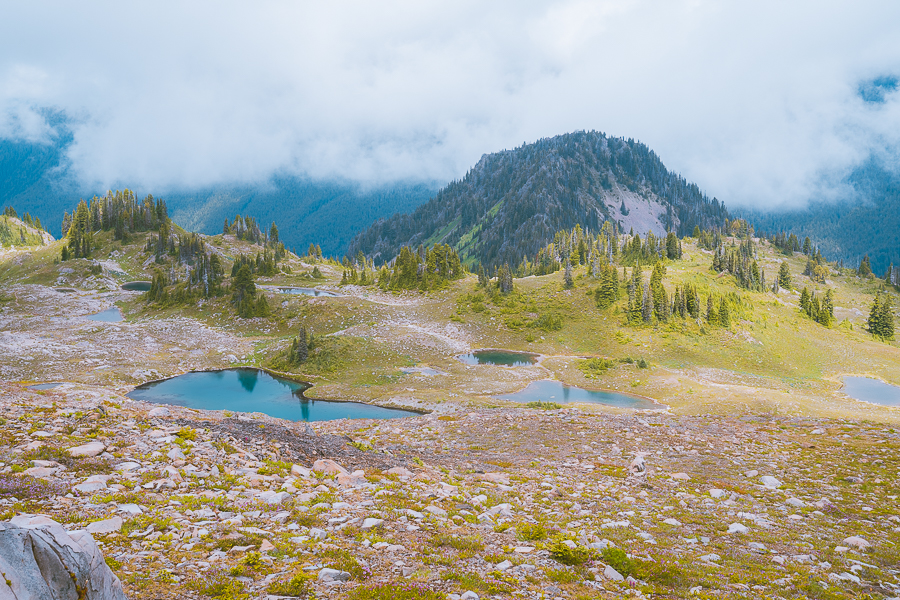
Take in Mount Olympus, as well as any of the lakes listed above you can see along the 19-mile walk. It’s not uncommon to see black bears wandering in the woods (take a bear canister). If you have the time –and you should – do a slight excursion to Bogachiel Peak for a bit of extra fun.
One suggestion is to obtain a backpacking permit and a camping permit for this hike as far in advance as possible. The High Divide —Seven Lakes Basin hike is a very popular trail, so it is often crowded during peak season, and camping spots will go quickly.

Tip: I like to book a nearby accommodation option for hiking and backcountry camping in the Olympic National Park. The Lake Crescent Lodge is a perfect spot to get your body back after a few days of wilderness backpacking.
Read a full review of the High Divide Trail here.
3. Enchanted Valley
- Elevation Gain: 3,254 feet
- Mileage: 25.5 Miles Round Trip
- Difficulty: Hard
- Trail Guide: Link
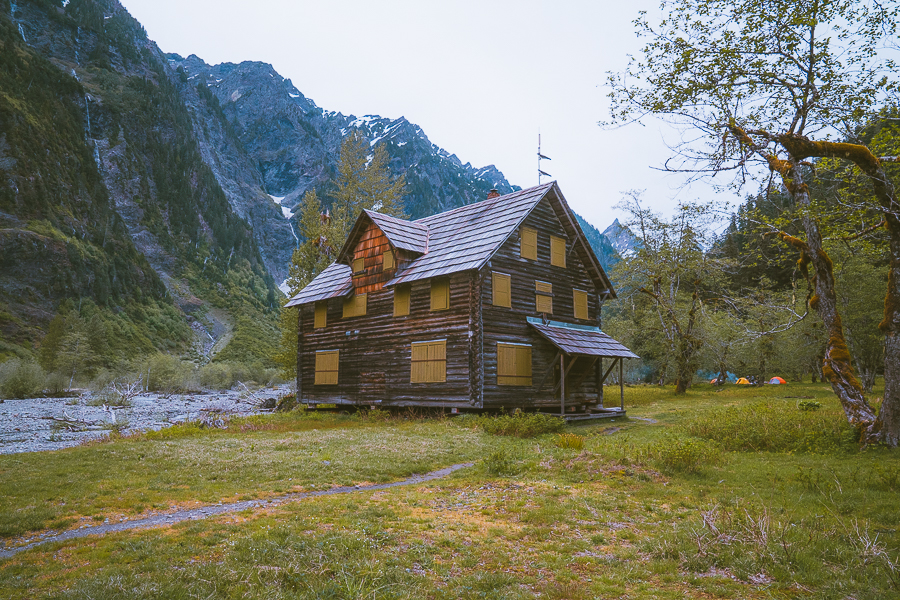
It’s worth knowing at the outset that this impressive 27+ mile Enchanted Valley hike is relatively remote. Your last “stop,” as it were, will be the ranger station en route to the trailhead. From that point, you need to take a six-mile road along the Quinault River before you reach the gravel that marks the true start of the hike.
Some hikers recommend spending the night here at the Graves Creek Campground and getting a fresh start on a long walk in the morning. Much of the hike meanders along a pretty river and includes bridges to walk across.
Once in the Enchanted Valley, you won’t spend too much time before you see the local wildlife. Elk and black bears are common. Keep an eye out also for the almost legendary Enchanted Valley Chalet. You can’t enter it anymore, but its remoteness in the forest makes for a great picture opportunity.
This is an incredible hike featuring bridges, waterfalls, trees, and the rushing East Quinault River!
Read More: Backpacking Guide To Enchanted Valley Olympic National Park
4. Hurricane Ridge Loop
- Elevation Gain: 8,900 feet
- Mileage: 38.2 Miles Round Trip
- Difficulty: Hard
- Trail Guide: Link
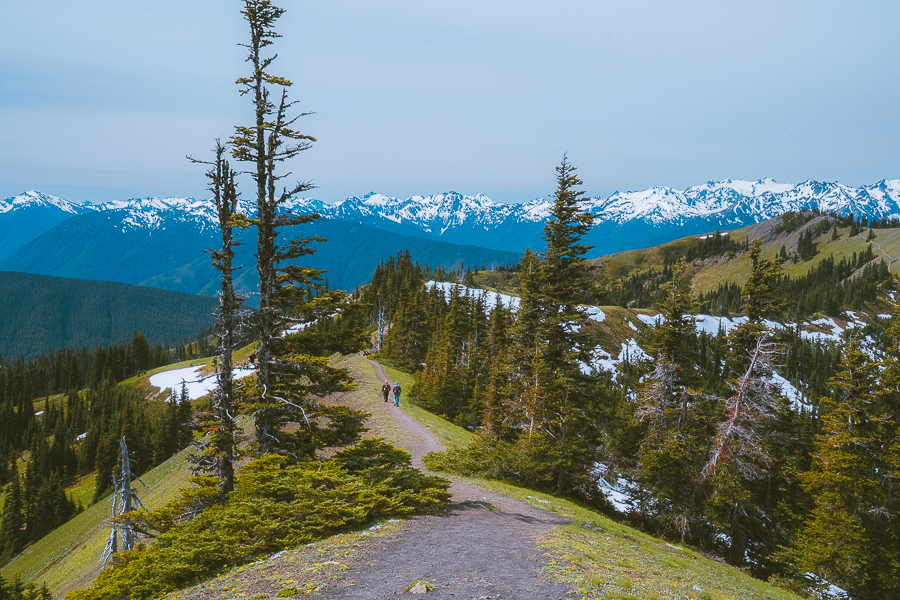
This Hurricane Ridge Hike review gives you all the details on why you’ll love this trek. So, it’s no surprise that this particular hike is an absolute favorite. The short Hurricane Ridge Loop itself is really short — less than a mile. As such, it’s great for a casual walk or a family outing.
Of course, there are longer versions of the loop you can take. Take the loop via Hurricane Hill, for example, for a 3.4-mile round trip. If you happen to be at Olympic National Park hiking along Hurricane Ridge on a clear day, you will be rewarded with a breathtaking 360-degree view of the land. You might even see all the way into Canada.
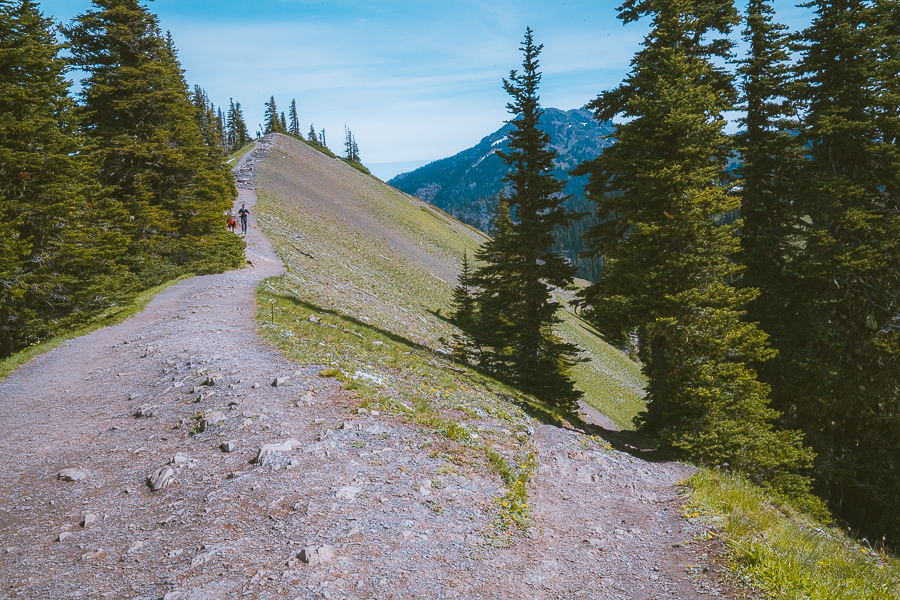

Pro Tip: Keep an eye on the weather here, as the elevation can be a factor when the weather turns nasty.
5. Shi Shi Beach
- Elevation Gain: 561 feet
- Mileage: 2 miles to the beach or 4 miles to Point of the Arches
- Difficulty: Moderate
- Trail Guide: Link
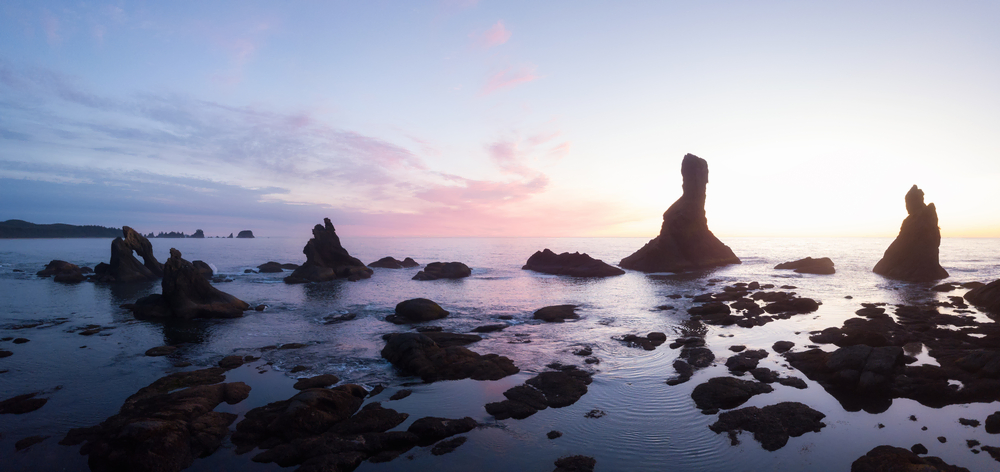
This is a relatively short hike in terms of distance, but it’s well worth spending a bit of time to stop and take in the sights. At night, the sky is also quite spectacular, and you’ll often encounter a photographer setting up to snap the stars here.
The trailhead starts at the fish hatchery and then meanders to cross lots of engineered walkways, boardwalks, and bridges. After a mile or so, the path is less maintained, and eventually, you’ll descend onto Shi Shi Beach.
This hike requires an additional permit besides the standard Olympic National Park wilderness permit. You’ll also need a Makah Recreation Pass ($20) from the museum or marina in Neah Bay.
For a longer hike, continue on to the Point of the Arches.
6. Ozette Loop
- Elevation Gain: 538 feet
- Mileage: 9.4 Miles Roundtrip
- Difficulty: Moderate to easy
- Trail Guide: Link
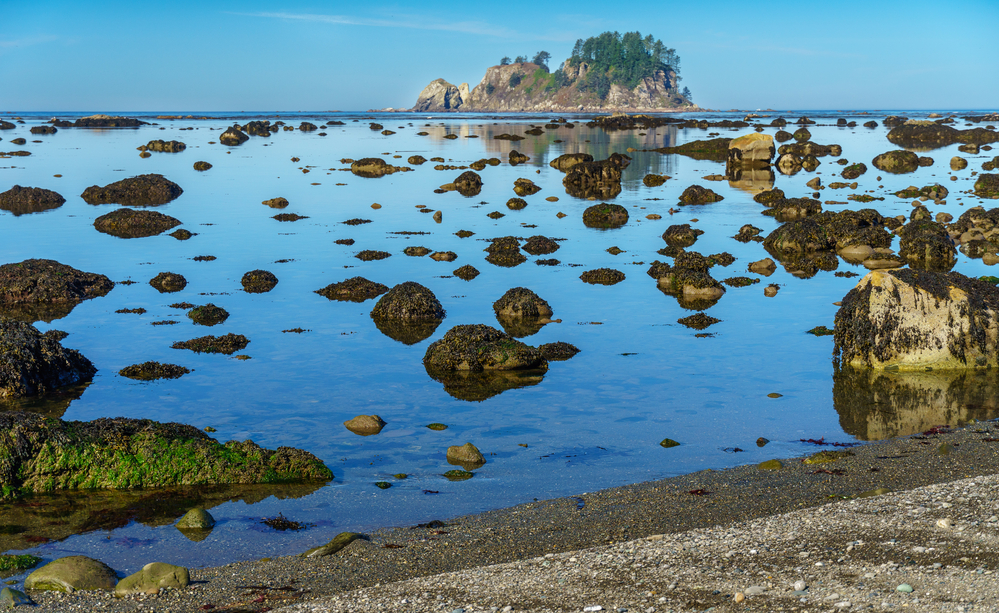
The backpacking (moderate) option for Ozette Loop is far superior to the shorter day-hike (easy) option, if only for the opportunity to get deeper into the wilderness and find the rocky and sandy beaches that are truly stunning.
It also takes a while to get to the actual loop, with the parking area and trailhead more than an hour from Port Angeles. Why not make the most of it and spend a few days in this beautiful setting?
The loop itself as a whole is like a triangle. One side meanders along the north coast, which is where you can camp on the beaches. This section of the hiking trail actually forms part of the North Coast Route, which is a spectacular route along the coastline. If you ever have the time and inclination, try to explore more of this unique hiker’s features.
Make sure to check the tide timetables, as this significantly affects the navigability and enjoyability along the ocean-side section of the hike.
The other two “sides” of the loop take you through pretty woodland paths. Breaking the trail up into a few days makes it super easy to do and more enjoyable, too.
7. Royal Basin
- Elevation Gain: 3,799 feet
- Mileage: 16 Miles Round Trip
- Difficulty: hard
- Trail Guide: Link
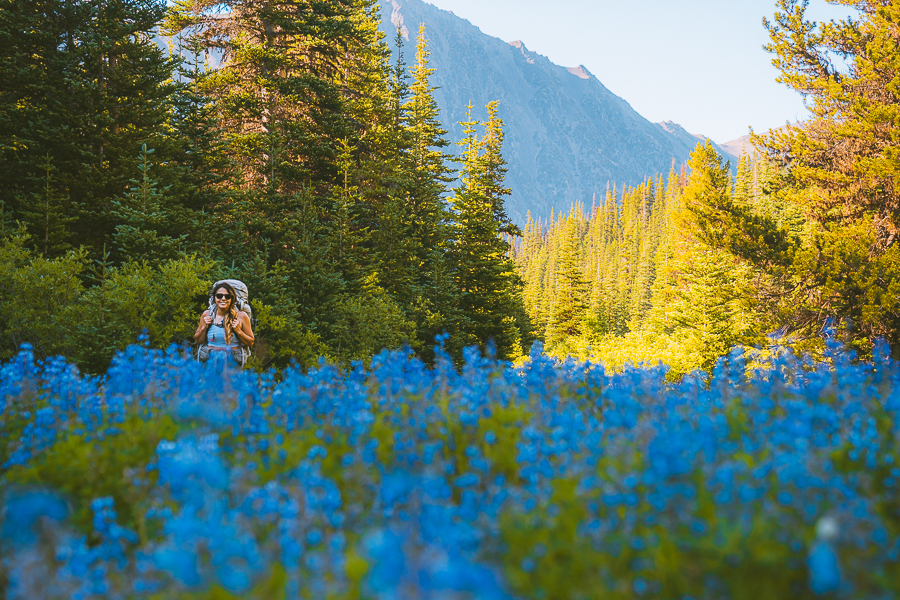
Wildflowers are among the many highlights of a leisurely trail hike at Royal Basin, especially beyond the Royal Lake. Before that, though, you’ll have to start your hike at the Upper Dungeness trail trailhead. At the bridge over the Royal Creek, you’ll turn to start the Royal Basin hike proper.
Another key landmark is Shelter Rock, an overhanging boulder that, as the name suggests, is good for a short break.
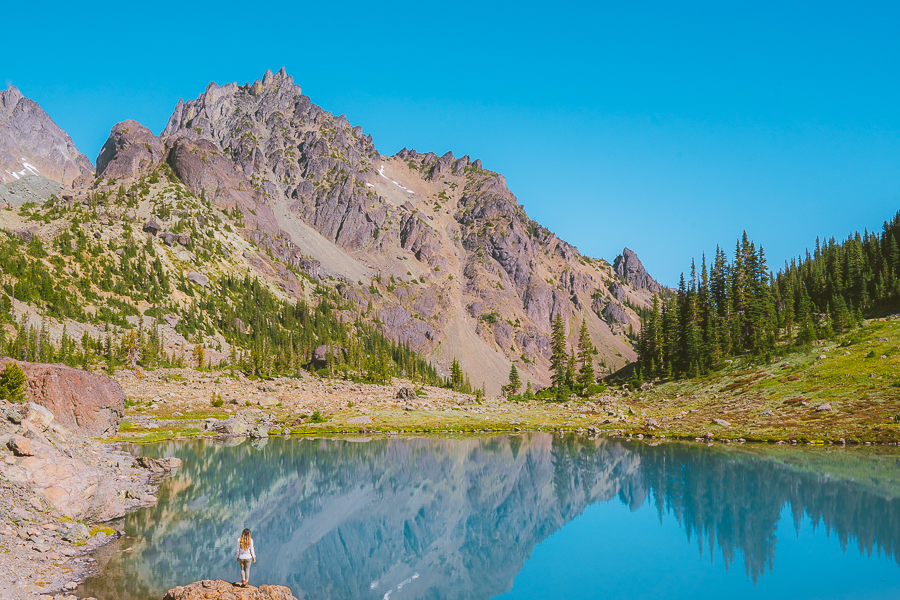
As you walk along the Royal Basin Trail, you’ll enter the Olympic National Park. There are a couple of steep-ish climbs, but soon you’ll encounter Royal Lake and a waterfall a little way beyond. Feeling more adventurous? Go further south into Deception Basin. Yes, it means extending your trip, but that’s part of the fun, isn’t it?
The Royal Basin is considered a particularly sensitive ecological area. No fires are allowed, and bear canisters are required. If you plan to camp at any of the designated sites, remember that Olympic National Park reservations are required.
Grab Your Free Car Camping Checklist! 🚗🌲
Ready to elevate your car camping game? Snag our essential checklist to ensure you’ve got everything you need for a stress-free, fun-filled adventure! Perfect for beginners and seasoned campers alike. Download now and hit the road prepared! 🌟🎒
8. Second Beach
- Elevation Gain: 278 feet
- Mileage: 2.1 miles out and back
- Difficulty: Easy to moderate
- Trail Guide: Link
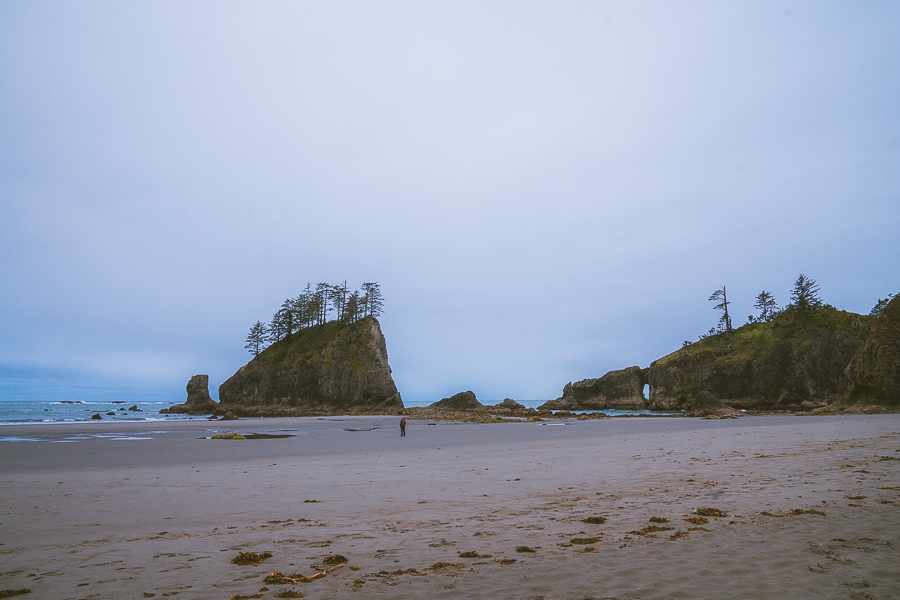
Park just outside La Push (itself a pretty whale-watching town near the mouth of the Quillayute River). Follow the route from here on foot, through some trees, across a creek, and then down towards a staircase.
From the beach, which is breathtaking (remember to check the tides), you have two options. Go north to the arch or head south toward Teahwhit Head, an unusual headland with cliffs and rocks and a broad beach.
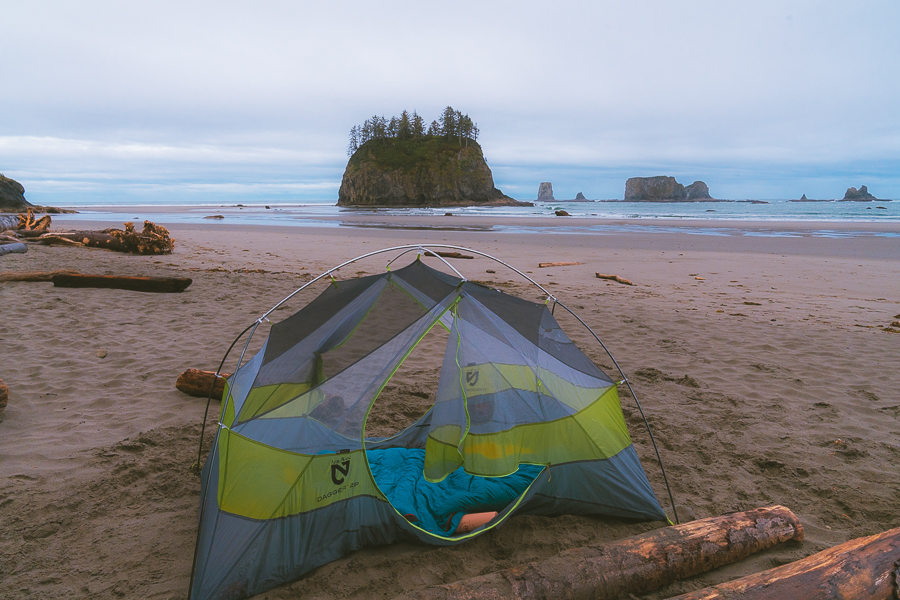
Second Beach camping is something to try if you haven’t yet. When you experience it, you will know why it’s one of the most popular beaches in Washington.

Note: You’ll pass the “cabinet tree” containing lots of people’s mementos from the beach. Authorities have requested that no more be added to the cabinet tree for environmental reasons.
9. Rialto Beach
- Elevation Gain: 108 feet
- Mileage: 3.3 Miles Round Trip
- Difficulty: Easy
- Trail Guide: Link
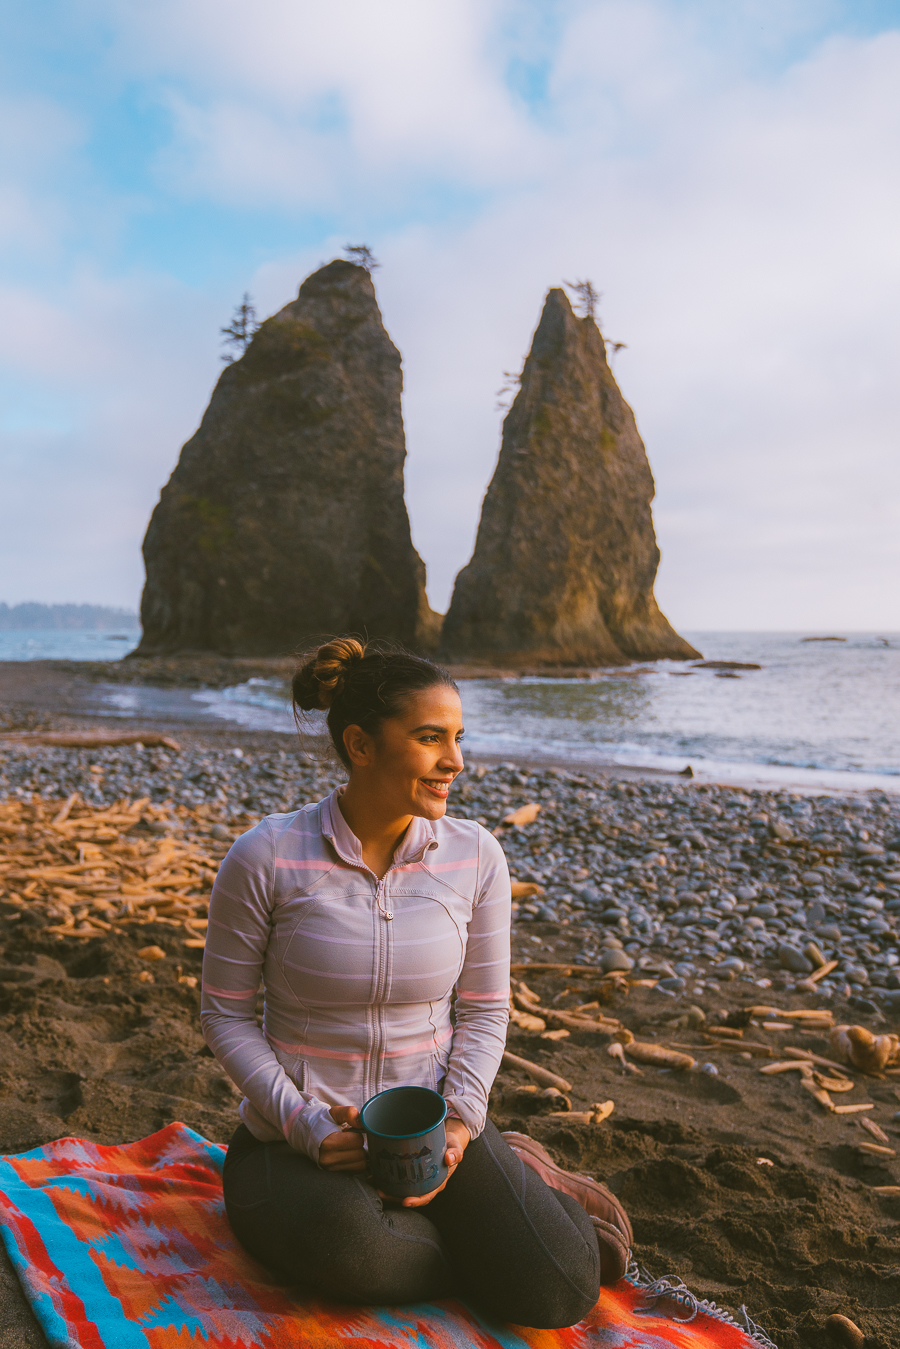
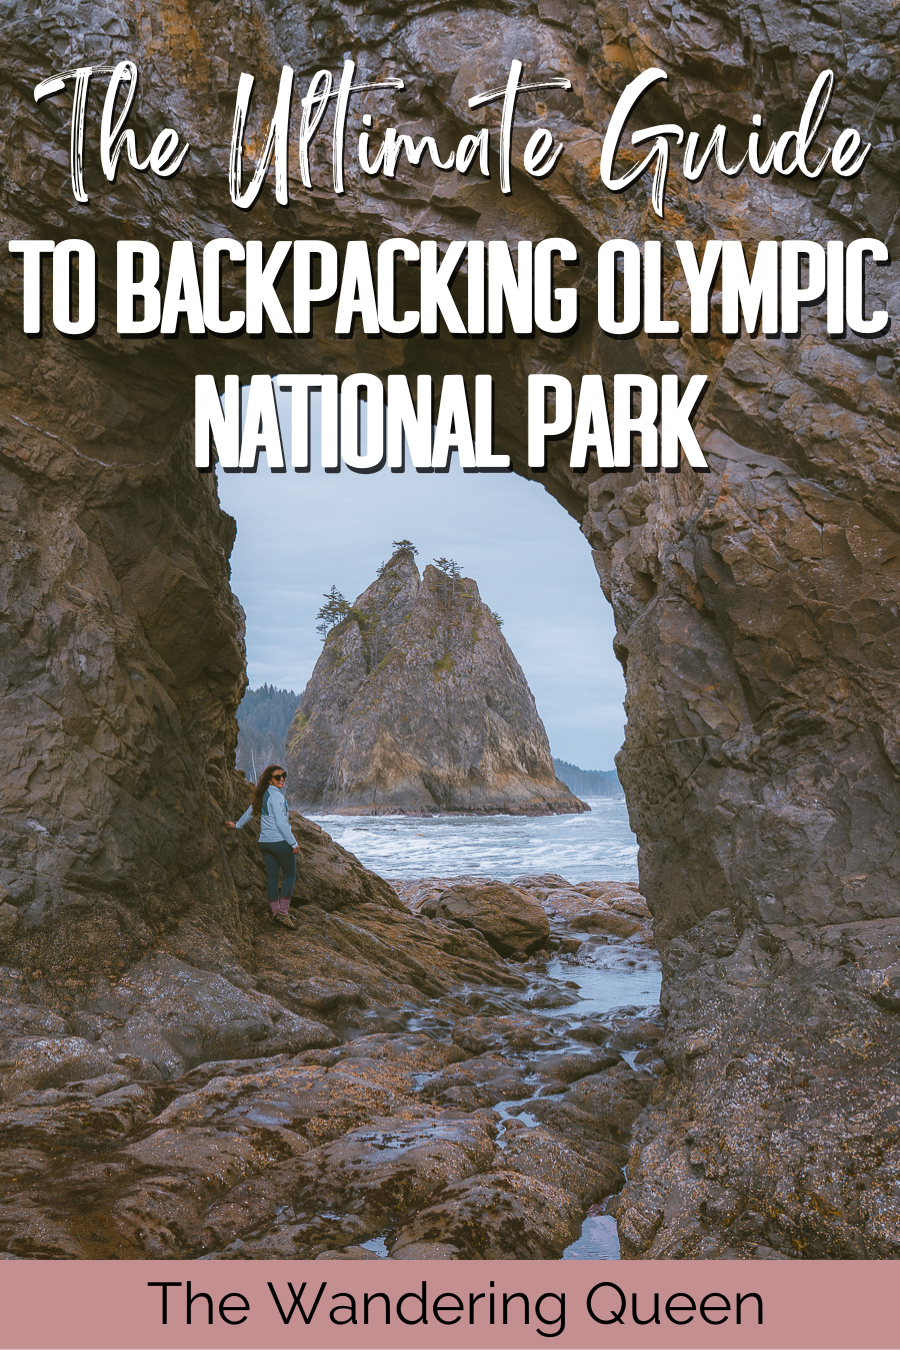
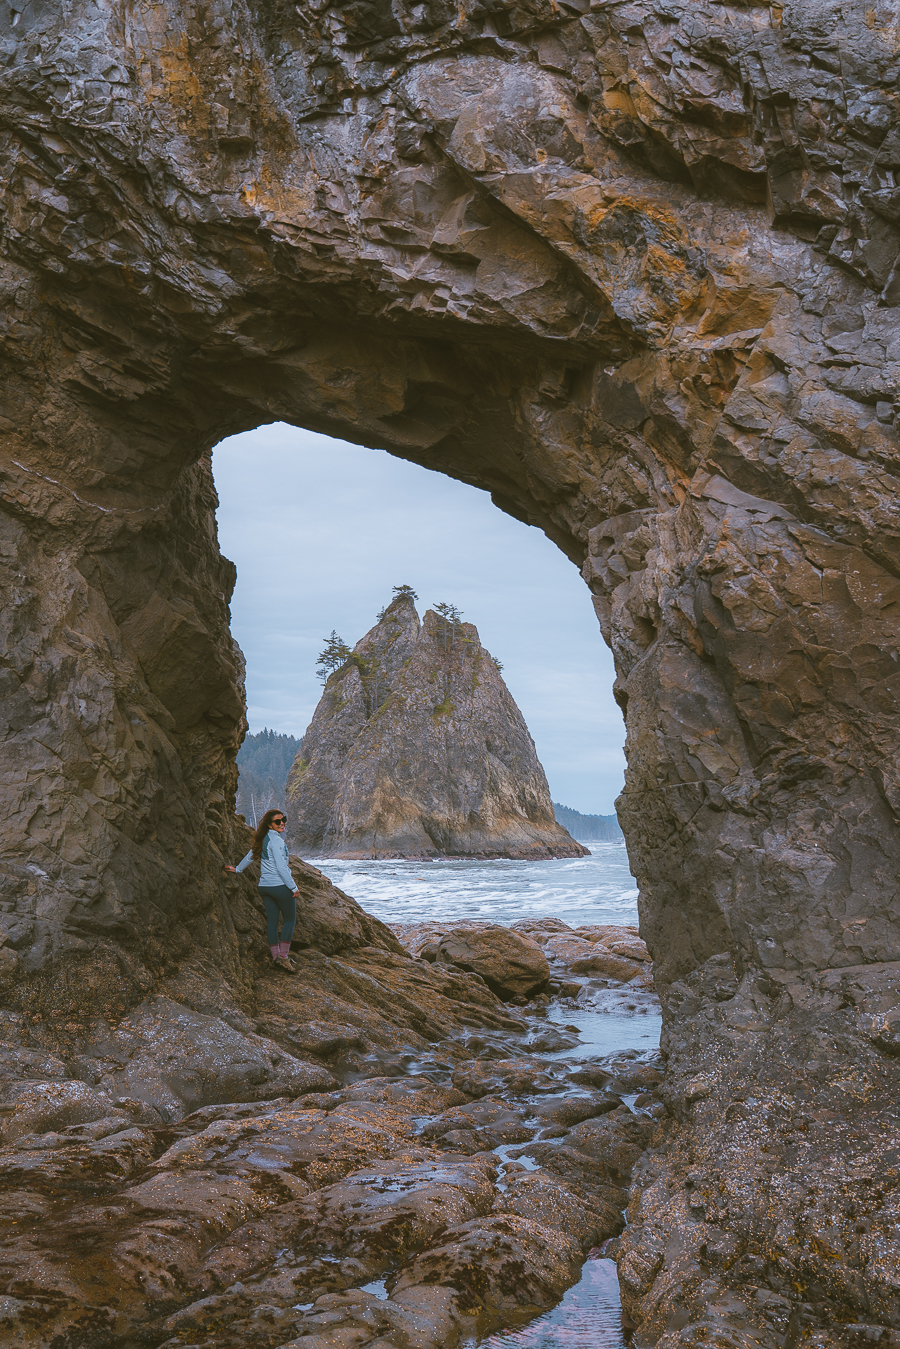
The Rialto Beach and Hole in the Wall Hike are some of the most well-known and popular in Washington. This can be a relatively challenging trek, depending on how far you choose to walk, and kicks off near La Push on the Quillayute River.
To some degree, you can choose how long to walk the beach trail. Most do a quick two-mile walk to Hole in the Wall. But there is an option to walk up to 17-18 miles to Ozette (some overland sections involved), which is ideal for Olympic National Forest backpacking.
In this case, you may want to look at overnight Olympic National Park backcountry camping along the way, which will require a permit and reservation.
There is also a 13-mile out-and-back trail along the beach if you feel up to a brisk day-long hike. There are lots of boulders and rocky sections to traverse, though, so it’s not recommended for inexperienced hikers.
As mentioned, the longer trail can be considered challenging, depending on weather and high and low tide conditions. The coastal terrain does get a little rough in some sections. On the upside, you might see groups of spy whales or sea lions along the way.
Look to the south, and you should be able to see James Island. Otherwise, take the stroll towards Split Rock and Hole in the Wall, which is best seen at mow or minus tide.
10. Bonus Trail: Mount Townsend
- Elevation Gain: 2,982 feet
- Mileage: 8.5 Miles Round Trip
- Difficulty: Hard
- Trail Guide: Link
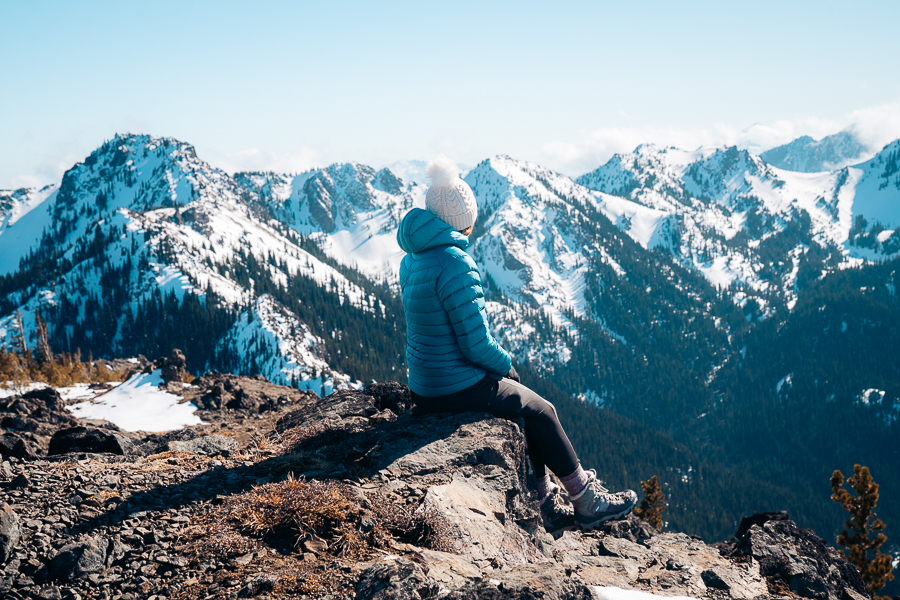
This trail isn’t technically in Olympic State Park but is close enough (about 50 miles), so consider trying out if you’re in the mood for another mountain option on the Olympic Coast. There are four trails to the top of the mountain, and you can try any one or all of them.
One of the most popular routes, the Mount Townsend Trail, the lower trailhead is often used in colder seasons, as the upper, higher trailheads may be more difficult to get to on account of snow. In warmer seasons, the upper trailheads prove to be most popular. There are also tons of wildflowers and berries throughout these months.
To the east, you catch thrilling sights across the cascades, and the valleys create interesting variations between a few waterfalls, the old-growth forest, and meadows.
Other trail options up the mountain include the Silver Lake Trail in the west, the Little River Summit in the northeast, and the Dirty Face Ridge (or Little Quilcene Trail) in the northwest.
The Best Time to Backpack in Olympic National Park
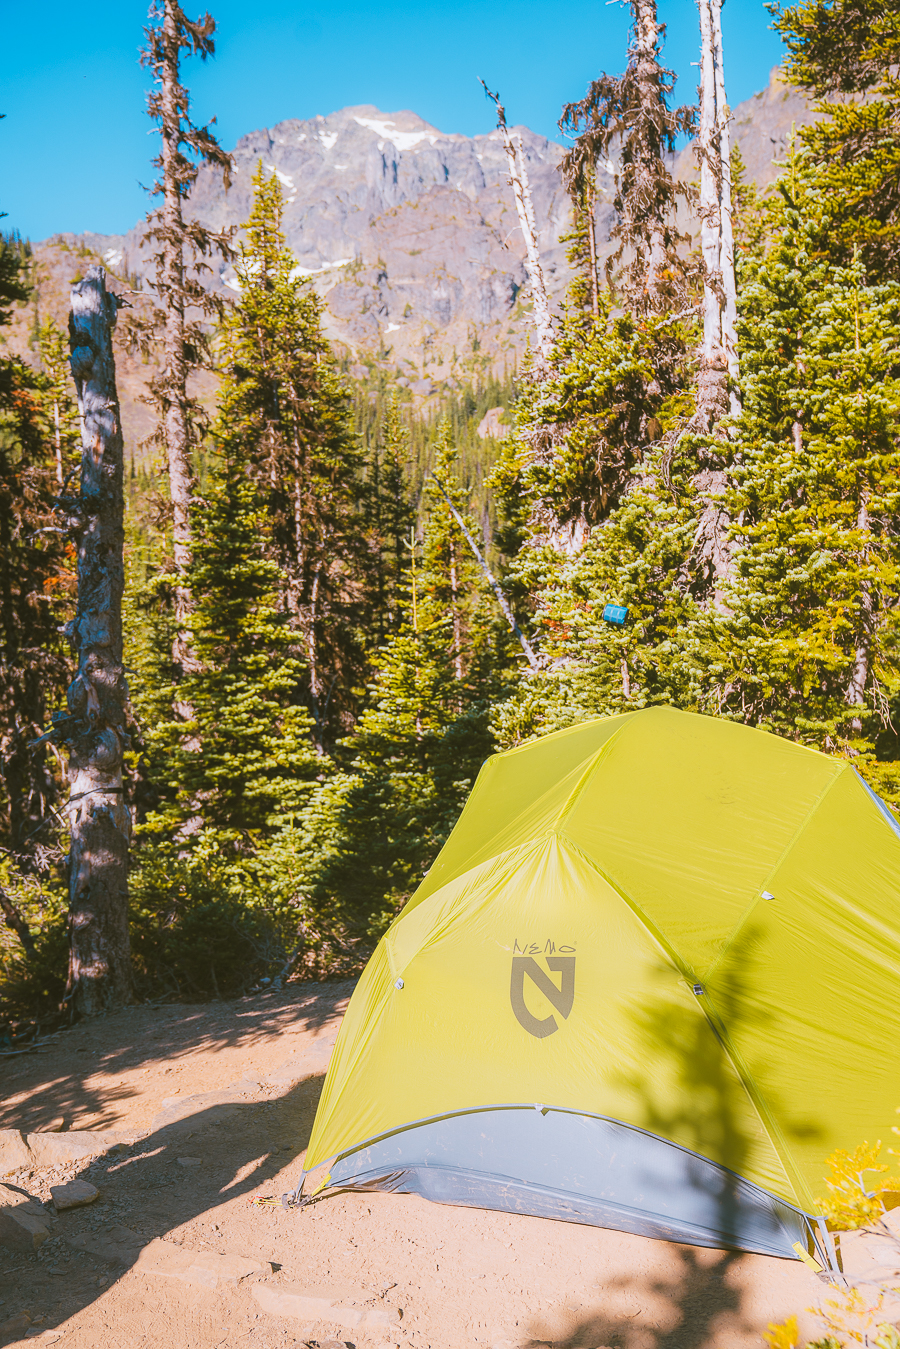
Backpacking the best hikes in the Olympic Peninsula is slightly different for everyone, depending on whether you’re a winter person or a summer person. The ideal temperature for most is between May and October. Bear in mind that Olympic National Park and Washington, in general, tend to be rainy. These months are a little drier than the others.
Going in the colder months might put you in contact with some snow on the higher elevations. Meanwhile, July and August are also the busiest periods for the park. So expect some crowds. Fall is, of course, the best time for foliage and colors in the woodlands.
Read More: Best Time to Visit Olympic National Park
Download my Washington Hiking Checklist!
FAQs About Olympic National Park Hikes
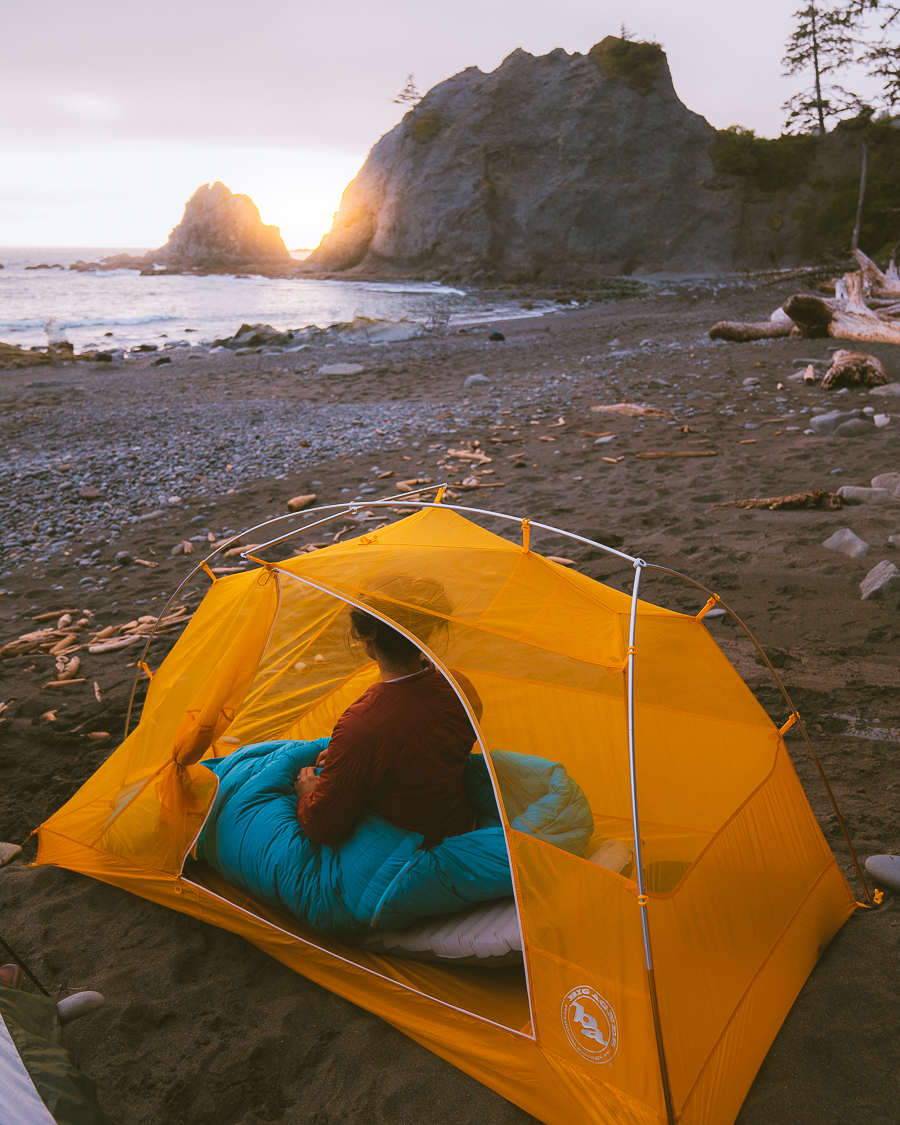
There are some FAQs commonly posed about the park and the hikes in question. Hopefully, these answer some of yours.
How Do You Backpack Through Olympic National Park?
Make sure you understand the permit requirements. For example, casual day hiking in Olympic National Park may not require a permit, depending on the trail. However, some trails require a recreation license, and overnighting will require camping Wilderness Camping Permits.

Tip: Pack smartly, accounting for cold and warmth (layers are recommended).
What Do I Need to Know Before Camping in Olympic National Park?
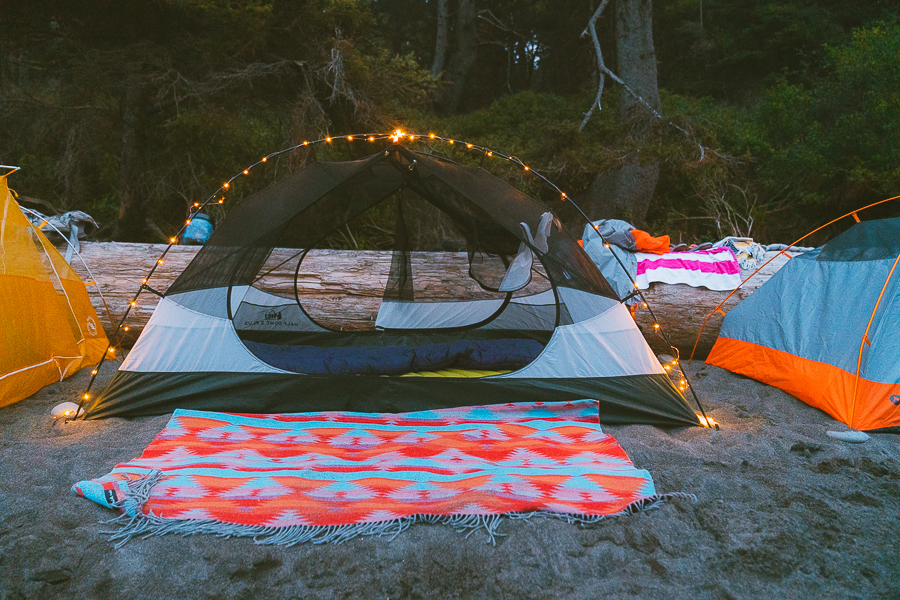
First of all, it may be a good idea to get a backpacking planner. This will assist you in planning a successful backpack excursion. It’ll check the boxes for everything from gear to meals to preparing your fitness regime.
When it comes to Olympic National Park itself, your first check should be making sure you have taken care of all your backpacking permits. You will need various permits to hike the park, camp, and so on.
You might also want to acquire a tide checker, and many parts of the coast become impassable at higher tides. Then there are bear canisters, a must, and water, of course. Keep in mind that the park mostly has a leave-no-trace policy in effect.
Which Animals Can Be Seen in the Olympic Peninsula
Visitors to the park regularly report seeing the following species in the park, just to name a few:
- Bears
- Beavers
- Cougars
- Deer
- Dolphins
- Eagles
- Elk
- Mink
- Pacific salmon
- Raccoons
- Sea lions
- Seals
- Sea otters
- Whales

Bonus Tip: Visit the Wilderness Information Center for updated information on the Olympic Mountains area and National Park before you visit. The Wilderness Information Center website should provide any last-minute news on closures, warnings, or obstructions to be aware of
Are Dogs and Pets Olympic National Park?
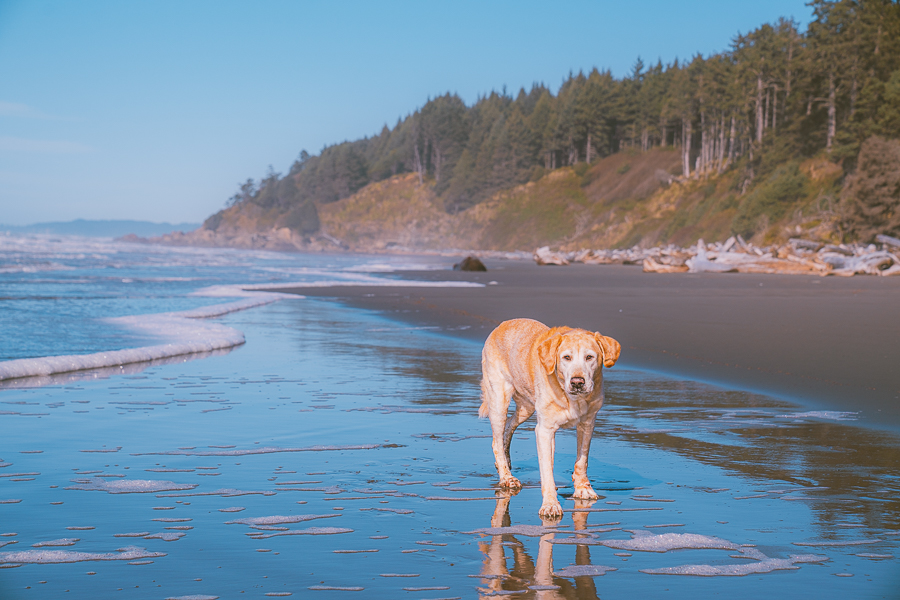
Pets are allowed on the following trails:
- Peabody Creek Trail (Olympic National Park Visitor Center in Port Angeles)
- Rialto Beach parking lot to Ellen Creek (1/2 mile)
- The beaches between the Hoh and Quinault Reservations (Kalaloch area)
- Madison Falls Trail (Elwha)
- Spruce Railroad Trail (North shore of Lake Crescent)
- July Creek Loop Trail (North shore of Lake Quinault)
Can I Camp Anywhere in the Olympic National Park?
There are specifically designated and demarcated camping spots in Olympic National Park. You are not allowed to sleep in your car unless you are in one of these designated camping areas. All the places you’ll be camping need to be reserved ahead of time due to limited space.
Most of the sites have a maximum capacity of 12 persons. Usually, permits cost $8, with additional permit fees.
Final Thoughts on Best Backpacking in Olympic National Park Trails
Which one of these amazing Olympic Peninsula Backpacking hikes sounds the most intriguing? It’s hard to decide, isn’t it?
First of all, your love for walking in the wilderness will definitely be satiated. But the added advantage of so many ecosystems and biomes will definitely intrigue the “spotter” in you.
Choose from an incredible adventure in the mountains, along the rivers, by the lakes, or next to the ocean. Stay as many days and nights as you can manage, or simply take a day out to do a quick loop. For more great hikes, check out my guide on Spring hikes in Washington State.

